
This plugin ensures that Amazon DynamoDB tables have continuous backups enabled
Risk Level: Medium
Description
This plugin ensures that Amazon DynamoDB tables have continuous backups enabled. In case of accidental deletion or writes, continuous backups enabled will help retrieve the data. Therefore, it is recommended to have backups enabled.
About the Service
Amazon DynamoDB: As per the AWS documentation, Amazon DynamoDB is a fully managed, NoSQL database designed to run high-performance applications at any scale. With the high-performing and serverless service, DynamoDB also offers utilities such as built-in security, continuous backups, and data export tools.
Impact
DynamoDB provides a comprehensive backup service to archive data and restore it when required. Point-in-time recovery (PITR), continuously creates an incremental backup of the data so that none can be missed. To maintain security and government regulations, continuous backups must be maintained.
Steps to Reproduce
Using AWS Console-
- Log In to your AWS Console.
- Open the DynamoDB Management Console. You can use this link (https://console.aws.amazon.com/dynamodbv2) to navigate directly if already logged in.
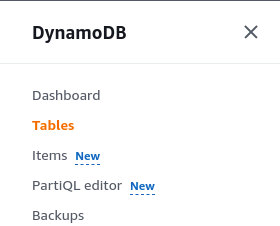
- Move to Tables section from the left navigation pane.
- A list of Tables in the region will appear. Select the one you wish to examine by clicking on its Name.
- Move to the Backups Tab.

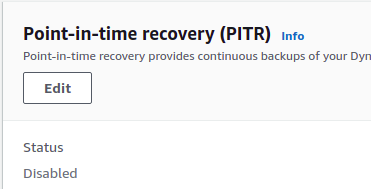
- Verify if both Point-in-time recovery (PITR) and Backups are enabled. If not, the vulnerability exists.
- Repeat steps for all the Tables you want to investigate.
Steps for Remediation
Enable Continuous Backups and Point-In-Time Recovery (PITR) features:
- Log In to your AWS Console.
- Open the DynamoDB Management Console. You can use this link (https://console.aws.amazon.com/dynamodbv2) to navigate directly if already logged in.
- Move to Tables section from the left navigation pane.
- A list of Tables in the region will appear. Select the vulnerable table by clicking on its Name.
- Move to the Backups Tab.
- Click on the Edit button in the PITR section.
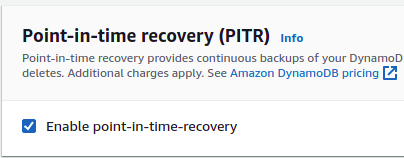
- Enable the PITR service by clicking on the checkbox next to it. Save the changes.
- Now, in the On-demand backups section, click on Create Backup.
- Give a name to the backup to identify it and click on Create Backup to proceed.
- Repeat steps for all the vulnerable Tables.