
This plugin makes sure that EFS volumes are encrypted when they're not in use
Risk Level: Medium
Description:
This plugin makes sure that EFS volumes are encrypted when they're not in use. EFS provides data encryption at rest using AWS Key Management Service keys (KMS).
About the Service :
Amazon EFS is a scalable file storage system that works with Amazon EC2. For workloads and applications operating on several instances, an EFS file system may be used as a shared data source. With no need for maintenance or provisioning, Amazon Elastic File System (Amazon EFS) expands and shrinks as the files are added or deleted.
Impact :
In case the encryption is disabled there are greater chances of unauthorized access and the compliance requirements will not be met.
Steps to reproduce :
- Log in to the AWS Management Console.
- Navigate to the Amazon EFS dashboard.
https://ap-south-1.console.aws.amazon.com/efs/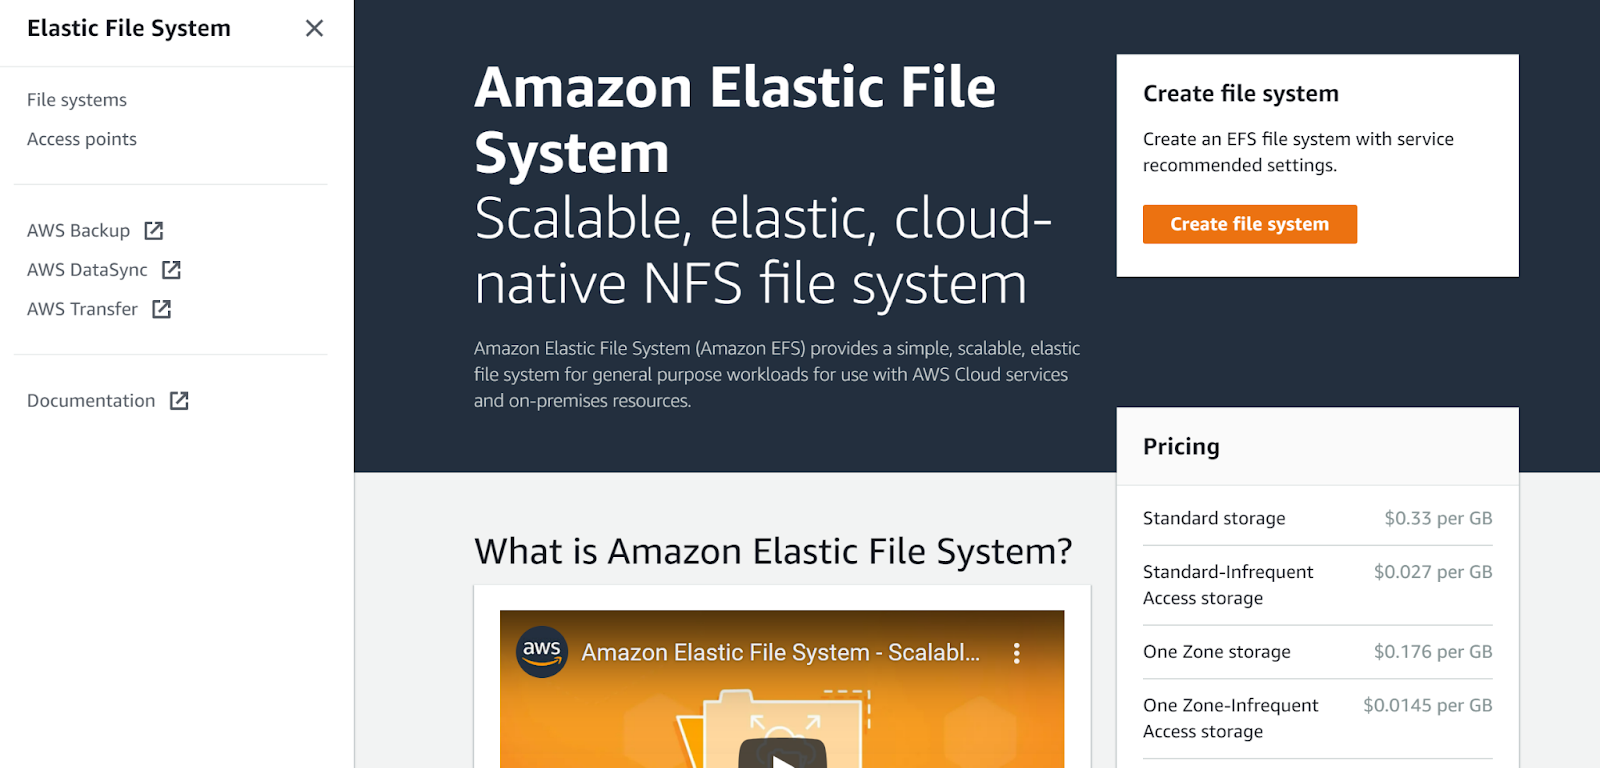
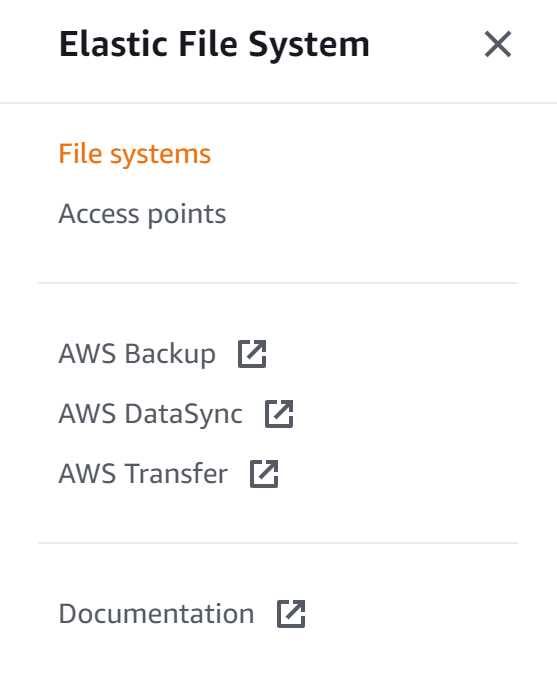
- Click on File systems on the left navigation panel.
- Click on the file system that you want to examine.
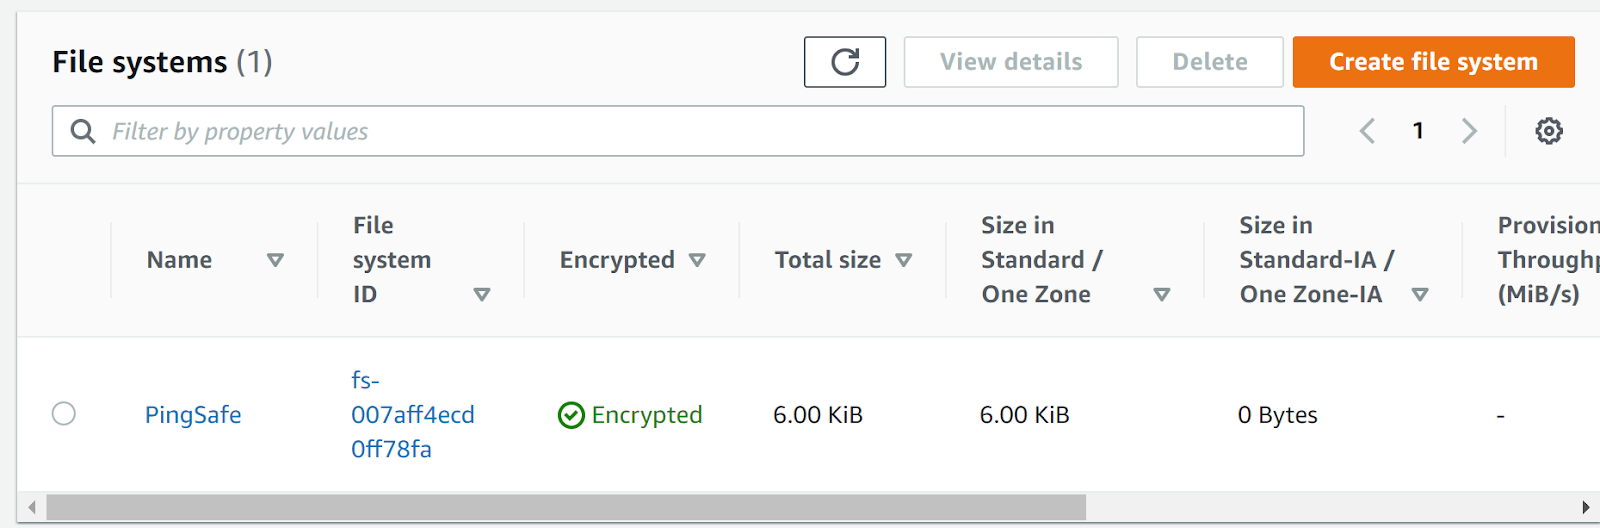
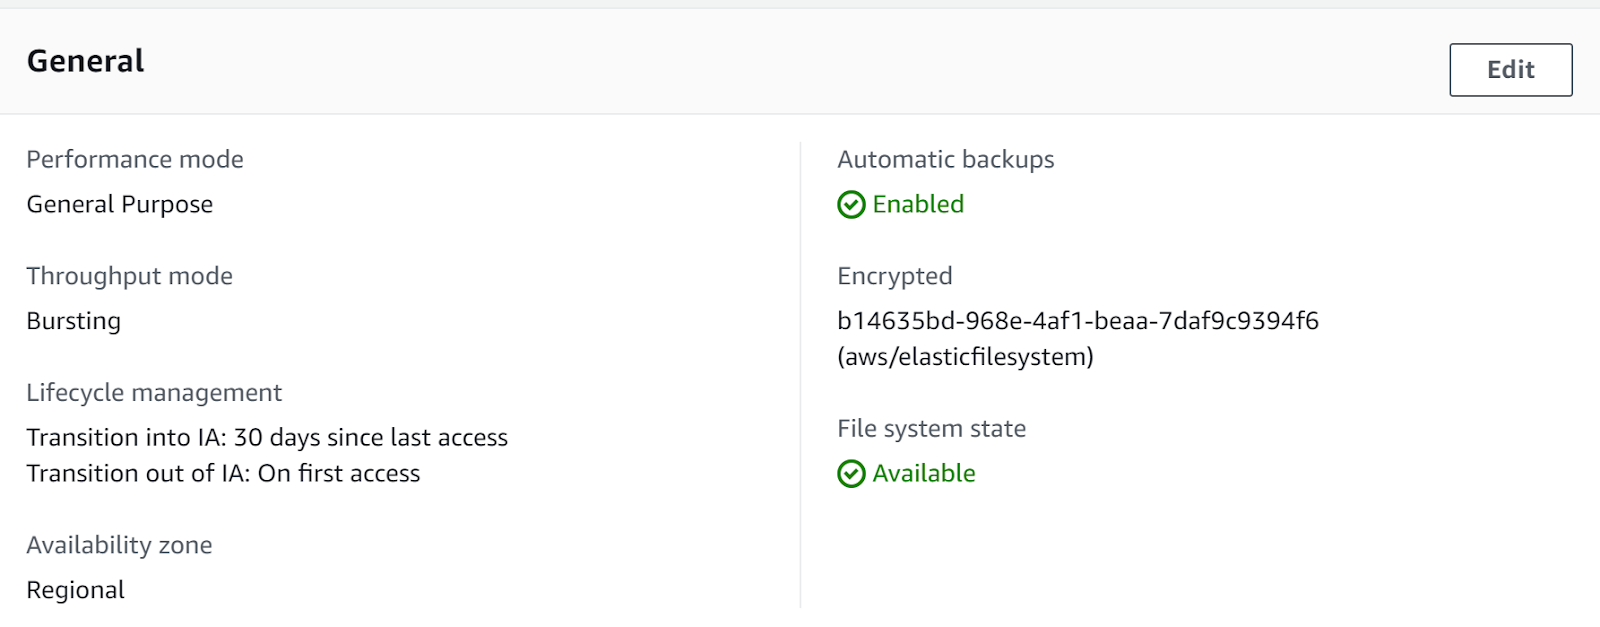
- Check whether it shows the encryption is enabled or not.
- Repeat the same steps for other file systems as well.
Steps for remediation :
- Log in to the AWS Management Console.
- Navigate to the Amazon EFS dashboard.
https://ap-south-1.console.aws.amazon.com/efs/ - Click on File systems on the left navigation panel.
- Click on the file system that you want to examine.
- Check whether it shows the encryption is enabled or not.
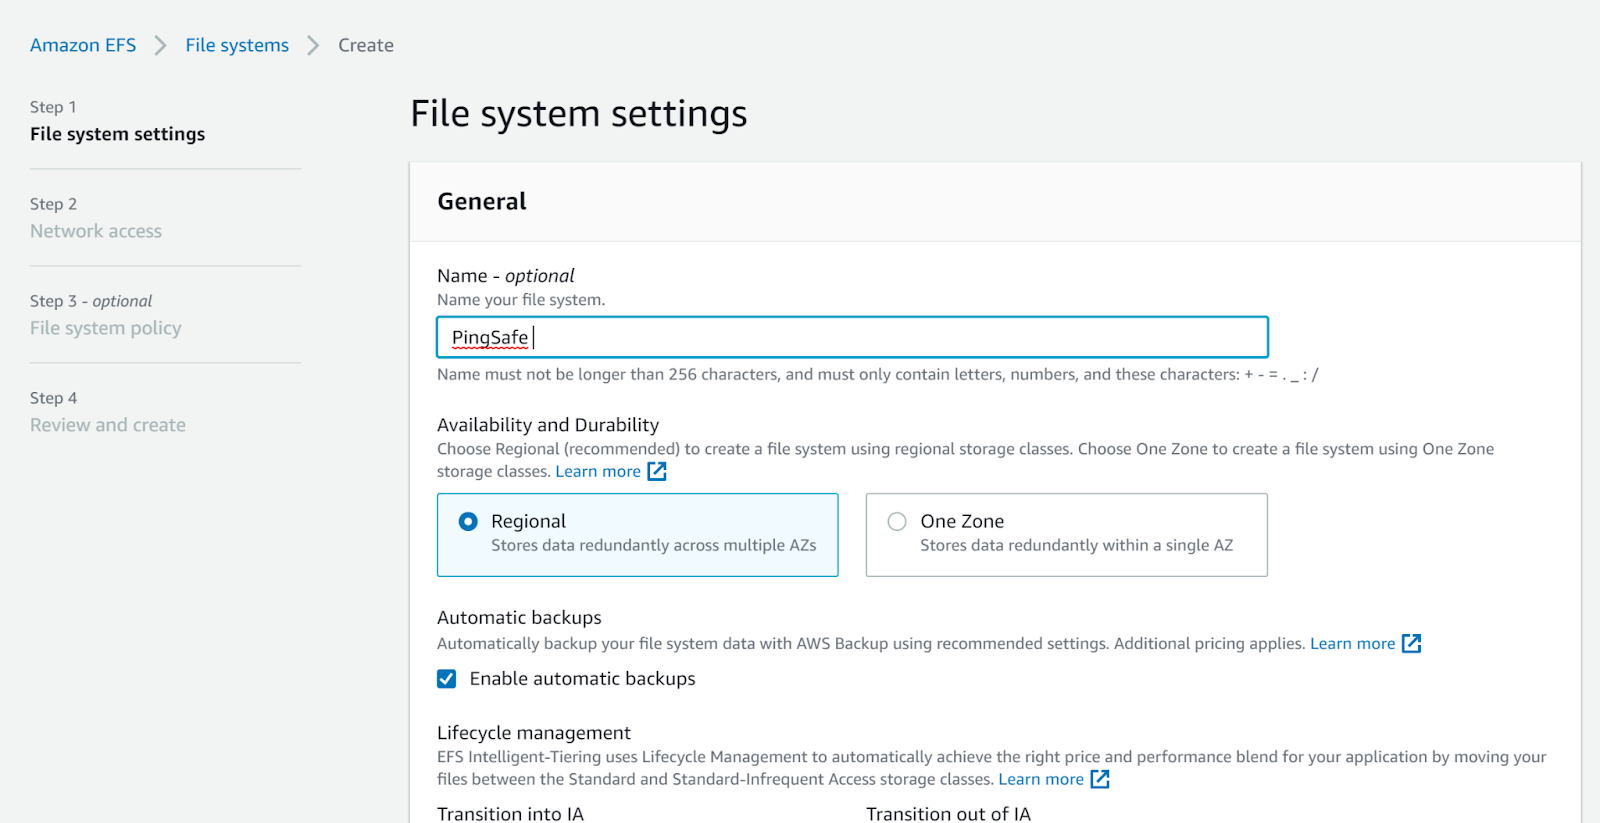
- If the encryption is disabled then click on Create new file system
- Fill in all the necessary details required in the File System Settings dialogue box.
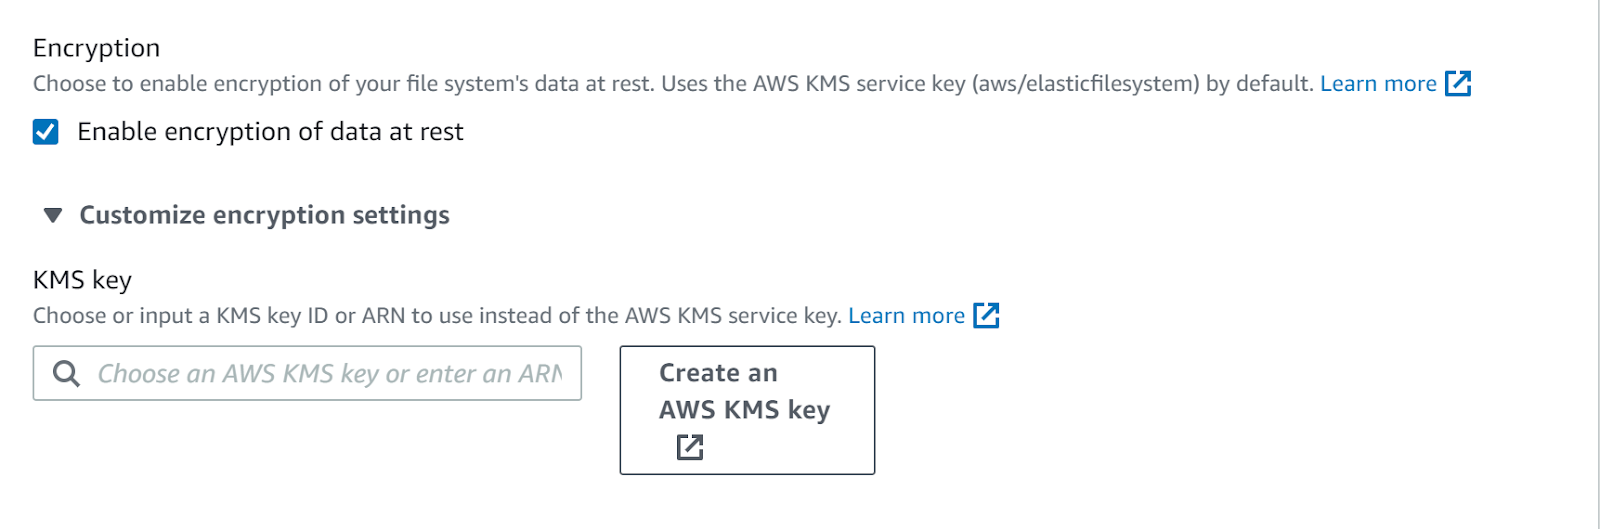
- In the encryption table, select enable encryption and fill in the KMS key.
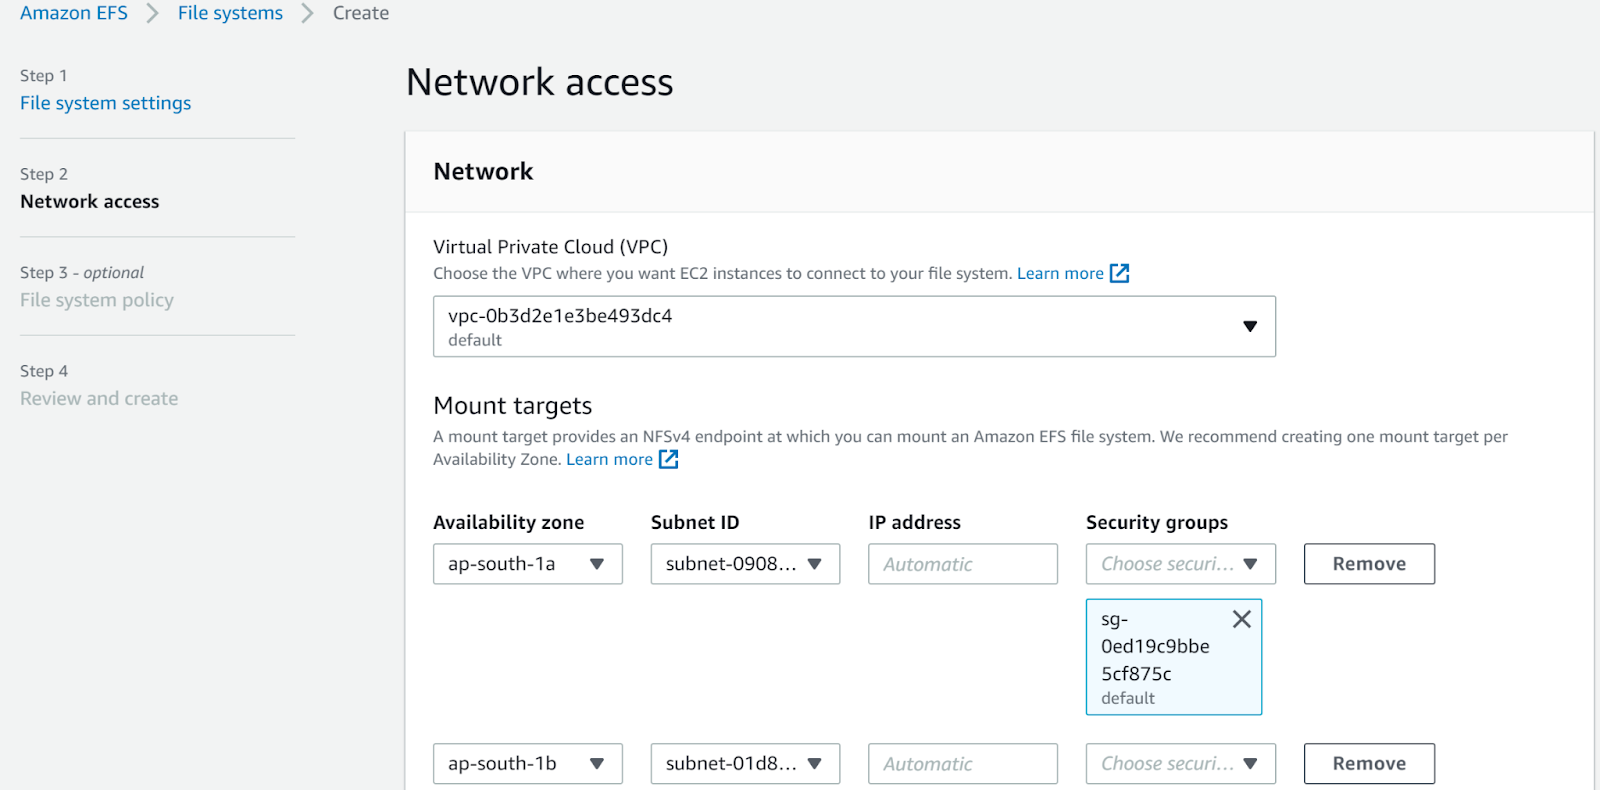
- Fill in all the details in the Network Access tab.
- Click next, and then select the most appropriate options of File System Policy.
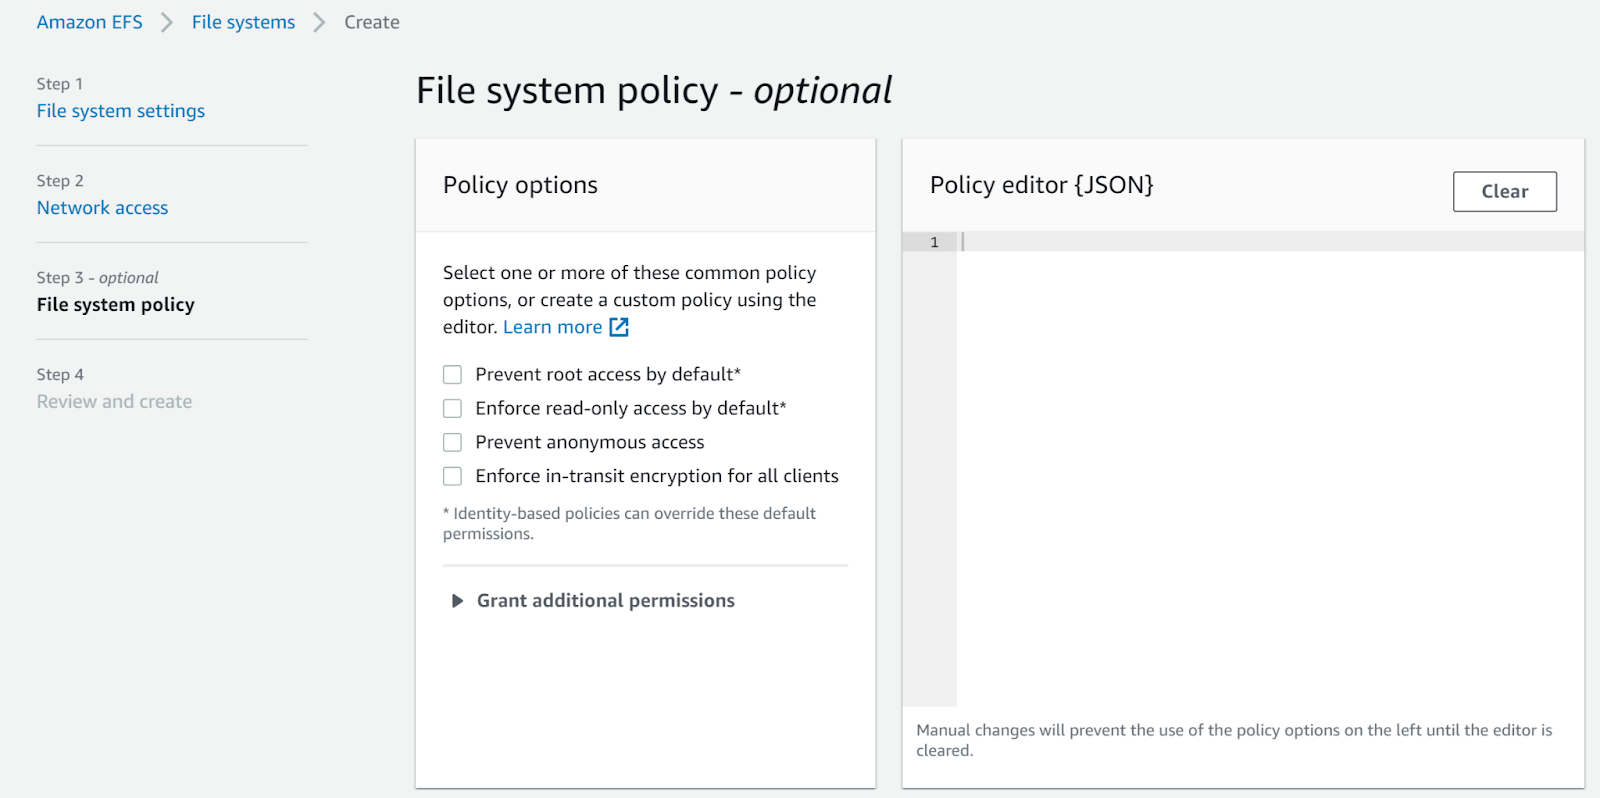
- Click Next and then click Create.
- Take the copy of the data of the old file system in this file system and then delete the old file system.
- Repeat the same steps for other file systems as well.
References: