
This plugin ensures ElasticSearch domains are created with private VPC endpoint options
Risk Level: Medium
Description
This plugin ensures ElasticSearch domains are created with private VPC endpoint options. ElasticSearch domains can either be created with a public access or within a VPC configuration. VPC configuration is an important way to secure your OpenSearch domains. It must be properly set up to deny public access to the domains.
About the Service
Amazon OpenSearch: With Amazon OpenSearch, one can analyze, query and visualize petabytes of text and unstructured data. It makes the complex process of performing interactive log analytics, real-time application monitoring, website search, an easy process. Apart from this, Amazon OpenSearch also provides the possibility to capture observability logs and metrics.
Impact
Publically accessible OpenSearch domains are a serious security threat to the cloud infrastructure. Without VPC, these domains are open to public access. Such public domains are exploited by attackers to gain access to critical logs and queries generated by the service.
Steps to Reproduce
Using AWS Console-
- Log In to your AWS Console.
- Open the Amazon OpenSearch Console. You can use this link (https://console.aws.amazon.com/esv3/) to navigate directly if already logged in.
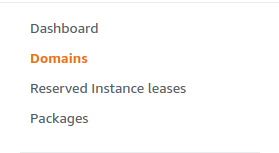
- From the left navigation pane, click on Domains from the left panel.
- A list of domains will be displayed. Select the domain you want to examine by clicking on it’s name.
- Move to the Cluster configuration tab.

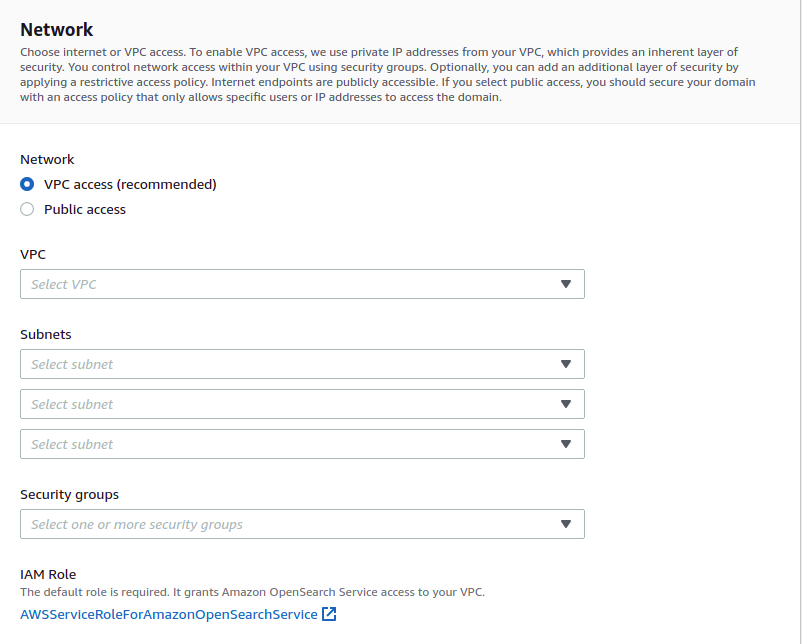
- In the Network section, if the Access is set to public, the vulnerability exists.

- Repeat steps for all the domains you wish to examine.
Steps for Remediation
Create a new ElasticSearch domain within private VPC configuration instead of public endpoint configuration.
- Log In to your AWS Console.
- Open the Amazon OpenSearch Console. You can use this link (https://console.aws.amazon.com/esv3/) to navigate directly if already logged in.
- From the left navigation pane, click on Domains from the left panel.
- Click on Create Domain. Now create the new domain as same as the previous one.
- When on the Network section, make sure that you select VPC access instead of Public access.
- After the new domain is created, transfer all the data from the previous domain to the newly created domain using the following steps.
- After uploading the data, delete the original vulnerable domain.
- Select the vulnerable domain by clicking on the checkbox next to it. Click on Delete to delete the domain.
- Repeat steps for all the insecure domains.