
Ensure Customer-Supplied Encryption Key (CSEK) Encryption is enabled on disks.
Risk Level: Medium
Description
This plugin ensures that Customer Supplied Encryption Key (CSEK) Encryption is enabled on disks. By using Customer-Managed Keys (CMKs) with Key Management Service (Cloud KMS), users get secure and efficient encryption key management, controlled key rotation, and revocation mechanisms.
Configuration Parameters
Instance Desired Encryption Types: This parameter specifies the desired encryption type for a Virtual Machine(VM) instance. An issue is created when the encryption setting is different from the specified types.
The allowed options are Customer-Supplied Encryption Keys(CSEK) and Customer-Managed Encryption Keys(CMEK), therefore it will return a vulnerability alert if the encryption of the VM instance is not one of the above two.
About the Service
Google Cloud Compute Engine:
Google Cloud Compute Engine is a service that allows you to create Virtual Machines based on your preferences and run them on Google’s infrastructure. You can either use their predefined machines with certain default configurations or create your own custom Virtual Machine to meet your exact requirements. To know more, read here.
Impact
Customer Supplied Encryption Keys provide you with control over the encryption of your data. By using CSEK only the users with the key can access the disk. Anyone else, including Google, cannot access the disk data. If CSEK keys are not enabled, Cloud Storage permanently stores your key on Google's servers and manages your key, allowing them to access your disk data.
Steps to Reproduce
Using GCP Console-
- Log In to your GCP Console.
- From the top navigation bar, select the GCP project you want to investigate.

- From the navigation panel on the left side of the console, go to Compute Engine and select VM Instances. You can use this link here to navigate directly if you’re already logged in.
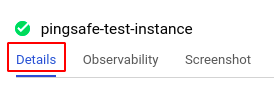
- Select the VM instance you want to investigate from the list of instances and go to the Details tab to examine the details of the VM instance selected.

- Scroll down to the Boot disk and Additional disks sections and check the encryption type in the Encryption column of the table for each disk in this instance. If the encryption type is not Customer Supplied, then CSEK encryption is not enabled for that particular disk. This means that the disk data is accessible by anyone.

- Repeat steps 4 and 5 for all the VM instances you want to investigate in the selected project.
- If you have multiple projects that you want to investigate, repeat steps 2-6 for each project in your GCP console.
Steps for Remediation
Determine whether or not you truly require CSEK encryption to be disabled. If not, make the necessary changes to enable CSEK encryption on the required disks of your VM instances.
The steps to enable CSEK encryption are-
Note: Encryption details cannot be reconfigured. In order to enable CSEK encryption on your disks, you are required to re-create the instance with the required encryption configuration.
Using GCP Console-
- Log In to your GCP Console.
- From the top navigation bar, select the GCP project you want to investigate.
- From the navigation panel on the left side of the console, go to Compute Engine and select VM Instances. You can use this link here to navigate directly if you’re already logged in.
- Select the VM instance you want to recreate from the list of instances and go to the Details tab and note down the necessary details of the VM instance selected.
- Go back to the VM Instances page and click on the CREATE INSTANCE option to recreate the instance.
- In the Create an instance page, after filling in your desired name for the VM instance, do the following steps to enable CSEK configuration:
- Scroll down to the “Networking, disks, security, management, sole-tenancy” section and expand the section.

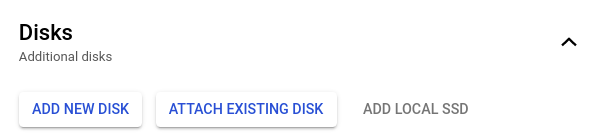
- Click on the Disks section and select the Add new disk option to add a new disk with required configurations.
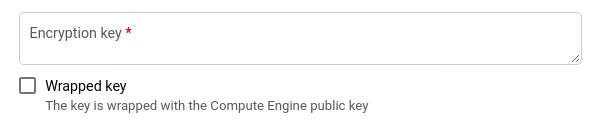
- In the Encryption section, check the Customer-supplied encryption key (CSEK) option.

- Enter your encryption key in the Encryption Key text box provided and check the Wrapped Key option to wrap your encryption key with the Compute Engine public key.
- Configure all other details in your VM instance based on the details you noted down of the original VM instance and then click create to create your new VM instance.
- Migrate all the data from the original VM instance to your newly created VM instance that is CSEK encrypted.
- You can delete the original instance once all the data has been migrated to the new VM instance. To do so, click on the VM instance and select the delete option from the top navigation bar.

- In the delete VM instance pop-up click on delete to confirm your action.

If you have multiple projects, repeat steps 2-10 for each project in your GCP console.