
Ensure that Virtual Machine instances have public access disabled.
Risk Level: High
Description
This plugin ensures that compute instances aren't set up to be accessible to the public. In order to limit the exposure of compute instances to the internet, they should always be configured behind load balancers rather than having public IP addresses. Pingsafe strongly recommends modifying compute instances and setting external IP to none for the network interface.
About the Service
Google Cloud Compute Engine:
Google Cloud Compute Engine is a service that allows you to create Virtual Machines based on your preferences and run them on Google’s infrastructure. You can either use their predefined machines with certain default configurations or create your own custom Virtual Machine to meet your exact requirements. To know more, read here.
Impact
If public access is enabled on a virtual machine instance, the instance's exposure to the public may increase the danger of attack. As a result, the security and privacy of the data stored in the Compute Engine Instance are jeopardized.
Steps to Reproduce
Using GCP Console-
- Log In to your GCP Console.
- From the top navigation bar, select the GCP project you want to investigate.

- From the navigation panel on the left side of the console, go to Compute Engine and select VM Instances. You can use this link (https://console.cloud.google.com/compute) to navigate directly if you’re already logged in.
- Check the External IP column value of the VM instance you want to investigate from the list of instances. If the value is an IPv4 address, the particular VM instance has public access enabled.

- Repeat steps 4 for all the VM instances you want to investigate in the selected project.
- If you have multiple projects that you want to investigate, repeat steps 2-5 for each project in your GCP console.
Steps for Remediation
Determine whether or not you truly require an external IP address to be enabled. If not, make the necessary changes to remove the external IP address of your VM instances.
Note: Some applications may stop operating if the external IP address of a virtual machine (VM) instance is removed.
The steps to disable public IP addresses are-
Using GCP Console-
- Log In to your GCP Console.
- From the top navigation bar, select the GCP project you want to investigate.
- From the navigation panel on the left side of the console, go to Compute Engine and select VM Instances. You can use this link (https://console.cloud.google.com/compute) to navigate directly if you’re already logged in.
- From the list of instances, choose the VM instance you want to reconfigure. (In case you aren’t sure which instance needs to be configured, follow the steps to reproduce listed above to determine which instance to choose.)
- Select the Edit option from the top navigation bar of the VM instance details page.
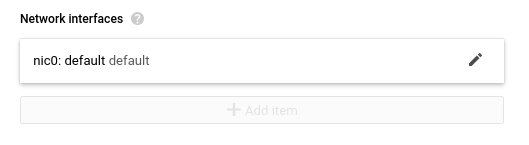
- Scroll down to the Network interfaces section and select the edit button of the network interface you want to reconfigure.
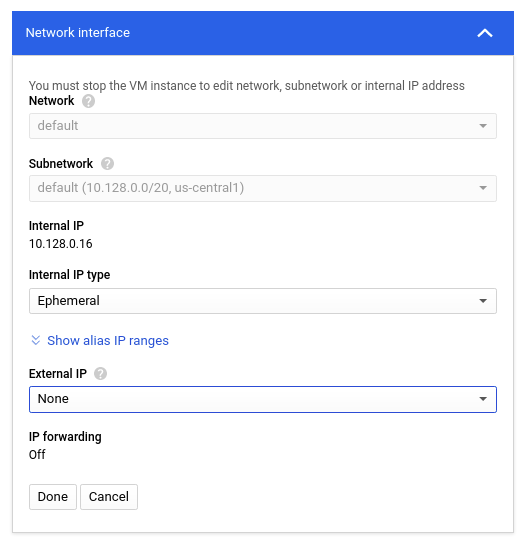
- Under the External IP section, choose None from the dropdown list provided and click Done. Finally, click on Save to save the changes.
- Repeat steps 4 to 7 for all the VM instances you want to reconfigure in the selected project.
- If you have multiple projects, repeat steps 2-8 for each project in your GCP console.