
Ensure that IP forwarding is disabled on all VM instances.
Risk Level: Low
Description
This plugin checks if IP forwarding is enabled on all Compute Engine Virtual Machine instances. SentinelOne CNS strongly recommends disabling IP forwarding to ensure that the VM instance only sends and receives packets if they match the IP address of its interface in the network.
About the Service
Google Cloud Compute Engine:
Google Cloud Compute Engine is a service that allows you to create Virtual Machines based on your preferences and run them on Google’s infrastructure. You can either use their predefined machines with certain default configurations or create your own custom Virtual Machine to meet your exact requirements. To know more, read here.
Impact
Google Cloud does not enforce packet source and destination validation when IP forwarding is enabled. Therefore, the Virtual Machine (VM) Instances will receive packets addressed to other destinations as well, resulting in unwanted traffic.
Steps to Reproduce
Using GCP Console-
- Log In to your GCP Console.
- From the top navigation bar, select the GCP project you want to investigate.

- From the navigation panel on the left side of the console, go to Compute Engine and select VM Instances. You can use this link (https://console.cloud.google.com/compute) to navigate directly if you’re already logged in.
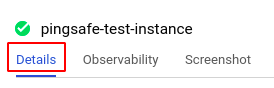
- Select the VM instance you want to investigate from the list of instances and go to the Details tab to examine the details of the VM instance selected.
- Scroll down to the Network interfaces section and check the configuration status in the IP forwarding column of the table. If the IP forwarding status of at least one network interface is set to On, then it means that IP forwarding for the selected VM instance is enabled.
- Repeat steps 4 and 5 for all the VM instances you want to investigate in the selected project.
- If you have multiple projects that you want to investigate, repeat steps 2-6 for each project in your GCP console.
Steps for Remediation
Determine whether or not you truly require IP forwarding to be enabled. If not, make the necessary changes to disable IP forwarding for the required VM instances.
The steps to disable IP forwarding are-
Note: IP forwarding status cannot be reconfigured in an existing VM instance. In order to disable IP forwarding, you are required to re-create the instance with the required configuration.
Using GCP Console-
- Log In to your GCP Console.
- From the top navigation bar, select the GCP project you want to investigate.
- From the navigation panel on the left side of the console, go to Compute Engine and select VM Instances. You can use this link (https://console.cloud.google.com/compute) to navigate directly if you’re already logged in.
- From the list of instances, choose the VM instance you want to reconfigure. (In case you aren’t sure which instance needs to be configured, follow the steps to reproduce listed above to determine which instance to choose.)
- Click on more actions (3-dot button) and select Create new machine image option to create a new image for the chosen VM instance. A machine image makes a copy of all the configurations, metadata, permissions and data of the selected VM instance which will be helpful to re-create the instance.
- In the create a machine image page, after filling in your desired name for the new machine image in the name box provided, choose the location where you would like the image to be stored as well as an encryption key to encrypt the data. Finally, click create to create the new machine image.
- After the machine image has been created and the status has been set to Ready, choose Create VM option from the 3-dot menu to create a new Virtual Machine from this image.
- In the Create an instance page, after filling in your desired name for the VM instance, do the following steps to disable IP forwarding:
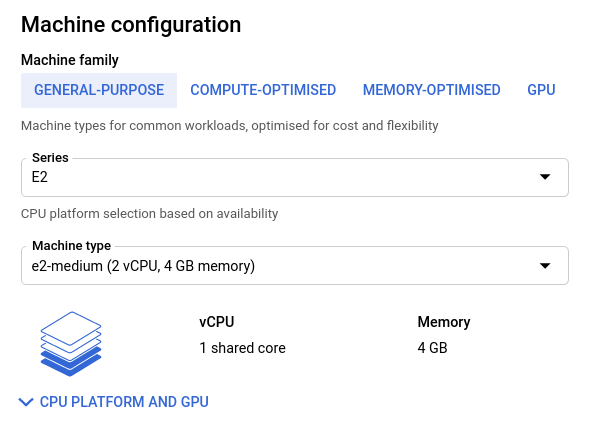
- Go to the Machine configuration section and choose the appropriate machine family and type. This should be the same as the VM instance that you are re-creating.
- Scroll down to the “Networking, disks, security, management, sole-tenancy” section and expand the section.

- Click on Networking and then
- Click create to create your new VM instance.
- You can delete the original instance once all the data has been migrated to the new VM instance. To do so, click on the VM instance and select the delete option from the top navigation bar.

- In the delete VM instance pop-up click on delete to confirm your action.

If you have multiple projects, repeat steps 2-11 for each project in your GCP console.