
Risk Level: Medium
Description
This module guarantees CLBs are arranged to just acknowledge associations on HTTPS ports. For most extreme security, CLBs can be arranged to just acknowledge HTTPS associations. Standard HTTP associations will be hindered. This ought to possibly be done assuming that the customer application is arranged to inquiry HTTPS straightforwardly and not depend on a divert from HTTP.
About the Service
Google Cloud Load Balancing:
According to Google services, the Google Cloud offers server-side load balancing so you can distribute incoming traffic across multiple virtual machine (VM) instances. Detect and automatically remove unhealthy VM instances using health checks. Instances that become healthy again are automatically re-added. Google's global load balancer knows where the clients are located and directs packets to the closest web service, providing low latency to users while using a single virtual IP (VIP). Using a single VIP means we can increase the time to live (TTL) of our DNS records, which further reduces latency. To know more about GCP Cloud Load Balancing click here.
Impact
At the point when your Google Cloud load balancers are not arranged to get HTTPS demands, the association among customers and burden balancers is helpless against snooping and Man-In-The-Middle (MITM) assaults. The danger turns out to be significantly higher when the application running behind the load balancer is working with touchy information, for example, wellbeing and individual records, certifications, and Mastercard numbers. Implementing HTTPS for your GCP load balancers will guarantee that the web traffic among customers and burden balancers is scrambled over SSL/TLS, and the communicated information is gotten.
Steps to Reproduce
Using GCP Console-
In order to ensure or determine, if your Google Cloud Platform (GCP) service Load Balancers are configured to encrypt web traffic, follow the steps mentioned below:
- Firstly, use the administrator account for signing up to Google Cloud Platform Console.
- Now, from the top navigation bar, select the GCP Project you want to investigate in.

- From the Navigation Menu on the left, you may find the Networking section.
- Click on the Network Services subsection under Networking.
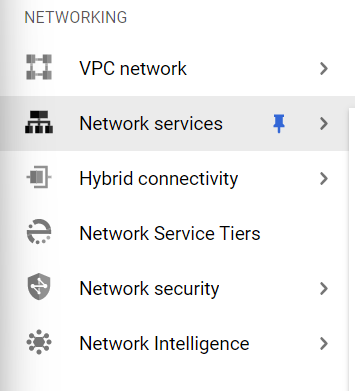
- Under the Network Services navigation panel, you may find Load Balancing as shown in the figure below.
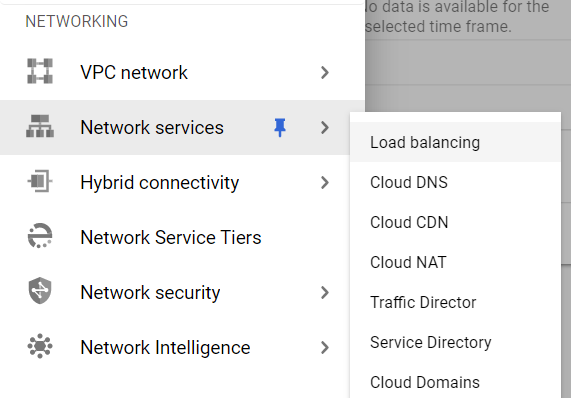
- Click on the Load Balancing navigation link and a Cloud Load Balancing Page will appear on the screen. Click to open directly from here.
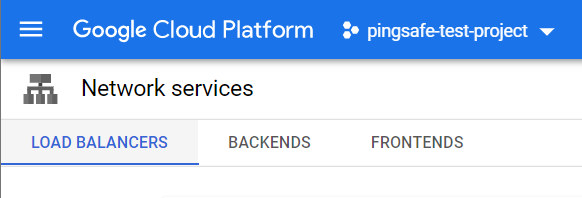
- On the Load Balancing Page, click on the Load Balancers nav link, present at the top of the navigation bar. This is to access the list of all the load balancers present within the Google Cloud Load Balancers in your GCP Project.
- The list of all the load balancers will be displayed. Choose the name of Load Balancer you want to examine for.
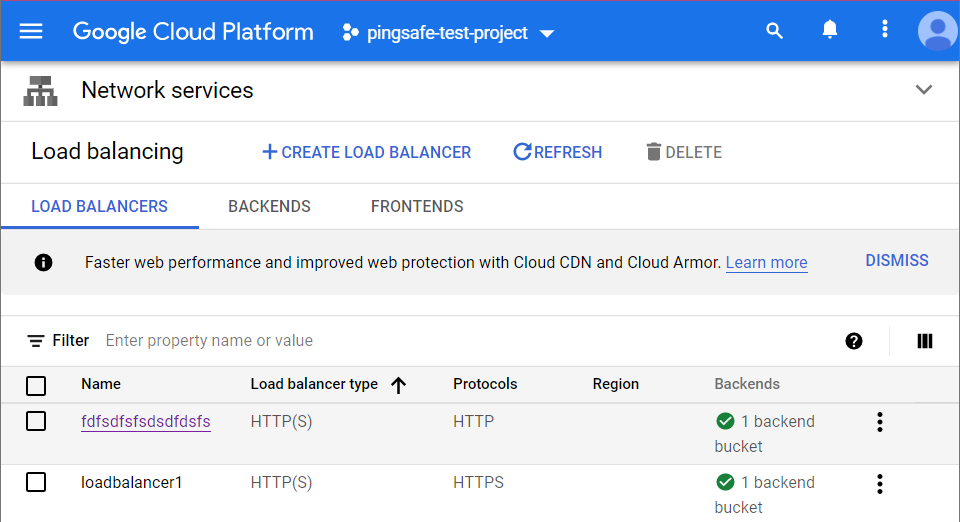
- Check for the Protocols column in the list of all load balancers. In case, the Protocol column is set to be HTTP, then the selected GCP load balancer is not using any of the SSL Policy.
- The web traffic for the same load balancer is not encrypted via HTTPS, hence the communication between clients and load balancer is unprotected or not secured.
- You may repeat steps 8-10 for other load balancers in your GCP Project.
- You may repeat the above-mentioned steps to check for the other GCP projects/folders in your organization.
Steps for Remediation
Using GCP Console-
In order to enable to reconfigure HTTPS for your GCP load balancers or to encrypt the web traffic between the GCP load balancer and client, follow the steps mentioned below:
- Firstly, use the administrator account for signing up to Google Cloud Platform Console.
- Now, from the top navigation bar, select the GCP Project you want to investigate in.
- From the Navigation Menu on the left, you may find the Networking section.
- Click on the Network Services subsection under Networking.
- Under the Network Services navigation panel, you may find Load Balancing as shown in the figure below.
- Click on the Load Balancing navigation link and a Cloud Load Balancing Page will appear on the screen. Click to open directly from here.
- On the Load Balancing Page, click on the Load Balancers nav link, present at the top of the navigation bar. This is to access the list of all the load balancers present within the Google Cloud Load Balancers in your GCP Project.
- The list of all the load balancers will be displayed. Check for the Protocols column in the list of all load balancers.
- In case, the Protocol column is set to be HTTP, then the selected GCP load balancer is not using any of the SSL Policy.
- The web traffic for the same load balancer is not encrypted via HTTPS, hence the communication between clients and the load balancer is unprotected or not secured.
- Choose the Name of Load Balancer, whose Protocol is set to HTTP and you want to examine for. A new page with all the details of that load balancer will be opened up.
- Click on the Edit button available on the top navigation bar.

- On the Edit HTTPS load balancer page, select the Frontend Configuration Tab present at the left panel.
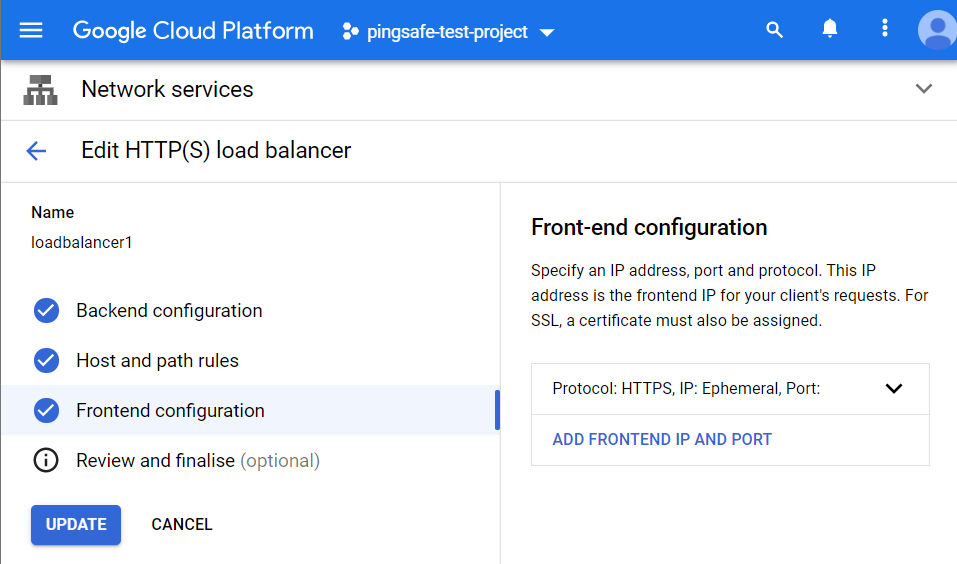
- Choose the ADD FRONTEND IP AND PORT option, given under Front-end configuration.

- On the Frontend Configuration panel, enter the Name and add a Description of your new Frontend IP and Port.

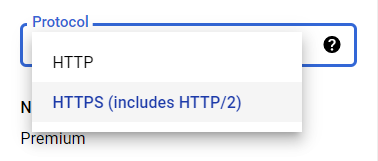
- Now, in the Protocol Dropdown list choose HTTPS (includes HTTP/2).
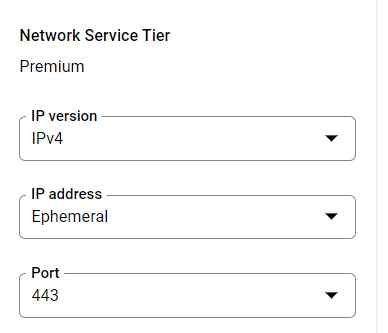
- Now, in the Network Service Tier choose the appropriate options. Select IPv4 under IP version, and choose the appropriate static IP address configured from the IP address dropdown list. Now, select 443 from the Port.
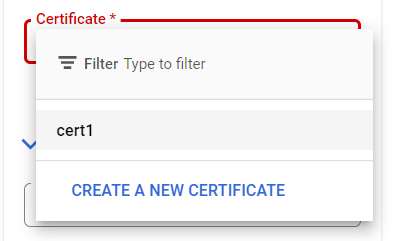
- Now, click on the certificate dropdown list and select the certificate if you already have one. In case, there is no certificate available, click on Create a new certificate option. A new page to create a certificate will open up. Fill in all the necessary details (public key certificate, certificate chain, private key, name, and description) and click on the Save button.
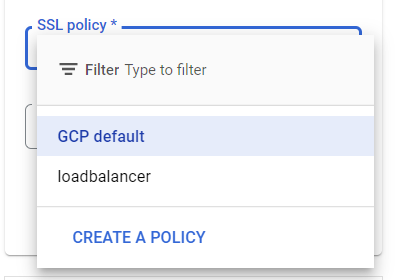
- Now open up the SSL policy dropdown list and select the appropriate one from it.
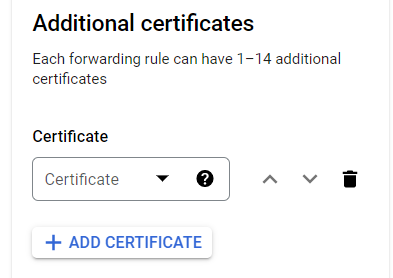
- Now, click on the Additional certificates link to add more certificate resources in addition to the primary SSL certificate resource. However, this is completely optional.
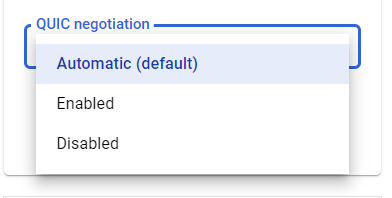
- Now click on the Quic Negotiation option to choose one among the following:
- Automatic (Default): This allows Google Cloud to control when QUIC is negotiated.
- Enabled: This allows the load balancer to negotiate QUIC with clients.
- Disabled: This prevents the load balancer from negotiating QUIC with clients.
- Now, on the Edit page and click on the Update button to reconfigure the settings.
- You may repeat steps 8-22 for other load balancers in your GCP Project.
- You may repeat the above-mentioned steps to check for the other GCP projects/folders in your organization.