
Risk Level: Medium
Description
The plugin checks that the encryption data-at-rest is enabled for the log container. Enabling encryption adds a second layer of protection to the stored blobs. By default, the keys used for encryption are azure generated but it is recommended that the users implement the keys using the Azure key vault.
About the Service
Storage Accounts: An azure storage account is used to store the customer’s data objects such as files, queues, shares, etc. The storage accounts ensure high availability for the clients and allot a unique namespace for the storage data and are accessible from anywhere around the world using HTTP or HTTPS protocols.
Impact
Adding another layer of protection to the log account will enhance the base security hence, it is advised that the encryption is enabled along with user-generated keys.
Steps to Reproduce
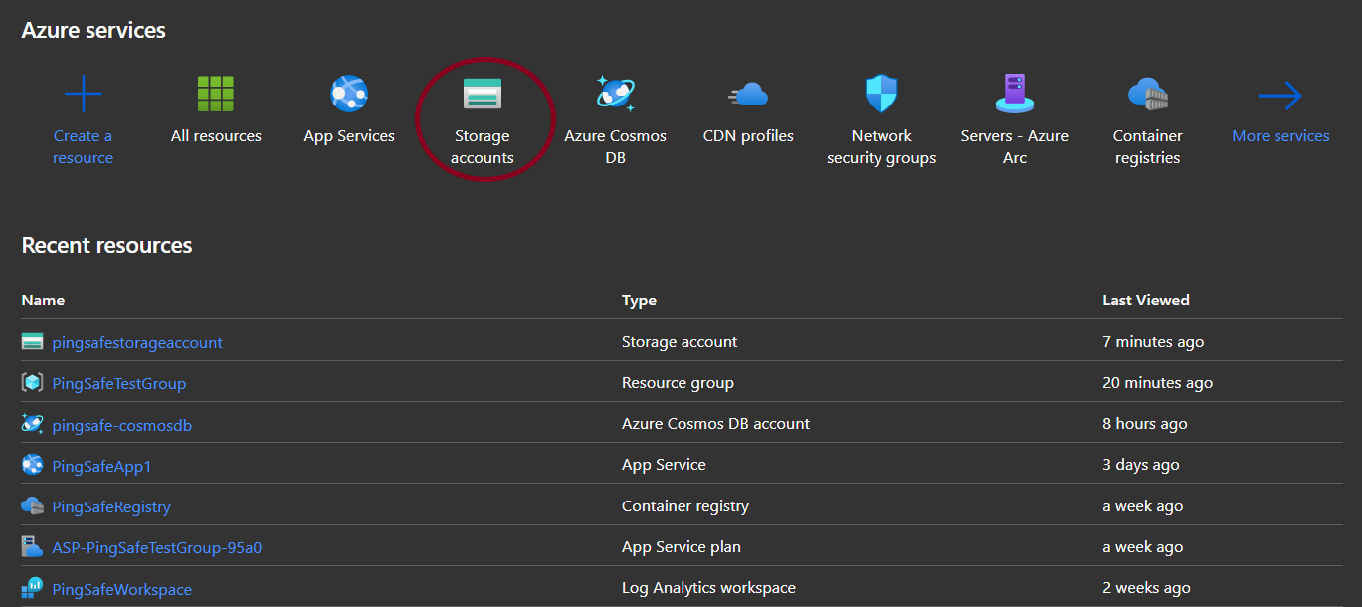
- Log in to the Azure portal.
- Click on Storage accounts for Services.
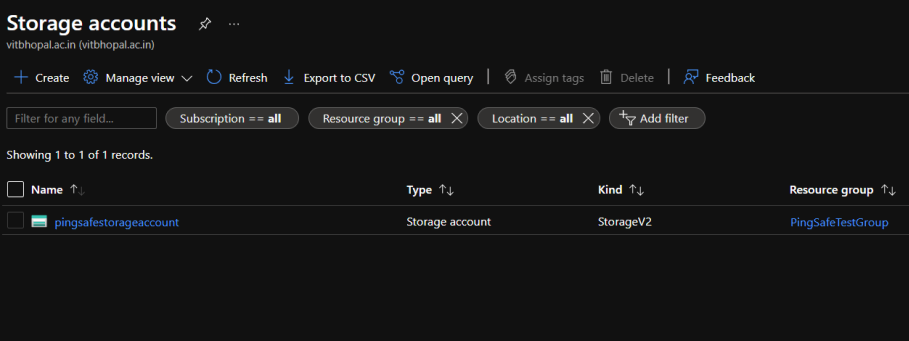
- Select any one of the provided accounts to check for the policy.
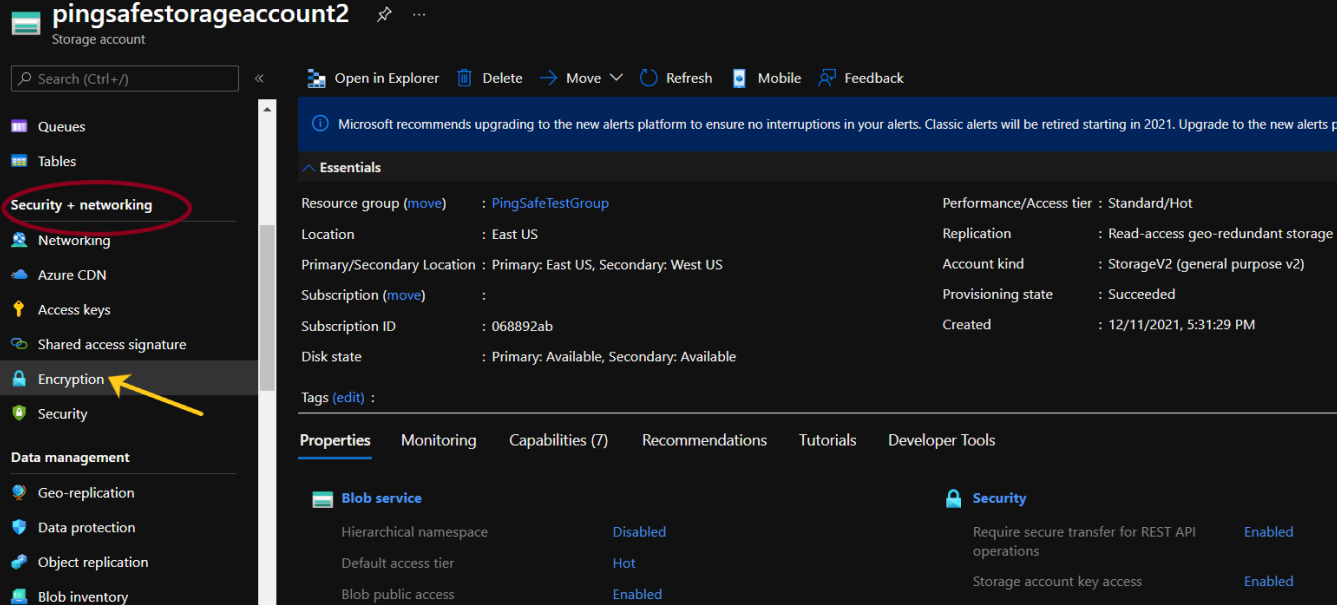
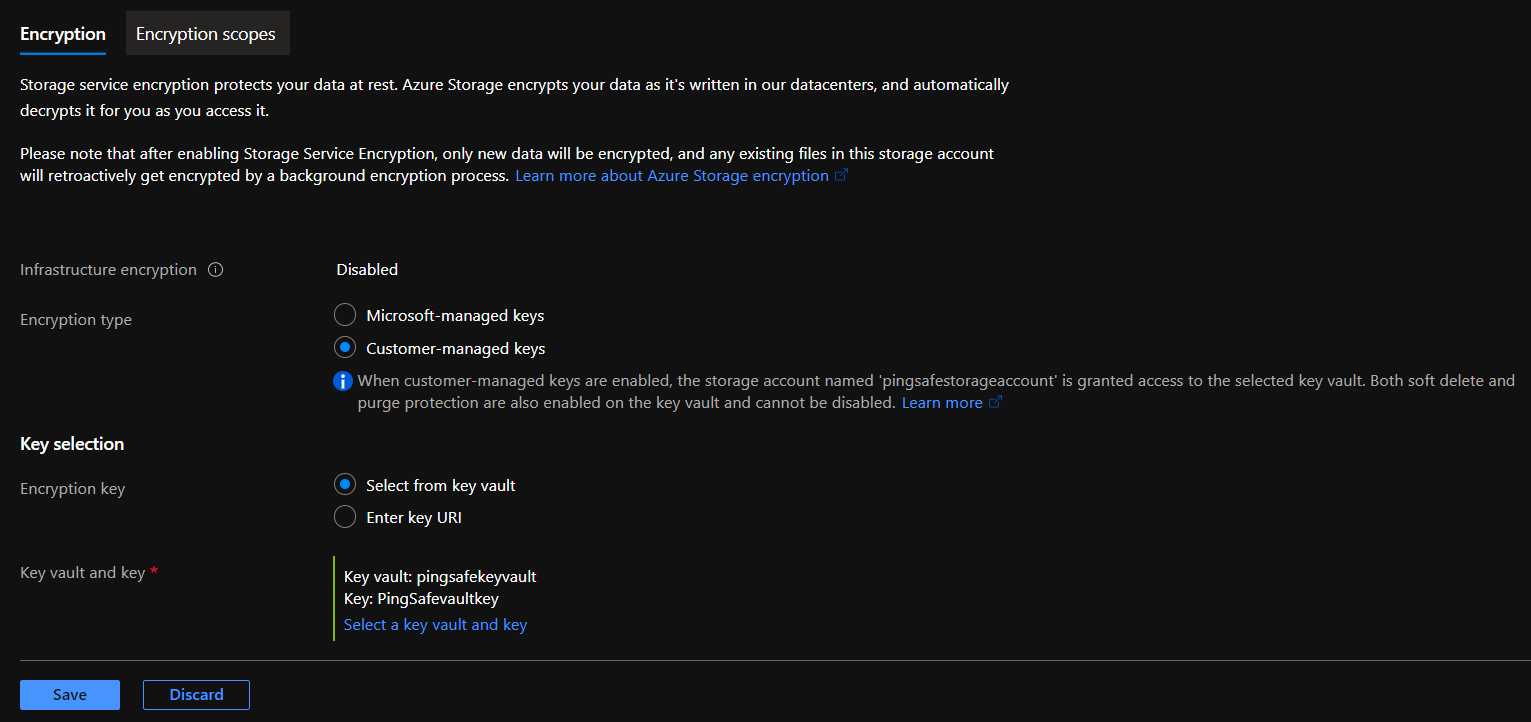
- From the navigation bar, select Encryption from Security+networking.
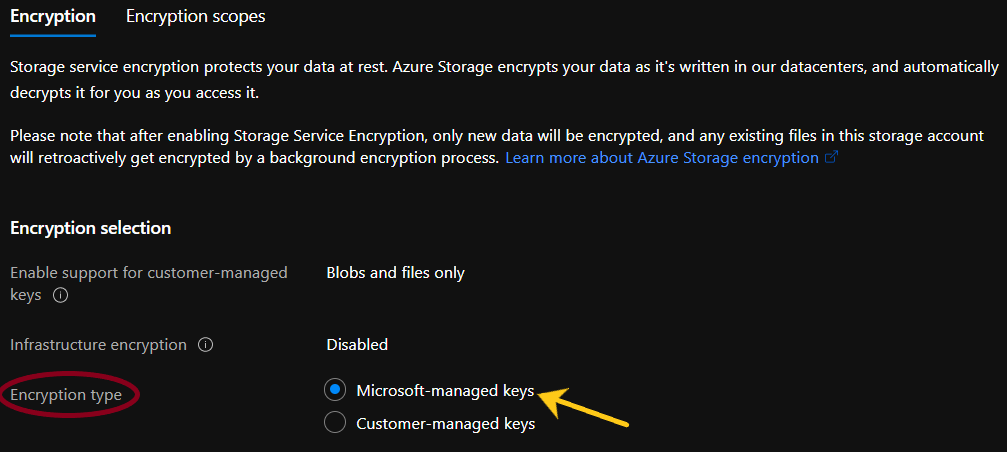
- From here we will check for two things,
- If Infrastructure encryption is set to "disabled", check the Steps to remediation section.
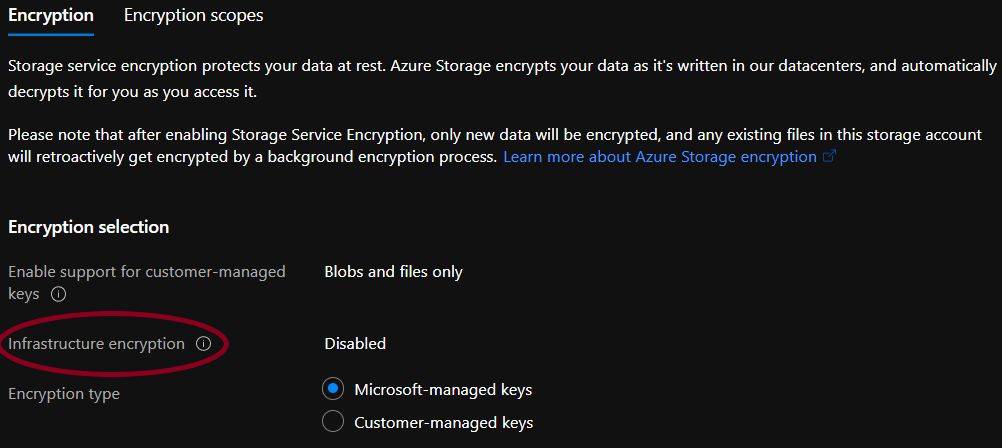
- Check the value set for the Encryption type, if it is set to ‘Disabled’, check the Steps for Remediation under the document.
- If Infrastructure encryption is set to "disabled", check the Steps to remediation section.
- Repeat the process for other accounts as well.
Steps for Remediation
- Log in to the Azure portal.
- Click on Storage accounts for Services.
- Select any one of the provided accounts to check for the policy.
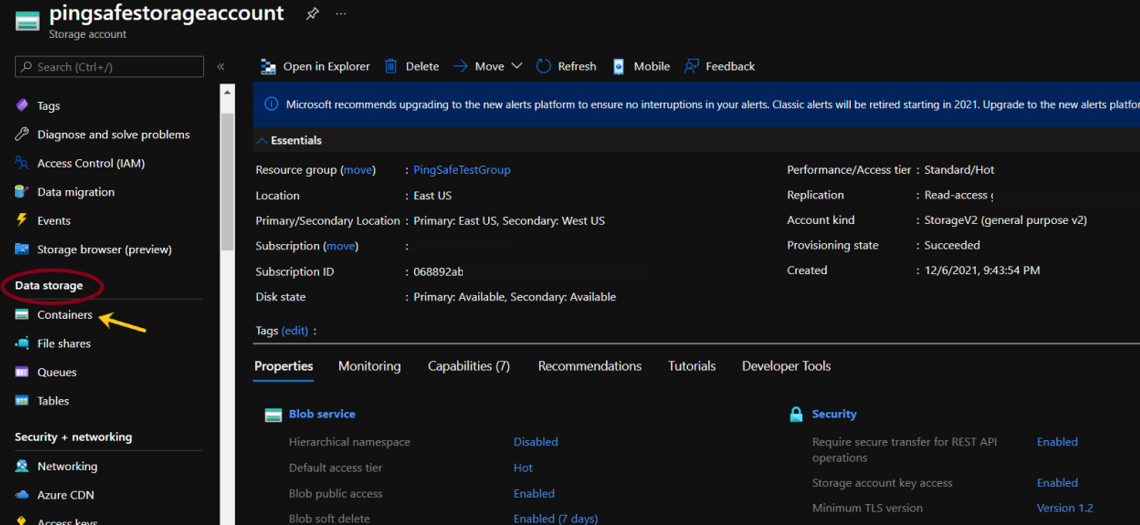
- From the navigation bar, select Containers from Data storage.
- Since Infrastructure Encryption can only be enabled during the creation. Users will have to create a new blob container and then push the blobs there. After filling the Basics section for storage account creation, to enable the Infrastructure Encryption, go to the Advanced section. Select the “Enable Infrastructure Encryption” option, configure all the other requirements and click on Review + create.
- Change encryption type to “Customer-managed keys” in front of Encryption type. Now, in the Encryption key under Key selection select “Select from key vault”. From Key vault and key go to “Select a key vault and key”.

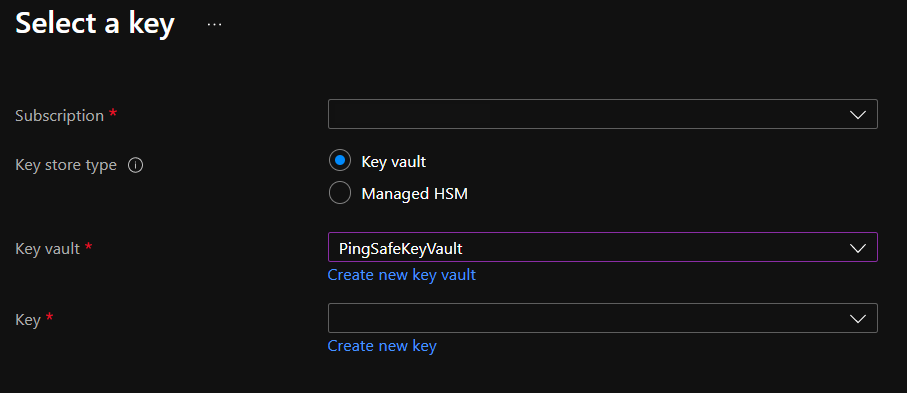
- The Select key window will appear. Click on “Key vault” for Key Store type. Select the vault to be associated with the generated key.
- Click on “Create new key” in front of the Key option. Select required configurations and click on create.
- Click on Select and then Save.
- Repeat the process for other accounts as well.
References:
https://docs.microsoft.com/en-us/azure/storage/common/storage-service-encryption
Please feel free to reach out to support@pingsafe.ai with any questions that you may have.
Thanks
PingSafe Support