
Risk Level: Medium
Description:
This plugin guarantees that the Azure Virtual Network Managed NAT (Network Address Translation) Gateway service is enabled for Virtual Network. Virtual Network NAT is a network address translation (NAT) solution that is completely controlled and extremely robust. Outbound Internet access for virtual networks is made easier using VNet NAT. When setup on a subnet, the VNet NAT's static public IP addresses are used for all outbound communication.
PingSafe strongly recommends enabling Virtual Network NAT gateway for Virtual Networks.
About the Service :
The Azure Virtual Network (VNet) is the most basic component of your Azure private network. Many types of Azure resources, such as Azure Virtual Machines (VM), can connect securely with one other, the internet, and on-premises networks, thanks to VNet. Azure resources can securely connect with one other, the internet, and on-premises networks thanks to the Azure virtual network.
Impact :
Outbound Internet connections from subnets in a virtual network may be made using Azure NAT Gateway services. The Source Network Address Translation (SNAT) connections from resources utilising the NAT gateway are enabled by the NAT gateway. Standard SKU public IP addresses and public IP prefixes are supported by the NAT gateway.
Steps to Reproduce :
- Sign in to your Azure portal with your Azure account.
https://portal.azure.com/#home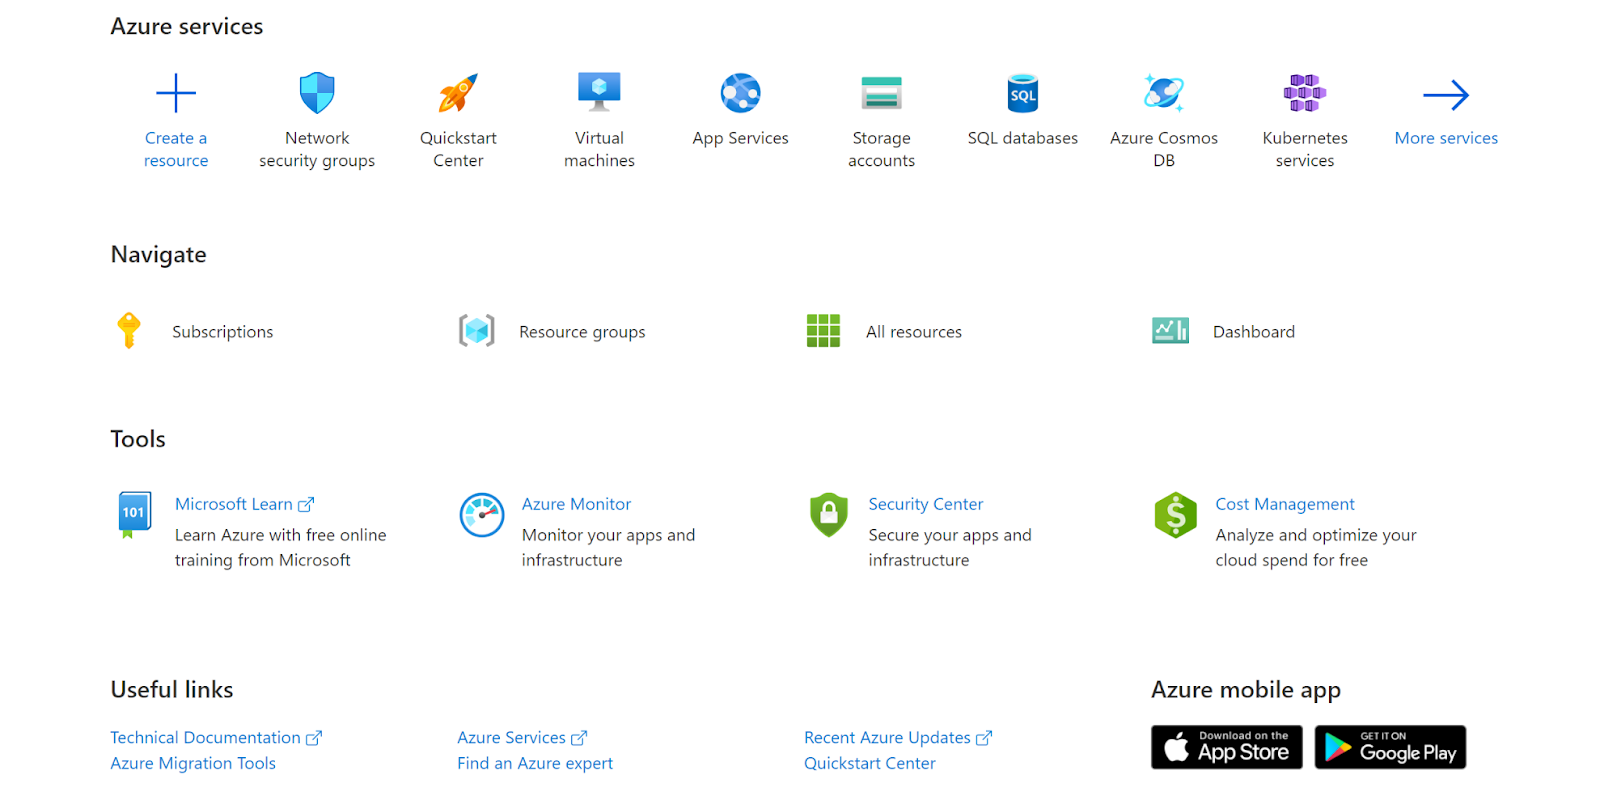
- Navigate to Azure’s All Resources.
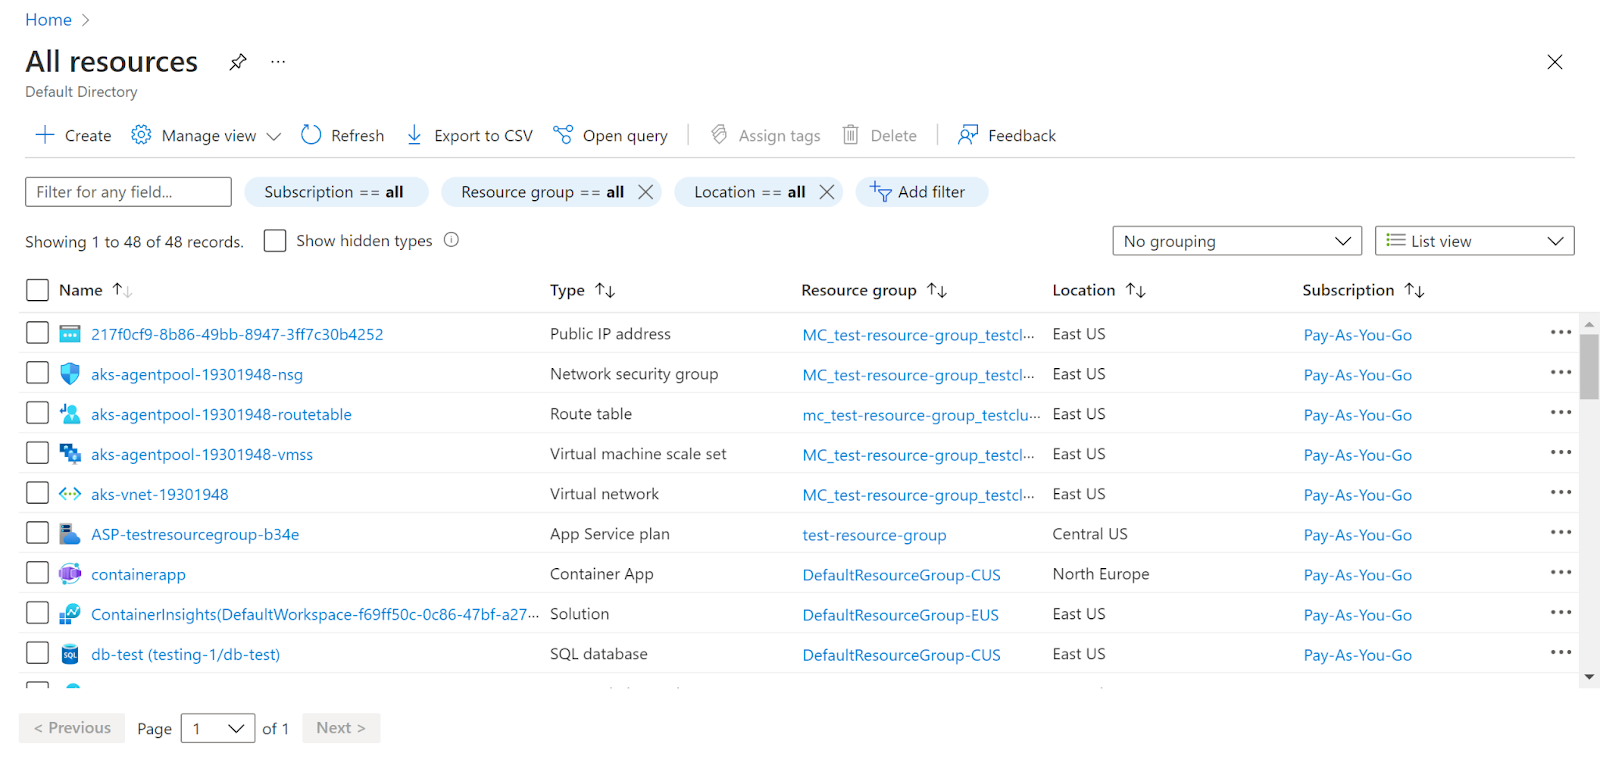
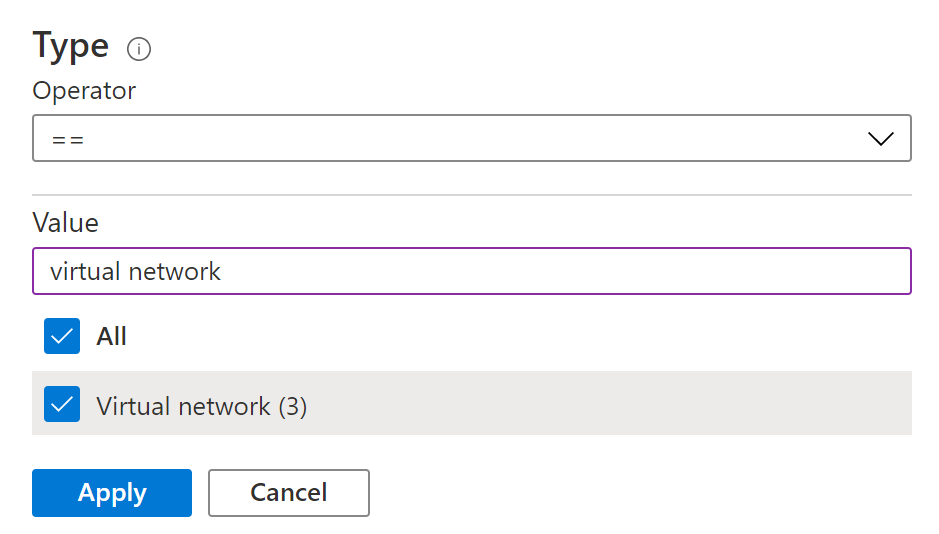
- In the Type filter select the value as Virtual Network and click Apply.
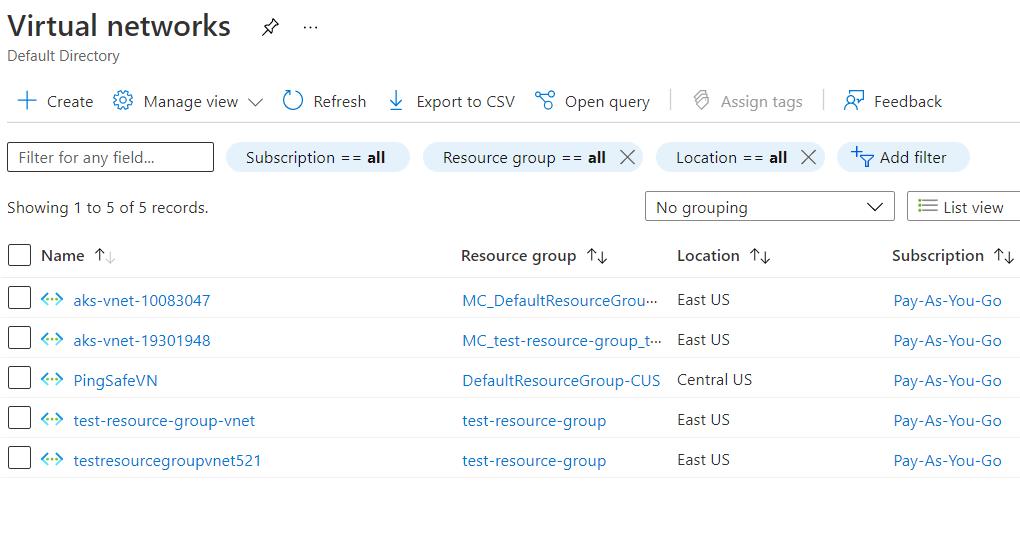
- Next, select the virtual network that you want to examine.
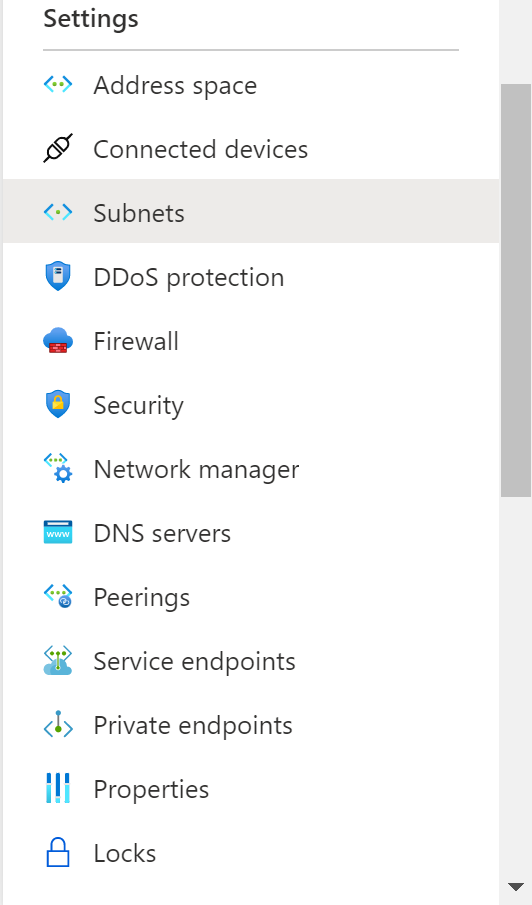
- Click on Subnets under Settings.
- Now, select the subnet.
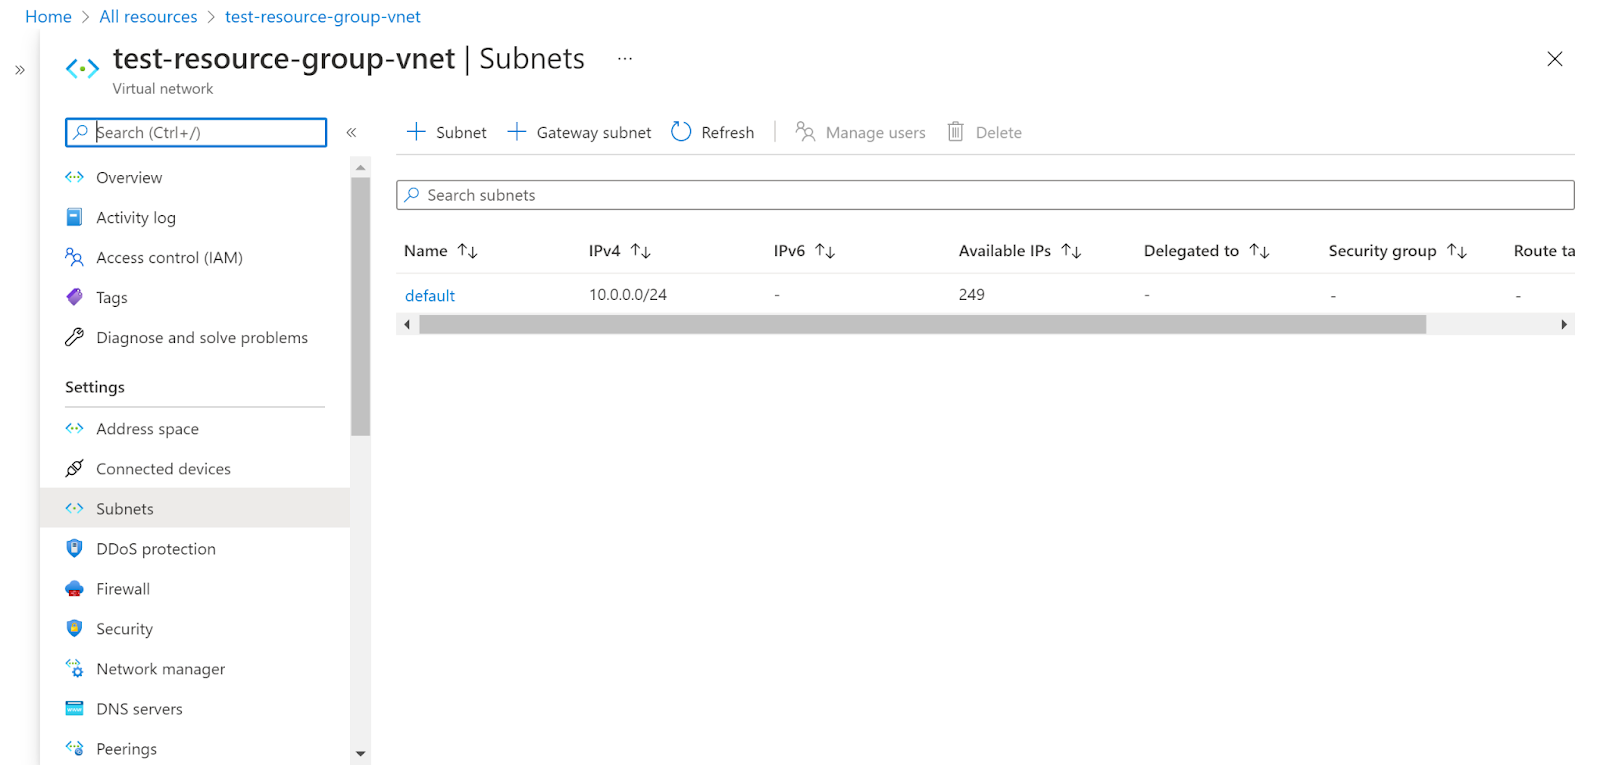
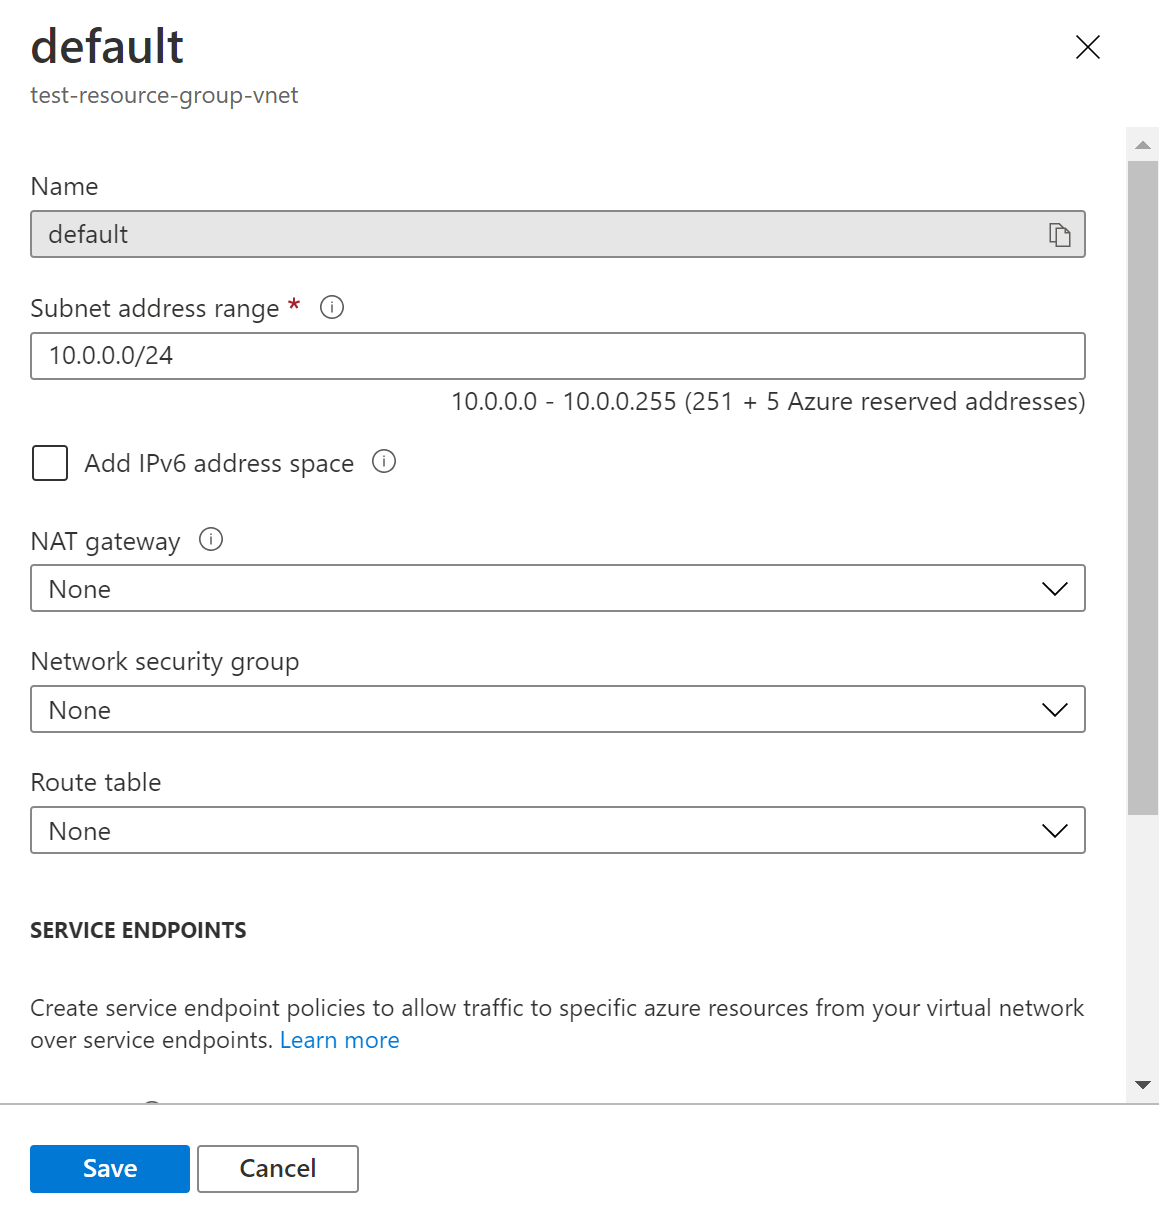
- Check the NAT Gateway section. If the NAT Gateway section is empty/None for none of the Subnets in the Virtual Network, the vulnerability exists.
- Repeat the same steps for other virtual networks as well.
Steps for Remediation :
- Sign in to your Azure portal with your Azure account.
https://portal.azure.com/#home - Navigate to Azure’s All Resources.
- In the Type filter select the value as Virtual Network and click Apply.
- Next, select the virtual network that you want to examine.
- Click on Subnets under Settings.
- Now, select the subnet.
- Check the NAT Gateway section. If the NAT Gateway section is empty/None for none of the Subnets in the Virtual Network, the vulnerability exists.
- Click on the NAT Gateway and select the existing NAT Gateway and click on Save.
- Note: If an error comes, then first create a NAT Gateway and associate it with the Virtual Network

- Repeat the same steps for other virtual networks as well.
References :
Please feel free to reach out to support@pingsafe.com with any questions that you may have.
Thanks
PingSafe Support