
This plugin ensures if the data on Machine Learning (ML) storage volumes attached to your AWS SageMaker notebook instances are encrypted.
Risk Level: Medium
Description:
This plugin ensures if the data on Machine Learning (ML) storage volumes attached to your AWS SageMaker notebook instances are encrypted. This functionality is essential in order to meet regulatory requirements and protect the SageMaker data at rest.
About the Service :
AWS SageMaker is a fully-managed ML instance that runs the open-source Web application Jupyter Notebook.SageMaker is an AWS service that allows developers and data engineers to design, train and deploy machine learning models fast and simply at all levels.
Impact :
In case, the Sagemaker fails to encrypt the data it will create a hindrance and the unauthorized entities may be able to get authorization. Furthermore, the other consequence of the unencrypted Sagemaker notebook is failing to meet the regulatory requirements and also the inability to protect the Sagemaker data at rest.
Steps to reproduce :
- Log In to AWS Console.
- Navigate to the dashboard of the Sagemaker Service.

- Choose Notebook Instances under the Notebook section.
- From the list of Notebook Instances, select the one you want to examine.
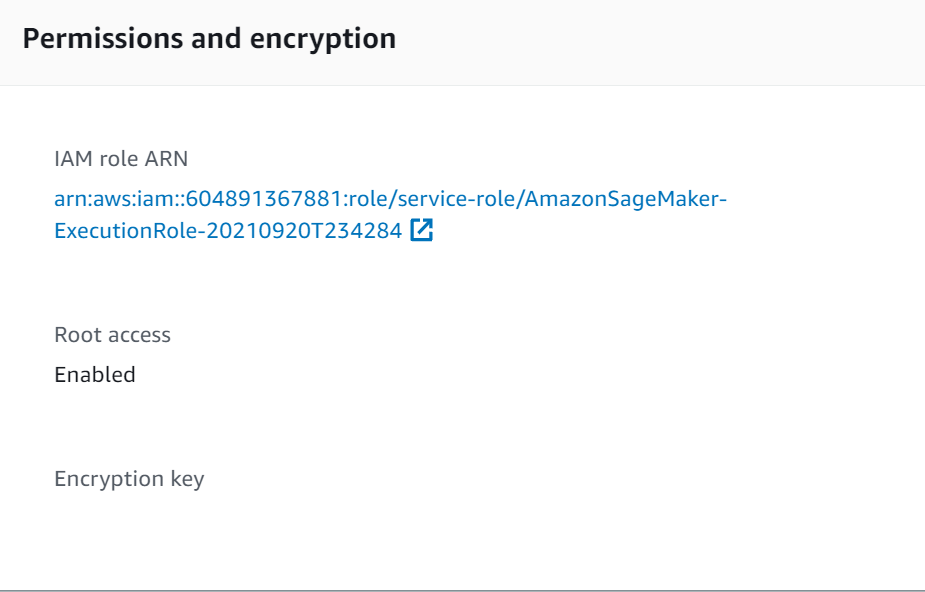
- On the selected Instances Configuration page, check the Encryption key attribute value under Permissions and Encryption.
- If there is no value assigned to the Encryption key then the data at rest encryption is not enabled.
Steps for remediation :
- Log In to AWS Console.
- Navigate to the dashboard of the Sagemaker Service.
- Choose Notebook Instances under the Notebook section.
- In order to enable data encryption for an existing AWS SageMaker notebook instance, we need to re-create the notebook instance with the required encryption settings.
- Click Create Notebook instance button from the top right corner to start the setup process.
- Perform the required function on the Create Notebook instance page.
- Next in the tags options mention the required tags and click on Create Notebook instance to launch the new instance.
- Next move to the Notebook Instance tab to delete the necessary SageMaker instance.