
Risk Level: Medium
Description
This plugin guarantees that the Azure virtual machines are arranged to utilize standard SSD disk volumes rather than premium SSD disk volumes for managed disks. Azure standard SSD disks store information on solid-state drives (SSDs), like Azure's current premium storage disks. Standard SSD disks are a cost-effective choice improved for jobs that need steady execution at lower IOPS levels.
About the Service
Azure Virtual Machine:
Azure Virtual Machines (VM) is one of several forms of scalable, on-demand computing resources offered by Azure. VMs are typically used when you require more control over the computing environment than the other options provide. This article explains what you should think about before creating a virtual machine, how to construct one, and how to administer one. For more information, click here.
Impact
Supplanting Premium SSD plate volumes with Standard SSD volumes for your Microsoft Azure virtual machines addresses a productive methodology for reducing down VM stockpiling expenses while keeping a decent I/O execution. Except if you are running crucial applications or execution delicate responsibilities that need in excess of 6000 IOPS or 750 MiB/s of throughput per VM circle volume, PingSafe prescribes changing your Premium SSD volumes over to Standard SSD to bring down the expense of your Azure month to month bill.
Steps to Reproduce
In order to determine, if your Azure Cloud VM instances are using Premium SSD OS Disk volumes, follow the steps given below:
Using Azure Console-
- Firstly, sign in to the Azure Management Console with your registered organization email address.
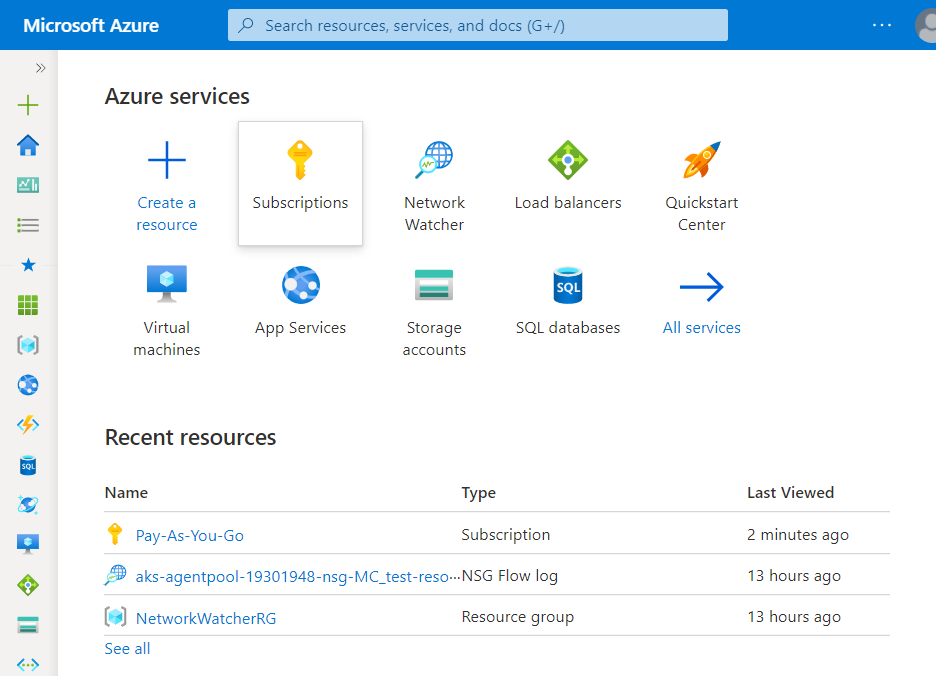
- Under Azure Services, choose Subscriptions.
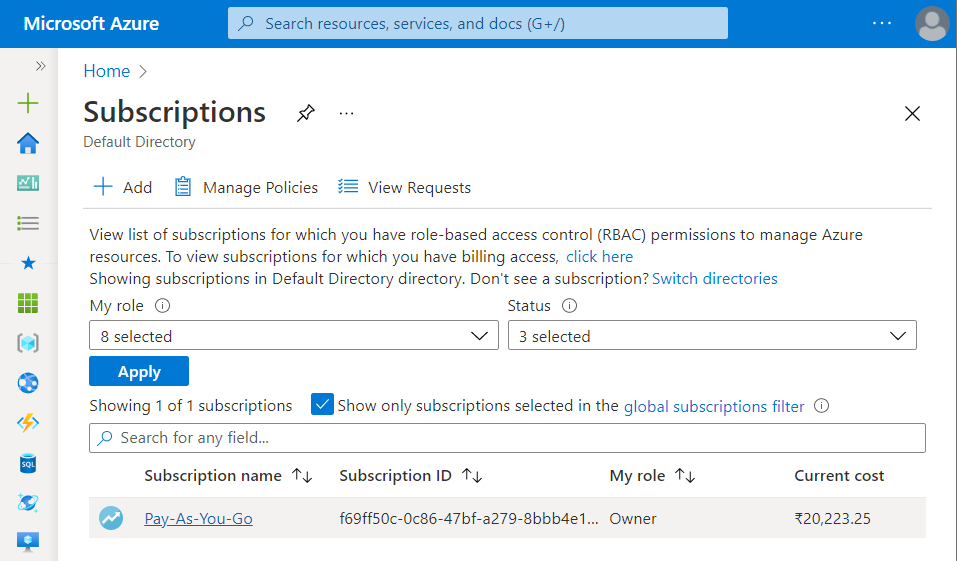
- A new Subscription page will be opened up. Choose the subscription for which the issue has to be examined.
- Now, in the Filter Type Box, search for Virtual Machines.
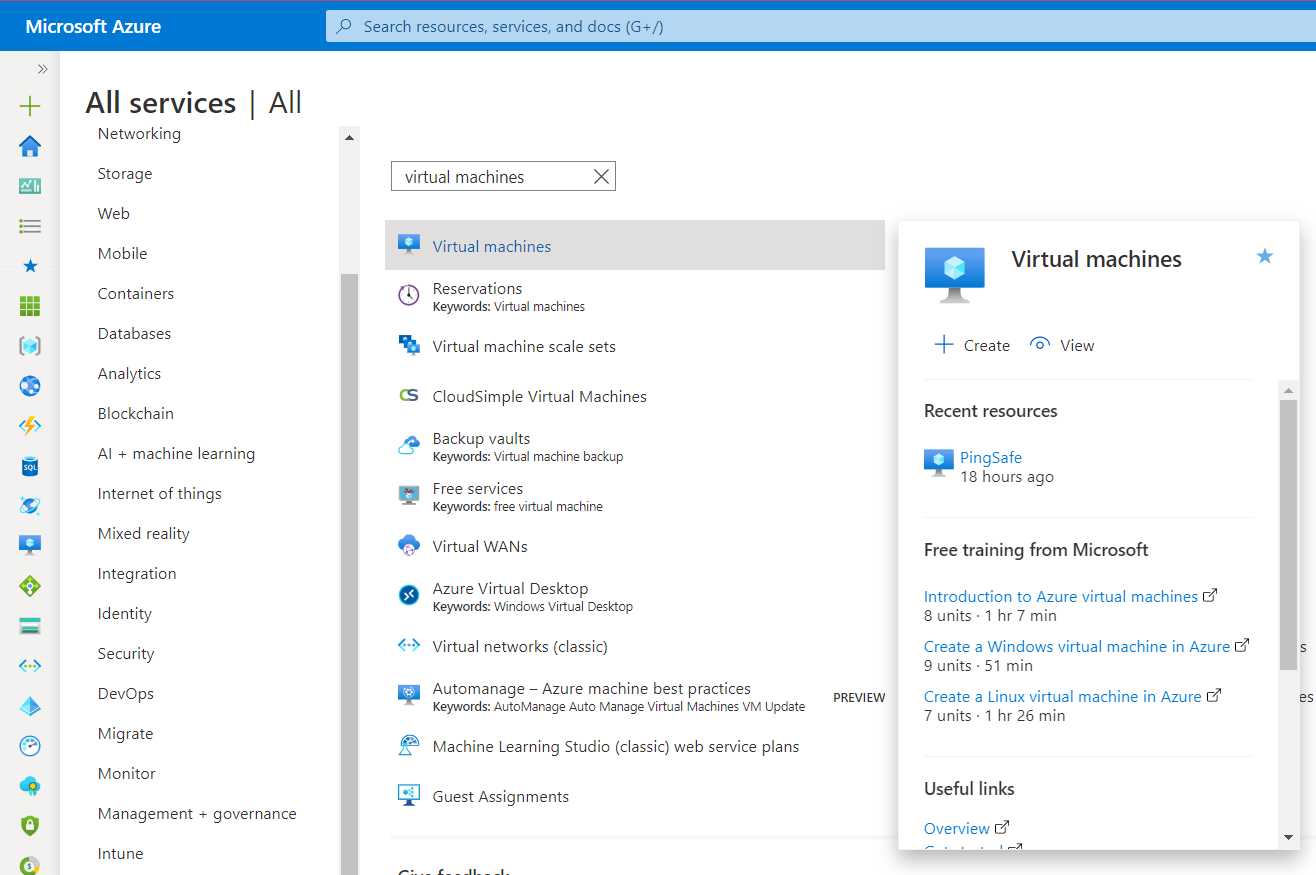
- Click on the Virtual Machines nav link. A list of all the virtual machines (VMs) in your selected subscription will be displayed on the screen.
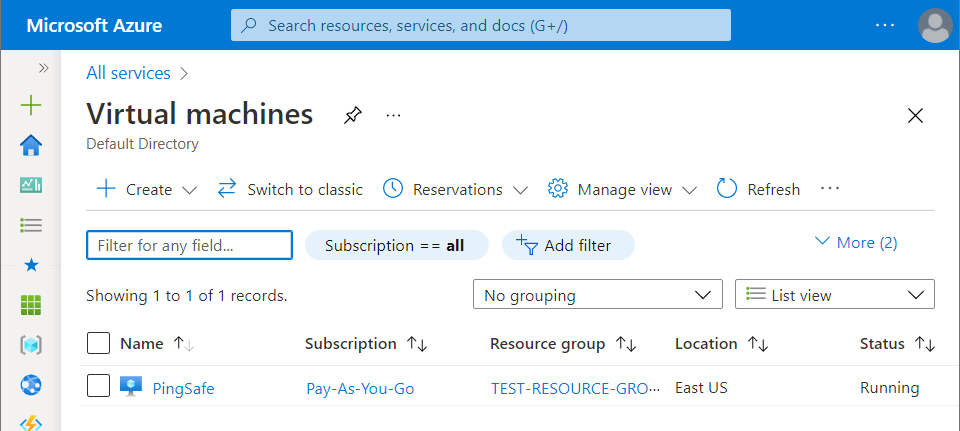
- Click on the Name of the Virtual Machine, for which you want to examine.
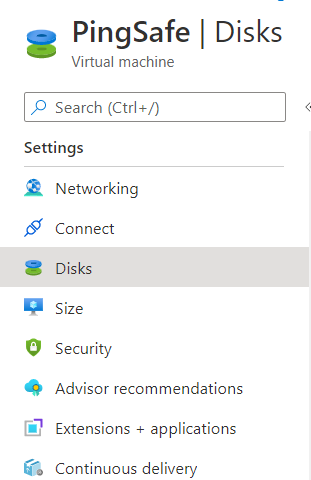
- A detailed view of your selected virtual machine will be displayed. Now, in the navigation panel, under the Settings, click on the Disks blade.
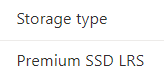
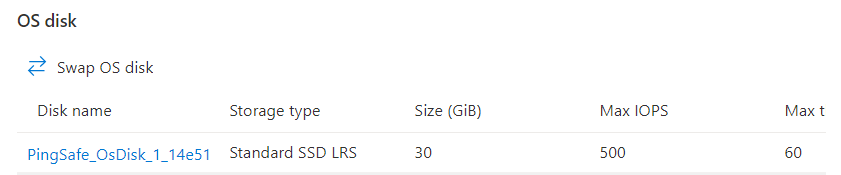
- A Disks Overview page will appear for the selected VM. Now, under the OS Disks category check for the disk Storage Type column, if it is set to Premium SSD LRS.
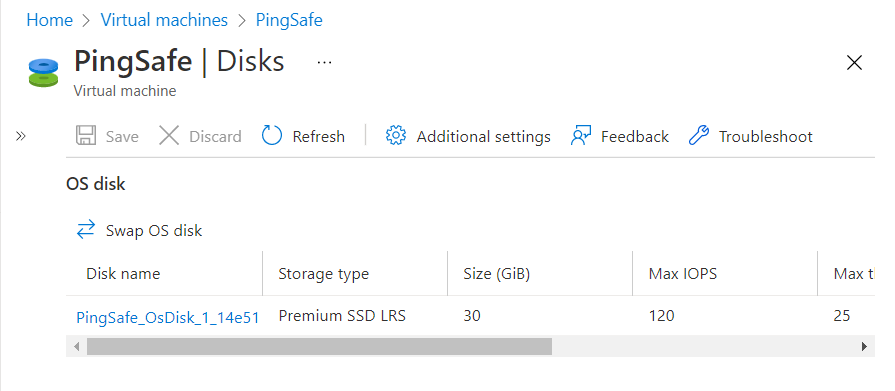
- If in case, the Storage Type is Premium SSD LRS, then the selected Azure Virtual MAchine is using Premium SSD OS Disk volumes. Hence, it is vulnerable to cost issues.
- Follow the steps above, for other Azure Virtual Machines (VMs) in the current subscription as well as in other subscriptions in your Azure Cloud.
Steps for Remediation
In order to change the storage type configuration from Premium SSD to cost-effective Standard SSD, in selected VM for your Azure cloud account, follow the steps given below:
Using Azure Console-
- Firstly, sign in to the Azure Management Console with your registered organization email address.
- Under Azure Services, choose Subscriptions.
- A new Subscription page will be opened up. Choose the subscription for which the issue has to be examined.
- Now, in the Filter Type Box, search for Virtual Machines.
- Click on the Virtual Machines nav link. A list of all the virtual machines (VMs) in your selected subscription will be displayed on the screen.
- Click on the Name of the Virtual Machine, for which you want to examine.
- A detailed view of your selected virtual machine will be displayed. Now, in the navigation panel, click on the Overview blade, in the left navigation panel.
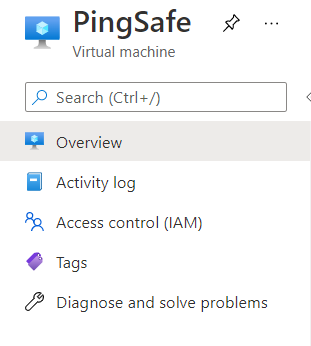
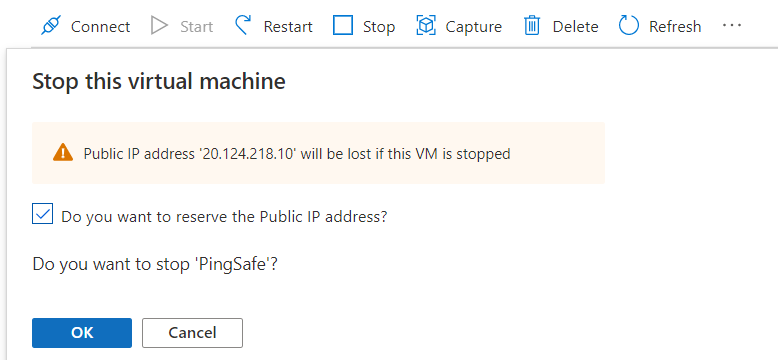
- Now, on the Overview page, click on the Stop option available at the top nav bar to stop the current virtual machine.

- Click on the Yes/Ok button to confirm your selection.
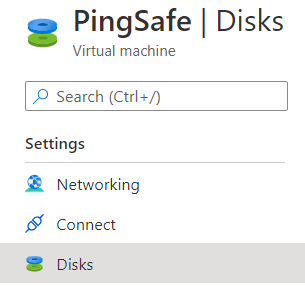
- In the left navigation panel, click on the Disks blade under the Settings category.
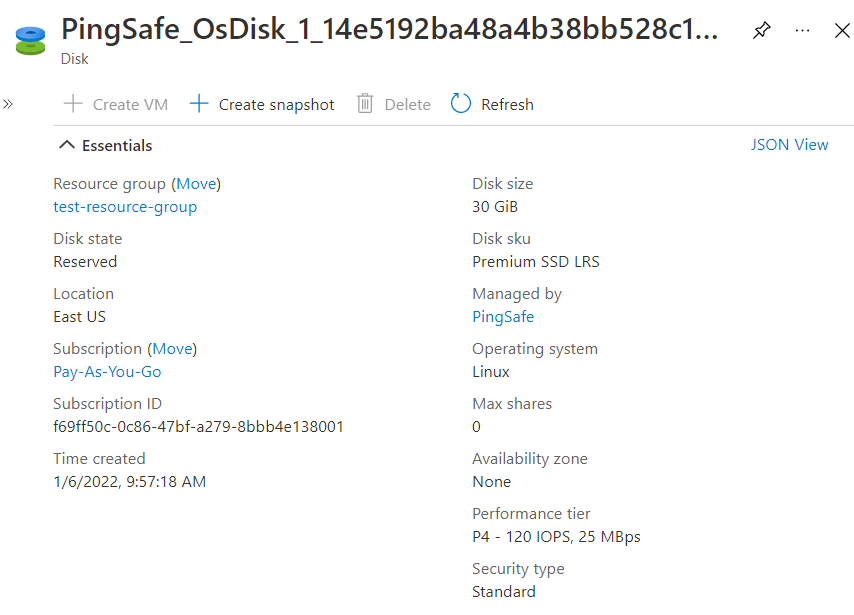
- Under the OS Disks, select the name of the disk with Premium SSD storage type, identified under the steps to reproduce. A configuration page will be opened up.
- In the left navigation panel, click on the Size + Performance blade under the Settings category.
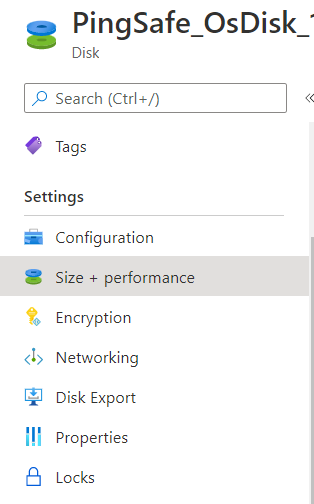
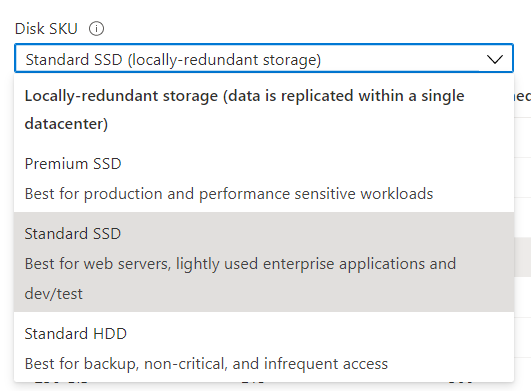
- On the Size + Performance page, select the Standard SSD from the Account Type dropdown list to change the storage type for the selected disk volume to Standard SSD. Click on the Save/Resize button to apply the configurations.
- Now, go back to the Azure Virtual Machine, select the Overview option from the left navigation panel.
- Now, on the Overview page, click on the Start option available at the top nav bar to stop the current virtual machine.

- You may now check the storage type column of the selected disk, it should now show Standard SSD LRS under the Storage Type column.
- Follow the steps above, for other Azure Virtual Machines (VMs) in the current subscription as well as in other subscriptions in your Azure Cloud.