
Risk Level: High
Description
This plugin ensures queues do not allow full write, delete, or read ACL permissions. Queues can be configured to allow objects to read, write or delete. This option should not be configured unless there is a strong business requirement.
About the Service
Storage Accounts: An azure storage account is used to store the customer’s data objects such as files, queues, shares, etc. The storage accounts ensure high availability for the clients and allot a unique namespace for the storage data and are accessible from anywhere around the world using HTTP or HTTPS protocols.
Impact
Providing public access to storage accounts will hamper the system’s confidentiality and raise privacy concerns. Thus, it is suggested that users change the access level from all to selected networks and ensure that only authorized people get hold of the contents.
Steps to Reproduce
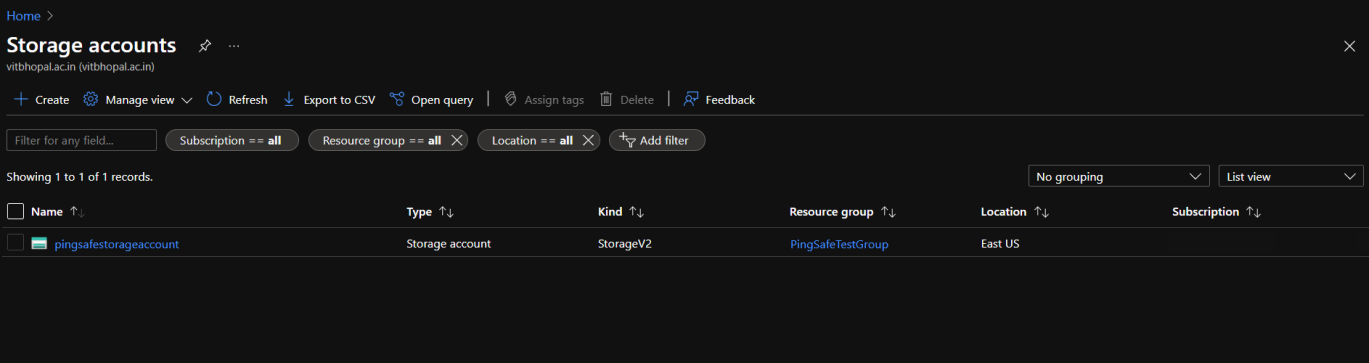
- Log in to the Azure Portal.
- Click on Storage accounts for Services.

- Select an account to check for the issue.
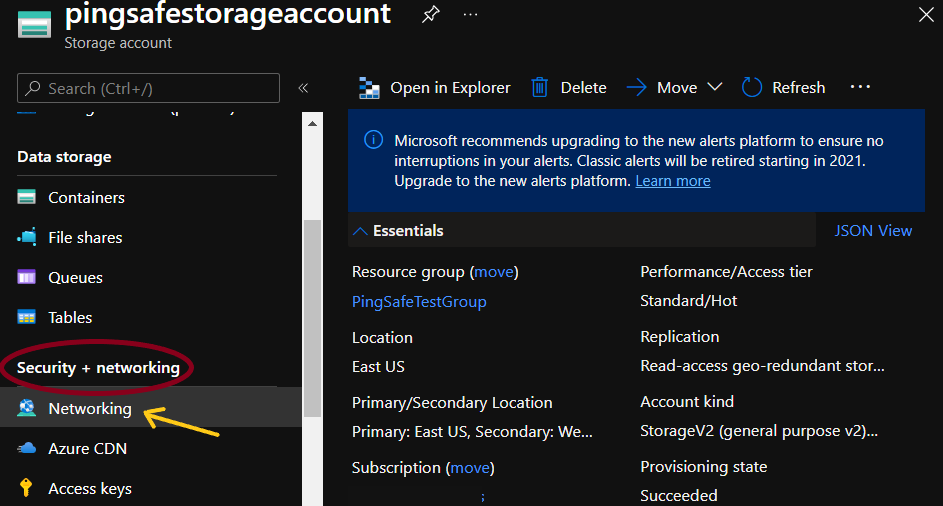
- From the navigation bar, select Networking from Security + networking.
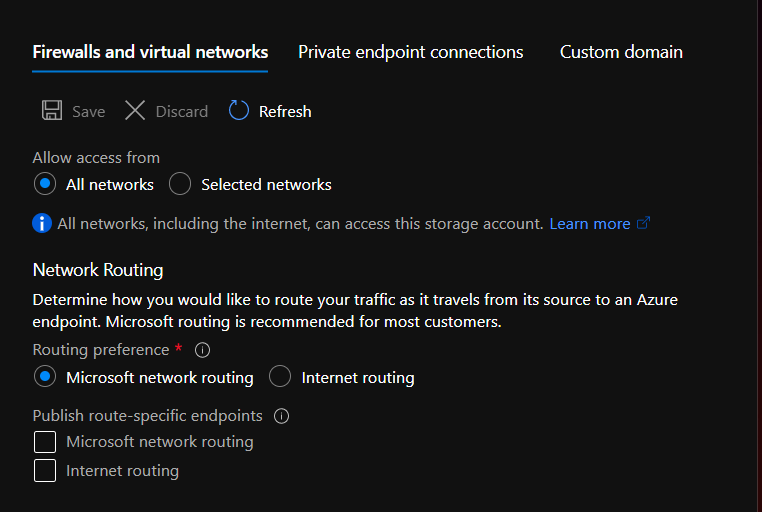
- At Firewalls and virtual networks, if the value is set to “All networks” under “Allow access from”, go to the Steps for Remediation section.
- Repeat the process for other accounts as well.
Steps for Remediation
- Log in to the Azure portal.
- Click on Storage accounts for Services.
- Select an account to remediate the issue.
- From the navigation bar, select Networking from Security + networking.
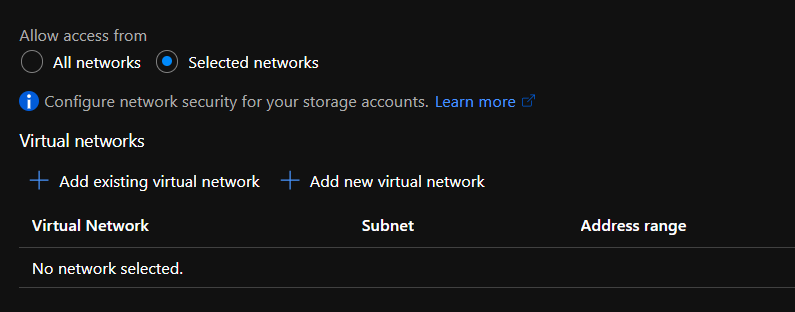
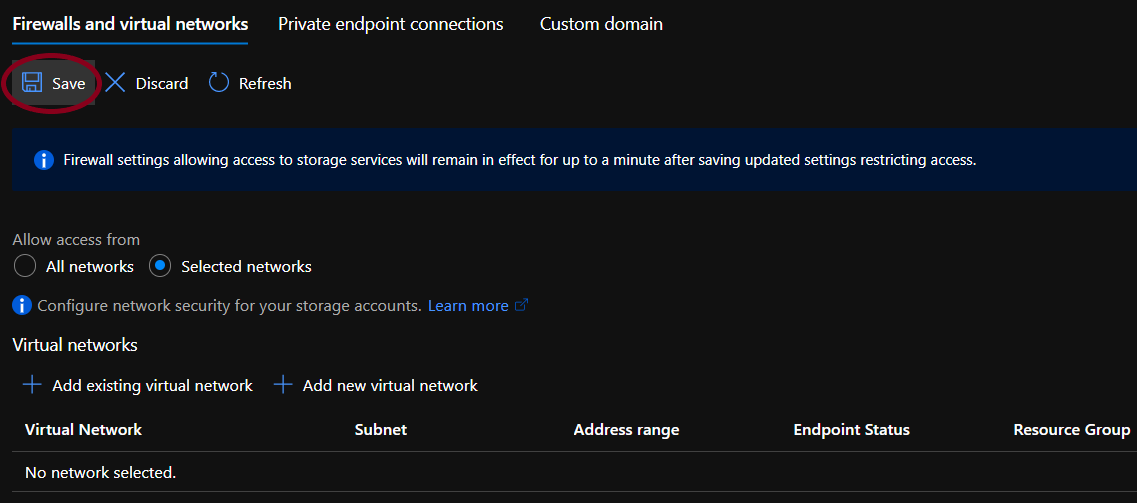
- Under Firewalls and virtual networks, select “Selected networks” under “Allow access from”.
- To configure the virtual networks select +Add existing virtual network or +Add new virtual network.
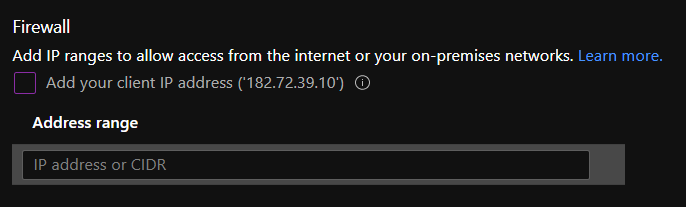
- Under Firewall specify the IP addresses which can access the network from the internet.
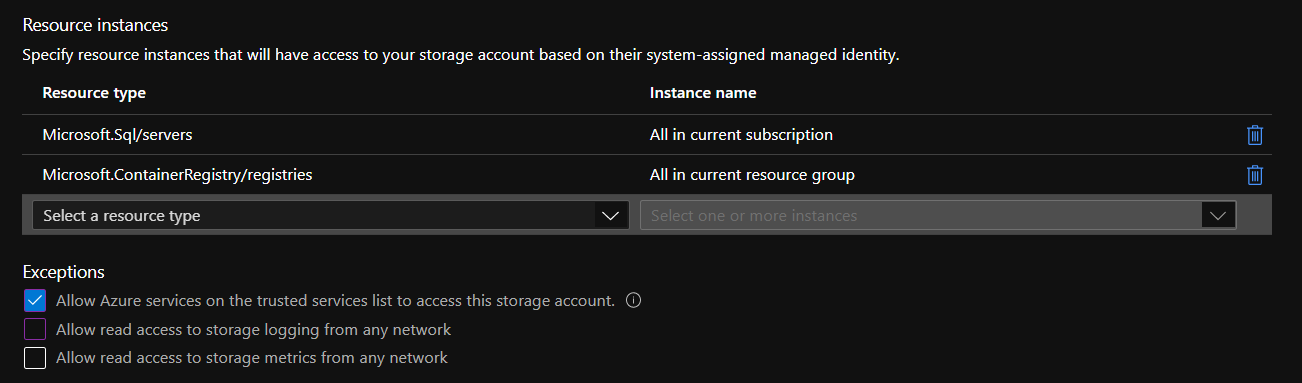
- Under Resource Instances specify the resource type and instance name if required. Then, select suitable exceptions under Exceptions.
- To configure the virtual networks select +Add existing virtual network or +Add new virtual network.
- After configuring all the details click on the Save button given at the top of the page.
- Repeat the process for other accounts as well.