
Risk Level: Low
Description
This plugin ensures that each AWS region has not reached the limit set for the number of Redshift cluster nodes. Amazon Redshift clusters nodes should be of the given limit to ensure internal compliance and prevent unexpected billing charges.
Configuration Parameters
Amazon Redshift Nodes Count: This parameter denotes the cluster node limit per region. An alert is generated if the cluster node increases this limit.
By default, the value is set to 100, therefore it will return a vulnerability if the node count exceeds 100 for a region.
About the Service
Amazon RedShift: Amazon RedShift is a data warehouse with fast and secure data analyzing features. It is a powerful and robust service powered by Amazon to run SQL queries and even deploy ML (Machine Learning) models on the data. For additional monitoring benefits, it also provides access to real time operational analytics.
Impact
It is important to have the desired node limit. Increased number of nodes will improve the performance of your clusters. But, unnecessary increases can lead to high pricing. Therefore, it can result in unexpected billing charges for your account and also disrupt the compliance standards of your infrastructure.
Steps to Reproduce
Using AWS Console-
- Log In to your AWS Console.
- Open the Amazon RedShift Console. You can use this link (https://console.aws.amazon.com/redshiftv2/) to navigate directly if already logged in.
- From the left navigation pane, click on Clusters.
- A list of clusters will be displayed. Select the cluster you want to examine by clicking on it’s Cluster Name.
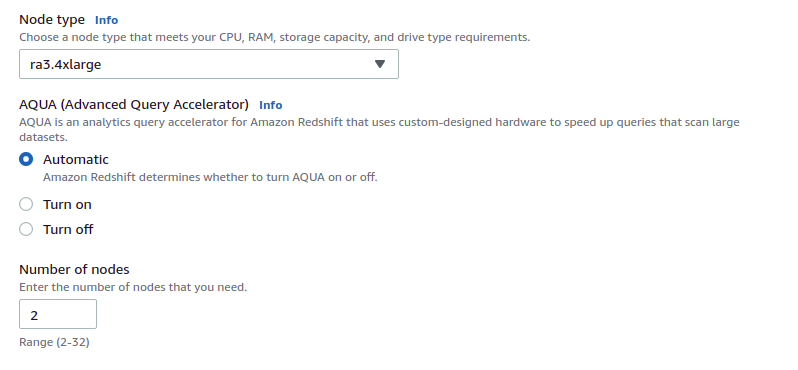
- In the General information section, examine the Number of Nodes.
- Repeat steps for all the clusters in the region. If it exceeds the specified limit, the vulnerability exists.
Steps for Remediation
Remove Redshift clusters over defined limits or set different limits on PingSafe Dashboard.
- Log In to your AWS Console.
- Open the Amazon RedShift Console. You can use this link (https://console.aws.amazon.com/redshiftv2/) to navigate directly if already logged in.
- From the left navigation pane, click on Clusters.
- A list of clusters will be displayed. Select the vulnerable cluster by clicking on it’s Cluster Name.
- From the Actions menu, click on Create Snapshot to make a backup.
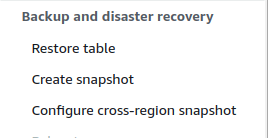
- Specify a new name and retention period. Click on Create Snapshot.

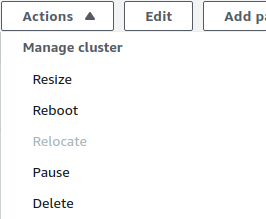
- After the snapshot is created, you can safely delete the vulnerable cluster. Click on Actions and choose Delete. Uncheck the create final snapshot option as we have already created a snapshot for the same.
- Now, create a new cluster with the snapshot saved. Move to the Snapshots section from the Left navigation pane.
- Select the snapshot created by clicking on its Name.
- Click on Restore from snapshot from the top right corner.
- In the Cluster Configuration, choose the new reduced number of nodes.
- Finally, click on Restore Cluster from snapshot to create the cluster.
- Repeat steps 3 to 9 for all the vulnerable clusters.