
This plugin ensures Amazon Redshift clusters are not launched into the public cloud.
Risk Level: High
Description
This plugin ensures Amazon Redshift clusters are not launched into the public cloud. A private connection can be established between the Amazon Redshift and the VPC. Your VPC routes the traffic to the specified resource using the strictest, or most specific, network path available. Unless absolutely necessary, Amazon Redshift clusters must not be made public.
About the Service
Amazon Redshift: Amazon RedShift is a data warehouse with fast and secure data analyzing features. It is a powerful and robust service powered by Amazon to run SQL queries and even deploy ML (Machine Learning) models on the data. For additional monitoring benefits, it also provides access to real time operational analytics.
Impact
Whitelisting all the IP addresses and allowing public access to the RedShift cluster can allow anyone over the internet to establish a connection with the database. This can lead to data breaches or data loss. It is highly recommended to establish only a private connection with the Redshift cluster.
Steps to Reproduce
Using AWS Console-
- Log In to your AWS Console.
- Open the Amazon RedShift Console. You can use this link (https://console.aws.amazon.com/redshiftv2/) to navigate directly if already logged in.
- From the left navigation pane, click on Clusters.

- A list of clusters will be displayed. Select the cluster you want to examine by clicking on it’s Cluster Name.
- Move to the Properties tab.

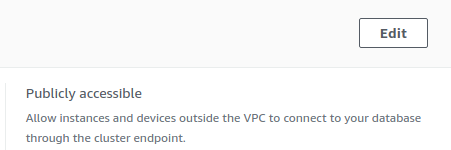
- In the Network and security settings section, check the configuration of “Publicly accessible” value. If it is set to enabled, the cluster is public.
- Repeat steps 3 to 8 for all the clusters you wish to examine.
Steps for Remediation
Remove the public endpoint from the Redshift cluster.
- Log In to your AWS Console.
- Open the Amazon RedShift Console. You can use this link (https://console.aws.amazon.com/redshiftv2/) to navigate directly if already logged in.
- From the left navigation pane, click on Clusters.
- A list of clusters will be displayed. Select the vulnerable cluster by clicking on it’s Cluster Name.
- Move to the Properties tab.
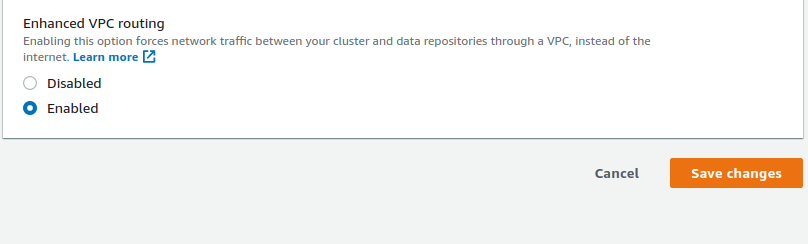
- From the Network and security settings section click on the Edit button at the top right corner.
- Select the option to enable VPC routing. Finally click on Save Changes to modify the cluster.
- Repeat steps 3 to 7 for all the vulnerable clusters.