
Ensure that SQL instances have the automatic storage increase feature enabled.
Risk Level: Low
Description
This plugin ensures that the Cloud SQL DB instances have the Automatic Storage Increase feature enabled. When this option is enabled, Google Cloud SQL will constantly check your storage availability every 30 seconds to see if your storage falls below a certain, specified size. If it does, Cloud SQL automatically adds extra storage as long as required until it reaches the maximum of 64 TB.
About the Service
Google Cloud SQL:
Google Cloud SQL is a relational database for MySQL, PostgreSQL, and SQL Server that is fully managed. It automates database provisioning, storage capacity management, replication, and backups while lowering maintenance costs. It can be set up easily using the built-in migration tools and lets you scale your instances effortlessly. To know more about Cloud SQL, read here.
Impact
If this option is not selected, the instance will go offline if it runs out of storage capacity, and the Cloud SLA will not cover the outage. This has ramifications for all other applications associated with the instance. As a result, turning on this functionality is highly advised to avoid instances falling offline and ensure optimal efficiency.
Steps to Reproduce
Using GCP Console-
- Log In to your GCP Console.
- From the top navigation bar, select the GCP project you want to investigate.

- From the navigation panel on the left side of the console, go to SQL. You can use this link here to navigate directly if you’re already logged in.
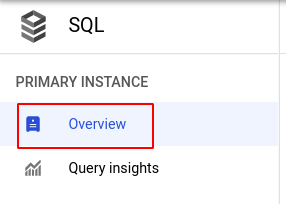
- Select the ID of the SQL instance you want to investigate from the list of instances available and click on the OVERVIEW tab to check the configuration settings of the selected instance.

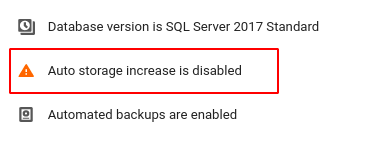
- In the Configuration section, if it says Auto storage increase is disabled then the selected instance needs to be configured to enable it.
- Repeat steps 5 and 6 for all the SQL instances you want to investigate in the selected project.
- If you have multiple projects, repeat steps 2 to 7 for each project in your GCP Console.
Steps for Remediation
Determine whether or not you truly require the automatic storage increase feature to be disabled for your SQL instances. If not, make the necessary changes to enable it using the steps below.
Using GCP Console-
- Log In to your GCP Console.
- From the top navigation bar, select the GCP project you want to investigate.
- From the navigation panel on the left side of the console, go to SQL. You can use this link here to navigate directly if you’re already logged in.
- Select the ID of the SQL instance you want to reconfigure in the list of instances available. (In case you aren’t sure which SQL instance needs to be configured, follow the steps to reproduce listed above to determine which to choose.)
- Go to the OVERVIEW tab and click on the Edit button found on the top navigation bar.

- Under the Storage section, check the Enable automatic storage increases checkbox to enable this feature and click the SAVE button to save all the changes.

- Repeat steps 5 to 7 for all the SQL instances you want to reconfigure in the selected project.
- If you have multiple projects, repeat steps 2 to 8 for each project in your GCP console.