
Risk Level: Low
Description
The plugin checks that ‘Only HTTPs’ is enabled for content transfer to refrain from any request relying on HTTP protocol to reach the storage account. Since HTTPS uses TLS (SSL) to encrypt normal HTTP requests and responses, it is more secure than HTTP protocol.
About the Service
Storage Accounts: An azure storage account is used to store the customer’s data objects such as files, queues, shares, etc. The storage accounts ensure high availability for the clients and allot a unique namespace for the storage data and are accessible from anywhere around the world using HTTP or HTTPS protocols.
Impact
If your storage account contains sensitive data then using HTTP protocol risks data integrity, privacy and security of the content. Transfer of data in plaintext risks content exposure in front of attackers.
Steps to Reproduce
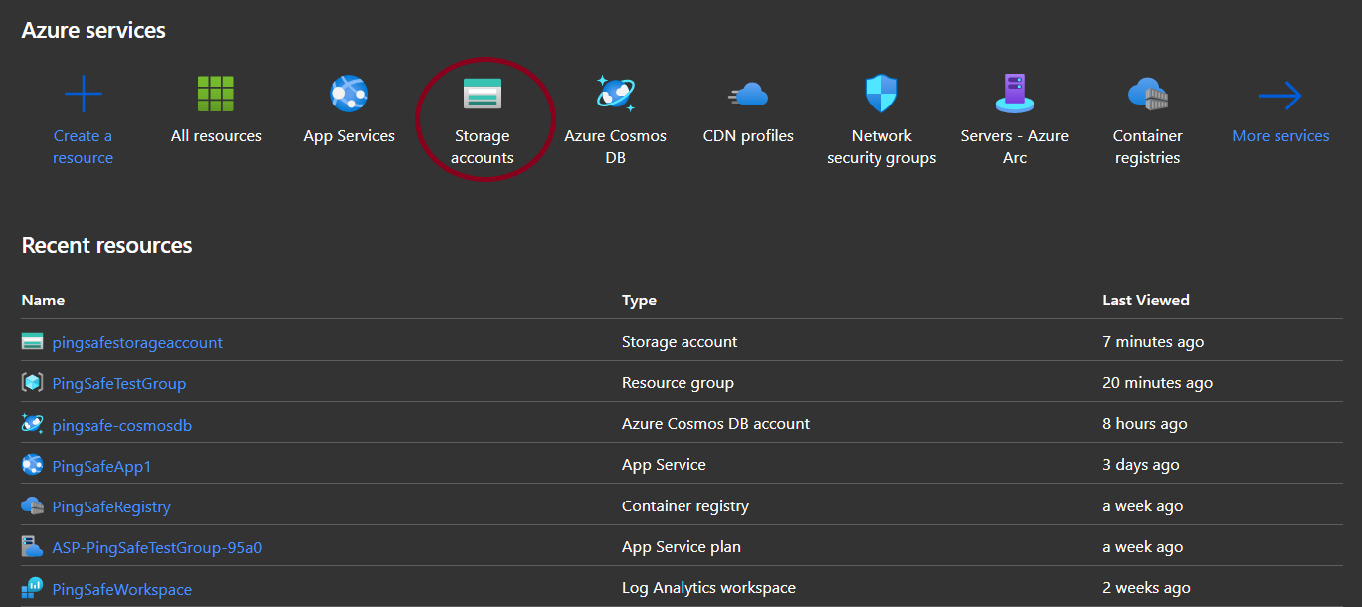
- Log in to the Azure portal.
- Click on Storage accounts for Services.
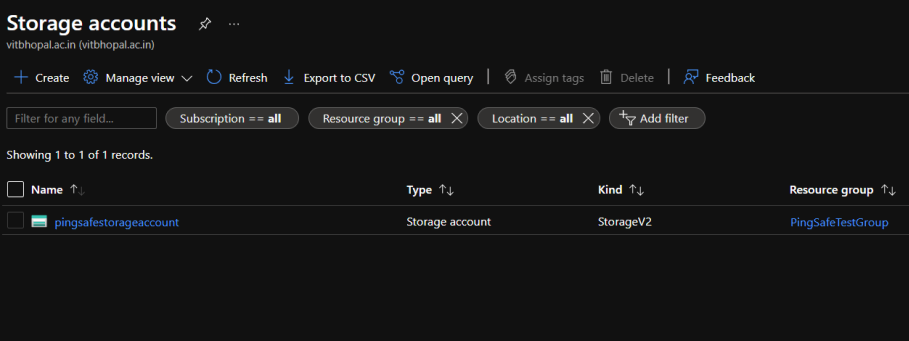
- Select any one of the provided accounts to check for the issue.
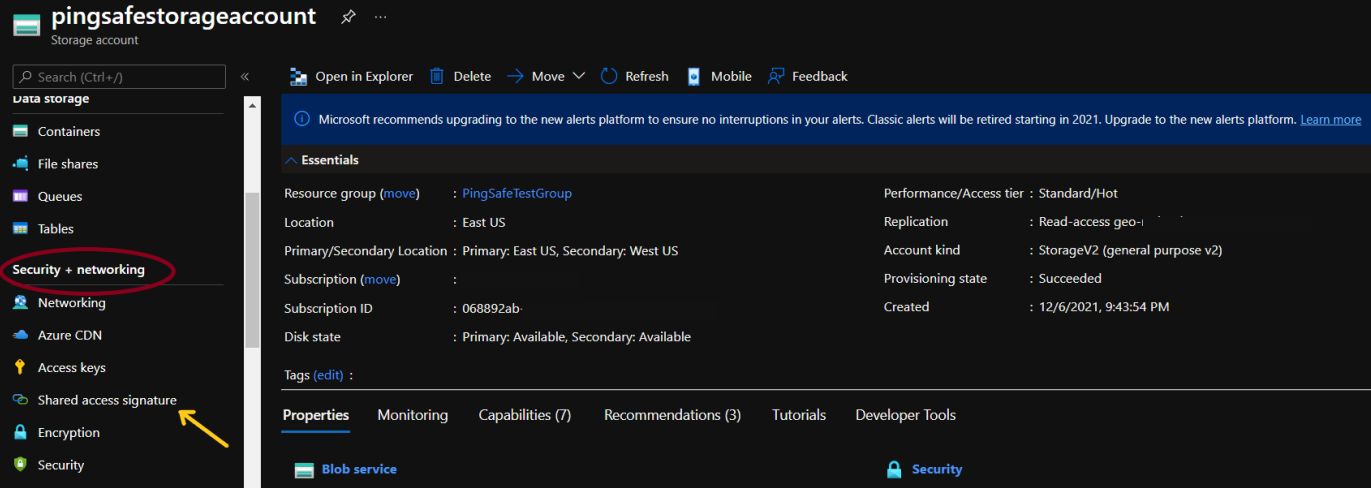
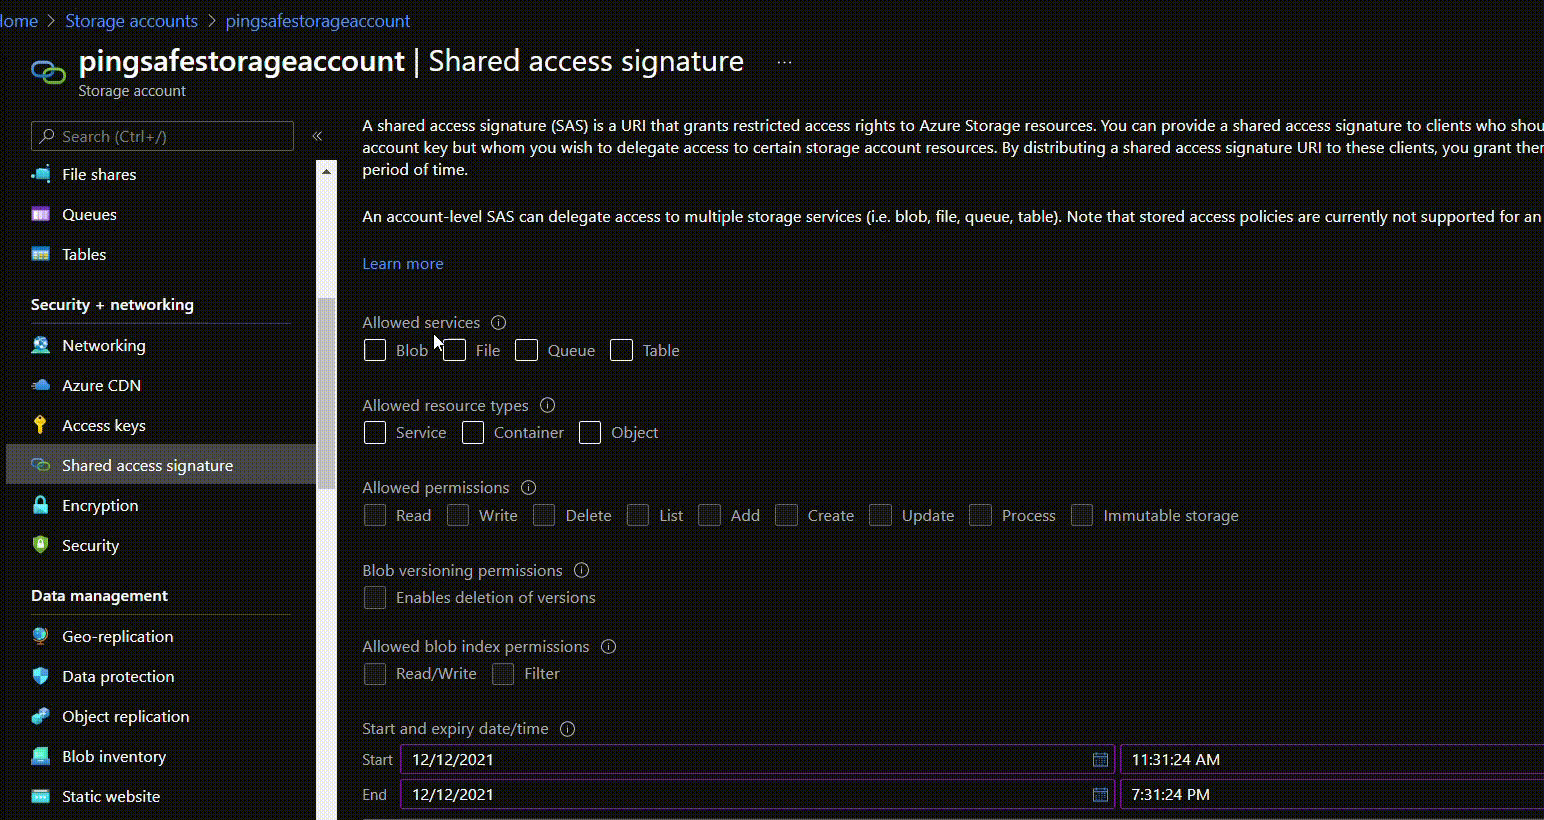
- From the navigation pane, go to Shared access signature under Security + networking.
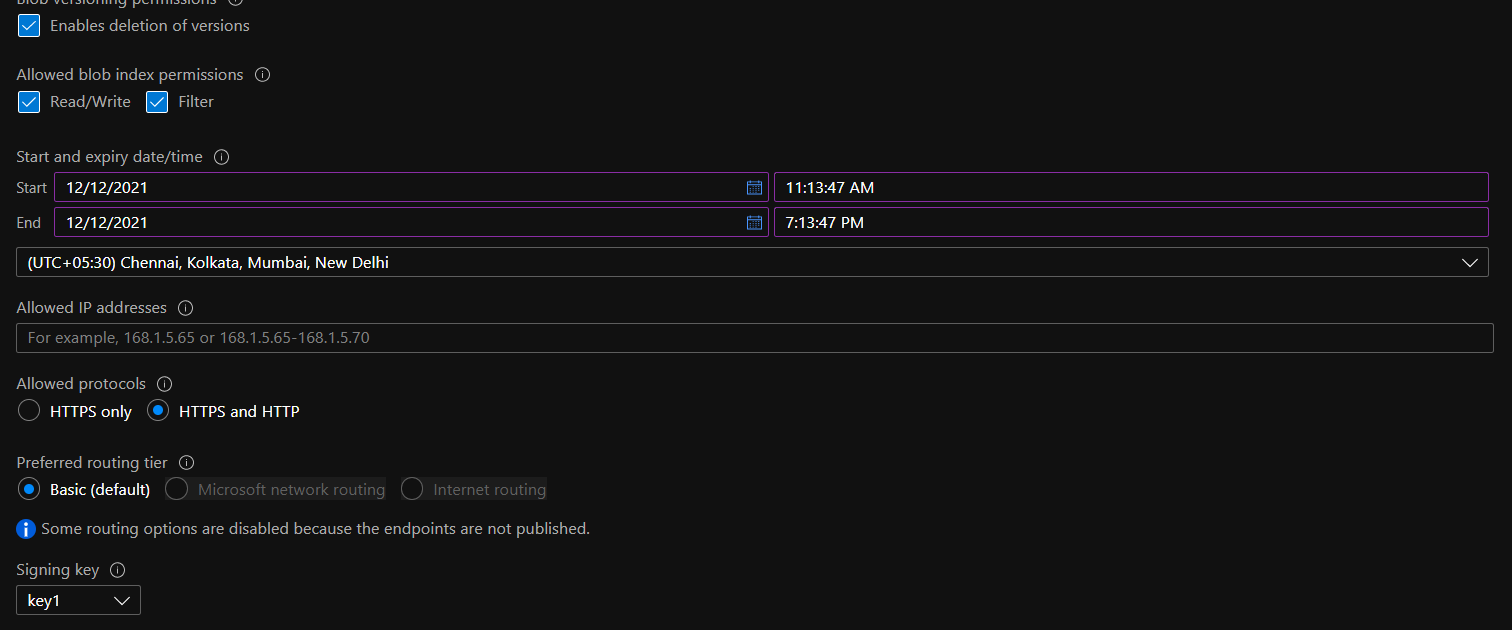
- Under Allowed protocols, if the selected value is set “HTTPS and HTTP”, go to the Steps for Remediation section.
- Repeat for other storage accounts as well.
Steps for Remediation
- Login to azure portal.
- Click on Storage accounts for Services.
- Select any one of the provided accounts to remediate the issue.
- From the navigation pane, go to Shared access signature under Security + networking.
- The Shared Access Signature screen will appear,
- Under Allowed services select required services accessible with account SAS.
- Under Allowed resource types configure the resource types accessible with the account SAS.
- Set the permissions under Allowed permissions.
- To set start and end date and time fill details under Start and Expiry date/time.
- Under Allowed protocols select “HTTPS only”.
- Likewise, fill in all the other details.
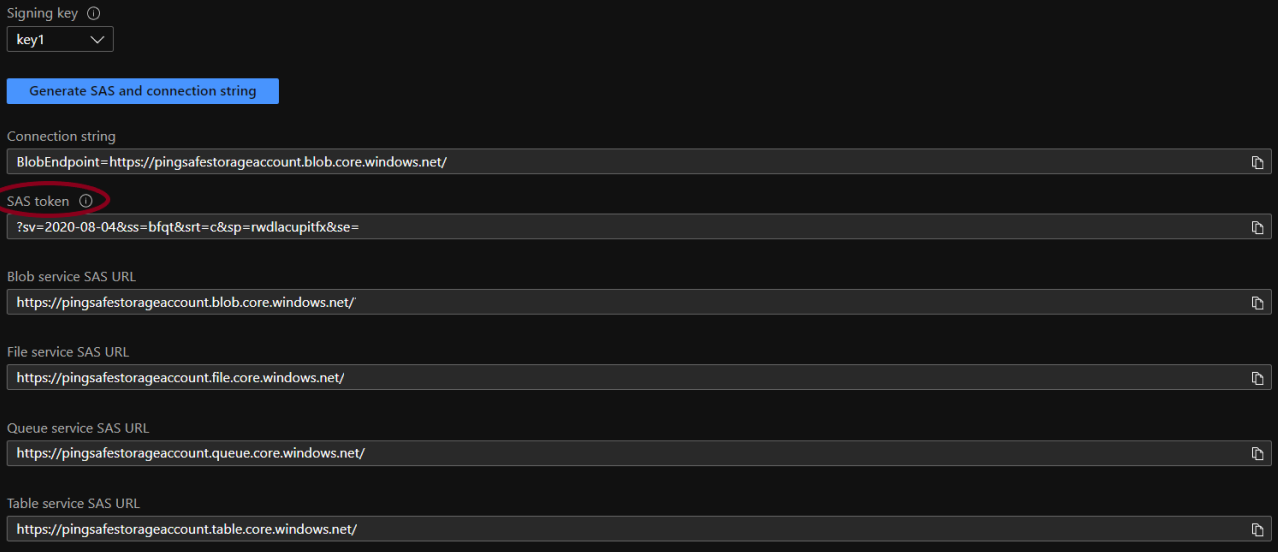
- Click on Generate SAS and connection string once all the details are set.
- After clicking on Generate SAS and connection string, strings and token are generated and copy the SAS token. Replace this newly generated SAS token with SAS token within the SAS URL.
- Repeat the steps for other vulnerable accounts as well.
Please feel free to reach out to support@pingsafe.ai with any questions that you may have.
Thanks
PingSafe Support