
Risk Level: Medium
Description
This plugin guarantees that Azure Active Directory (AD) verification is empowered for virtual machines. Associations can now work on the security of virtual machines (VMs) in Azure by incorporating with Azure Active Directory (AD) confirmation. Enabling Azure Active Directory (AD) confirmation for Azure virtual machines (VMs) guarantees admittance to VMs from one central point and simplifies access permission management.
About the Service
Azure Virtual Machine:
Azure Virtual Machines (VM) is one of several forms of scalable, on-demand computing resources offered by Azure. VMs are typically used when you require more control over the computing environment than the other options provide. This article explains what you should think about before creating a virtual machine, how to construct one, and how to administer one. For more information, click here.
Impact
At the point when you utilize Azure Active Directory (AAD) confirmation for virtual machines, you can make and implement approaches that permit or deny admittance to your VMs from one focal area, improving on the entrance consent of the executives. For instance, you can without much of a stretch repudiate SSH admittance to your VMs when a worker leaves your association simply by debilitating its Active Directory account. Thus, this plugin ensures that Azure Active Directory (AD) authentication is enabled for virtual machines. Organizations can now improve the security of virtual machines (VMs) in Azure by integrating with Azure Active Directory (AD) authentication. Enabling Azure Active Directory (AD) authentication for Azure virtual machines (VMs) ensures access to VMs from one central point and simplifies access permission management.
Steps to Reproduce
In order to determine, if all the VM instances are configured to use Azure Active Directory Authentication, follow the steps given below:
Using Azure Console-
- Firstly, sign in to the Azure Management Console with your registered organization email address.
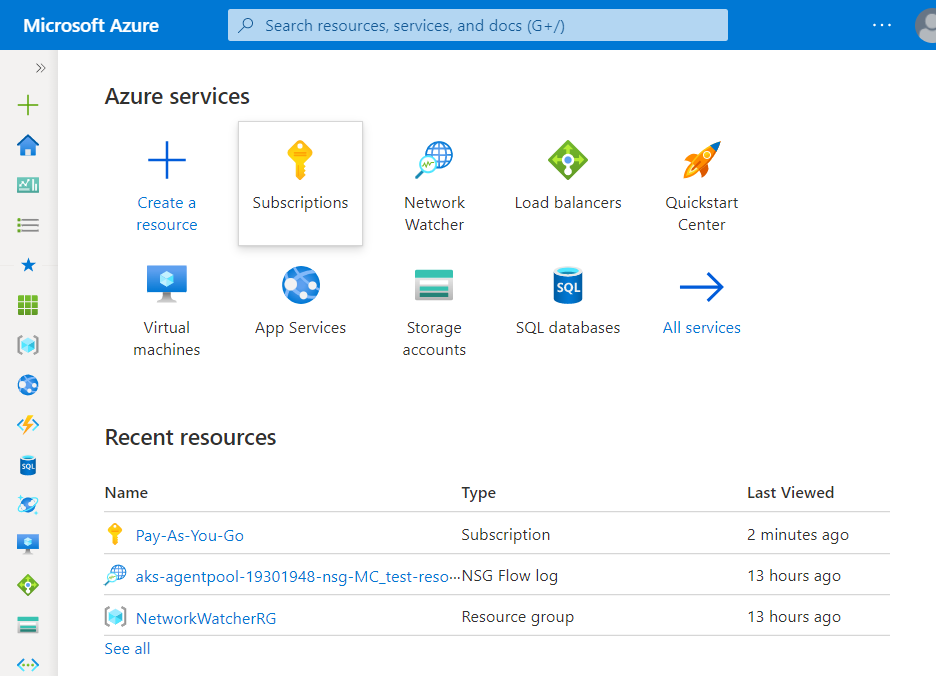
- Under Azure Services, choose Subscriptions.
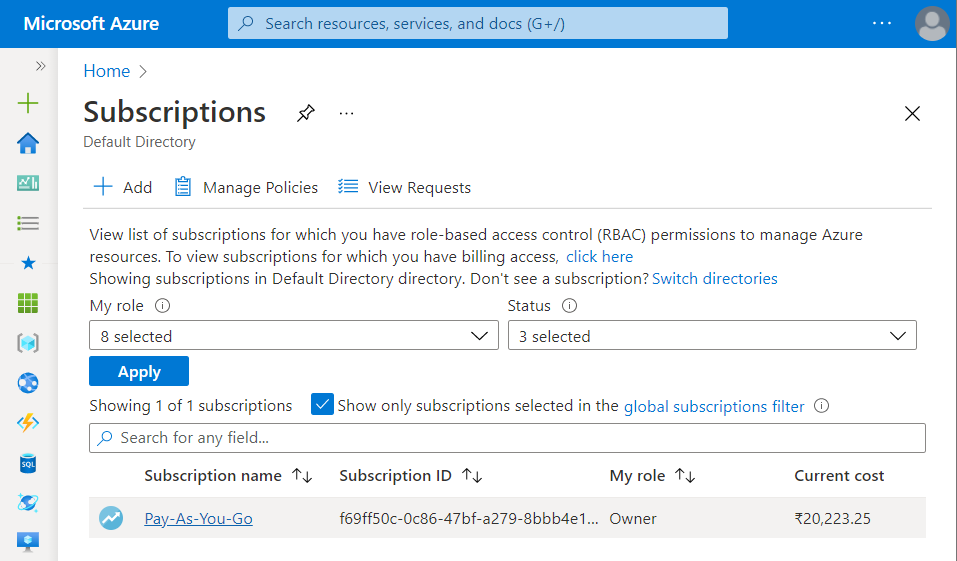
- A new Subscription page will be opened up. Choose the subscription for which the issue has to be examined.
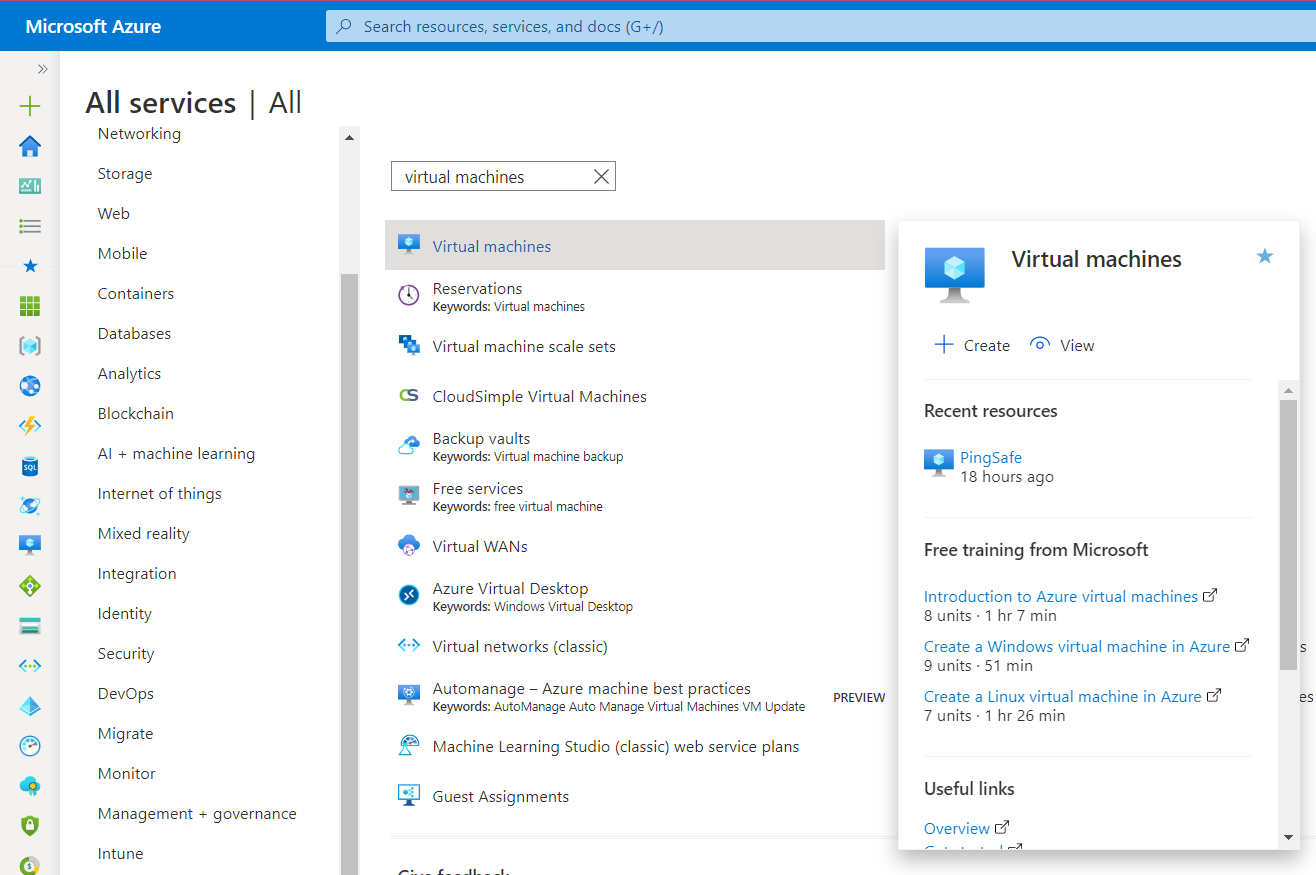
- Now, in the Filter Type Box, search for Virtual Machines.
- Click on the Virtual Machines nav link. A list of all the virtual machines (VMs) in your selected subscription will be displayed on the screen.
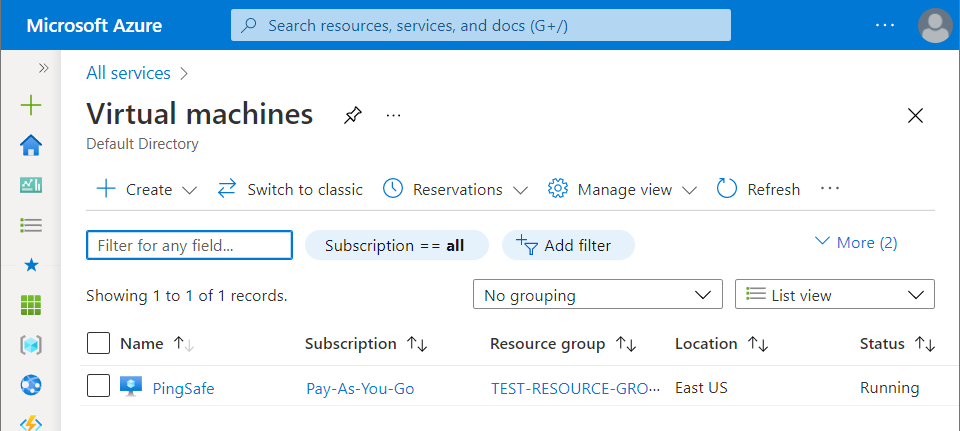
- Click on the Name of the Virtual Machine, for which you want to examine.
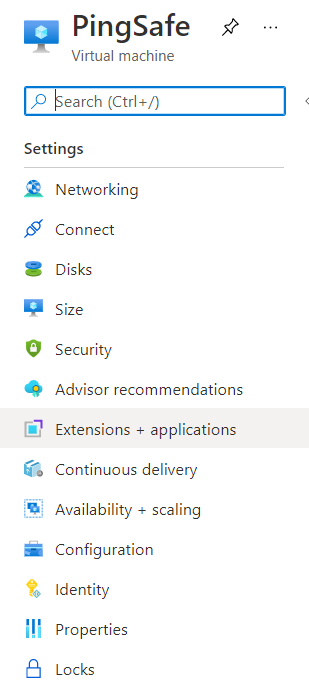
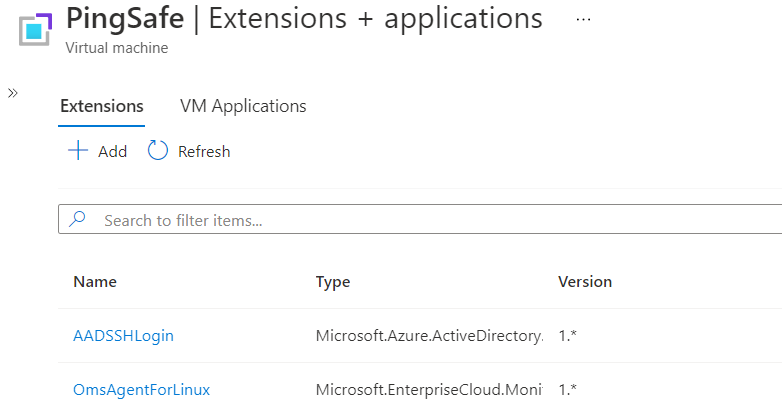
- A detailed view of your selected virtual machine will be displayed. Now, in the navigation panel, click on the Extensions + applications blade.
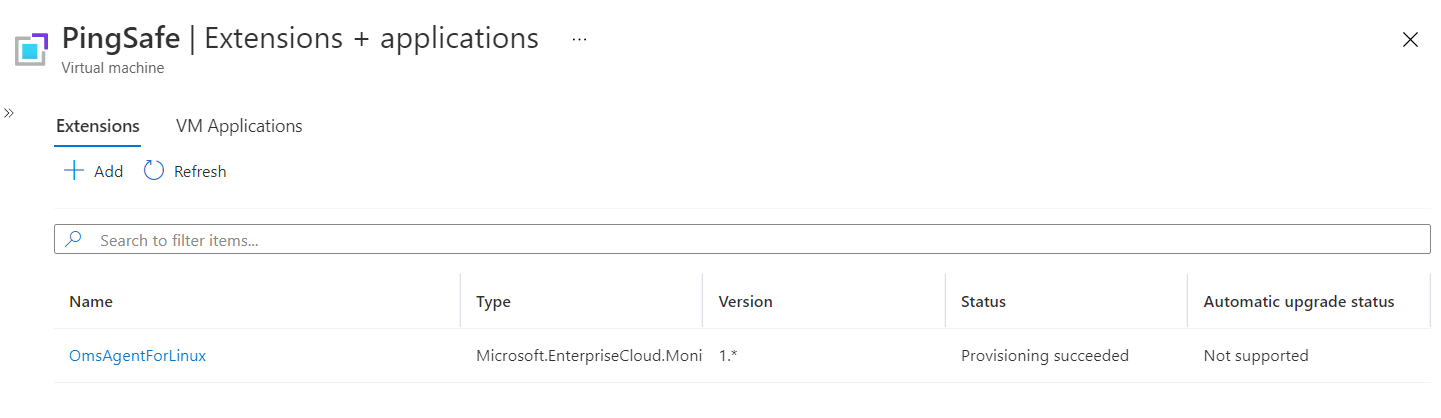
- On the Extensions page, a list of all the extensions will be displayed. Under the Name column, search for the VM extension required for authentication with AAD (Azure Active Directory), which is named as AADLoginForWindows for Windows or AADLoginForLinux for Linux.
- In case the extension you’re searching for is not listed, then the software required for AAD login is not installed. Hence, the selected VM is not configured for using the Azure Active Directory Authentication.
- Follow the steps above, for other Azure Virtual Machines (VMs) in the current subscription as well as in other subscriptions in your Azure Cloud.
Steps for Remediation
In order to enable Azure Active Directory (AD) Authentication for the Virtual Machines (VMs) in your Azure cloud account, follow the steps given below:
Using Azure Console-
- Firstly, sign in to the Azure Management Console with your registered organization email address.
- Under Azure Services, choose Subscriptions.
- A new Subscription page will be opened up. Choose the subscription for which the issue has to be examined.
- Now, in the Filter Type Box, search for Virtual Machines.
- Click on the Virtual Machines nav link. A list of all the virtual machines (VMs) in your selected subscription will be displayed on the screen.
- Click on the Name of the Virtual Machine, for which you want to examine.
- A detailed view of your selected virtual machine will be displayed. Now, in the navigation panel, click on the Extensions + applications blade.
- On the Extensions page, a list of all the extensions will be displayed. Now, click on the + Add option available at the top nav panel.
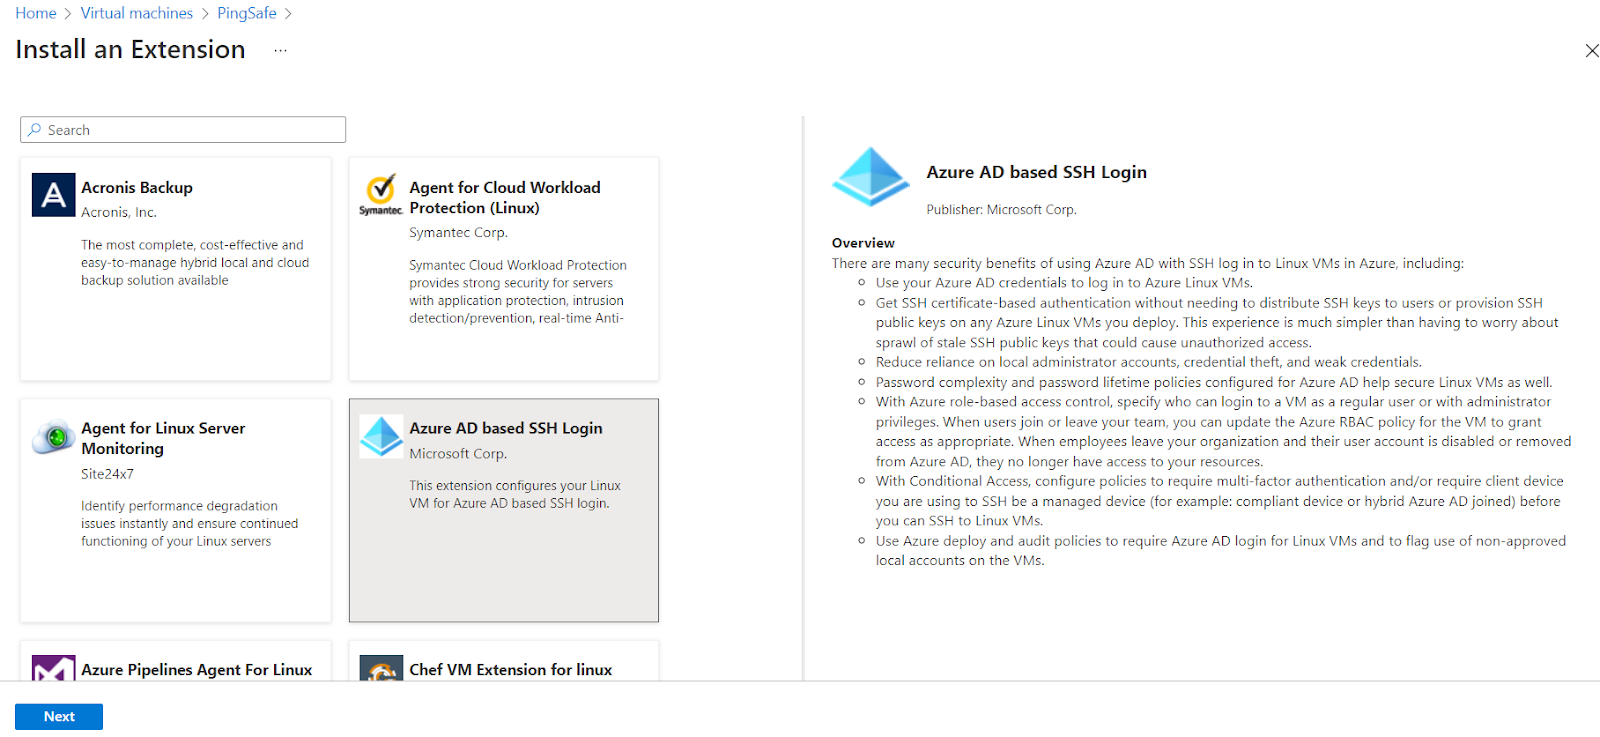
- An Install an Extension Page will be opened up. Choose the AADLoginForLinux or AADLoginForWindows extension from the list given.
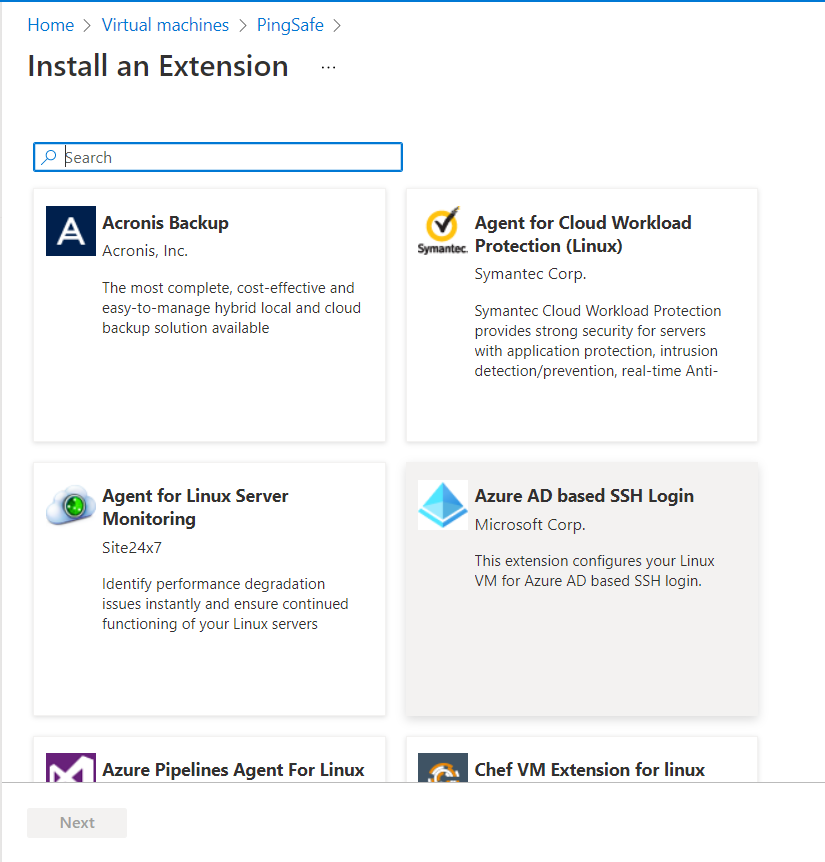
- Now, click on the Next button available at the bottom left to initiate the installation of the extension.
- On the selected extension page, click on Create button. The installation will take some time to process.

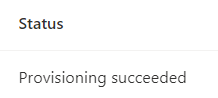
- After successful installation, the status should be set to Provisioning succeeded.
- The Extensions Page will now list down the installed plugin. After successful installation, you need to reconfigure the Role Assignment to take care of the logging options.
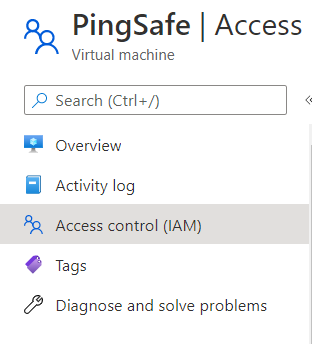
- In the left navigation panel, select the Access Control (IAM) blade. An Access Control page will appear.
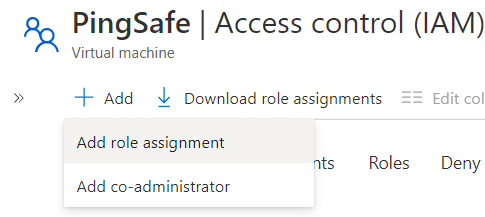
- Click on the +Add option, and select Add Role Assignment option from the dropdown list.
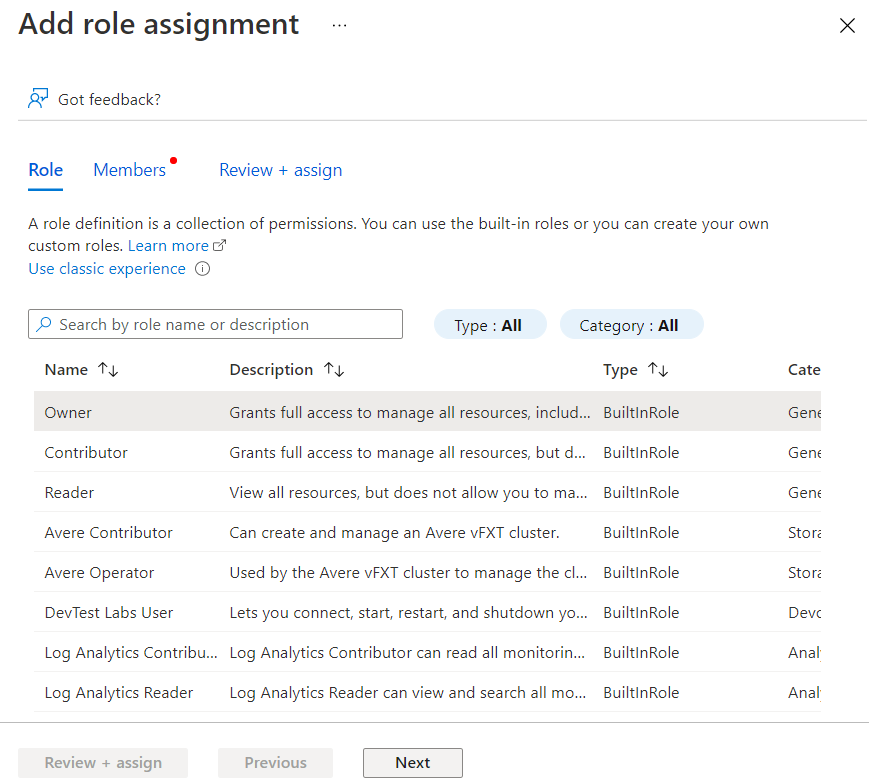
- On the Add Role Assignment Page, under the Roles Tab, select the role you want to assign. Then click on Next button at the bottom.
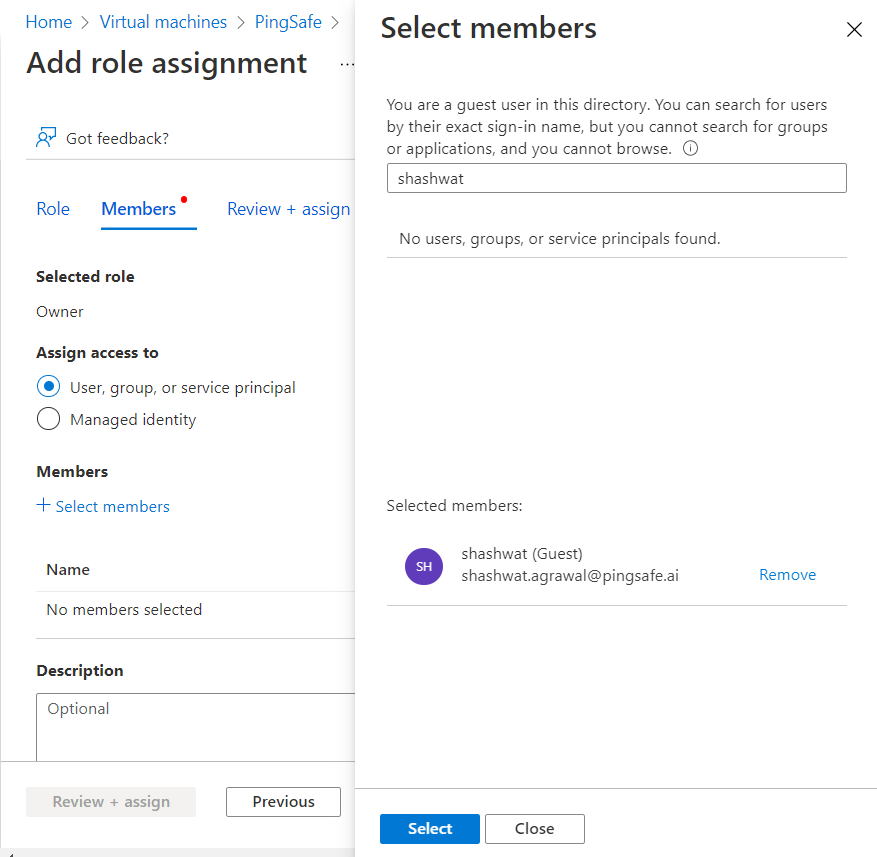
- Under Assign access to select the User, group, or service principal radio button. Now, under the +Select Member option, select the member to whom you want to assign the role.
- Now, click on the Review + Assign button to assign the selected role.

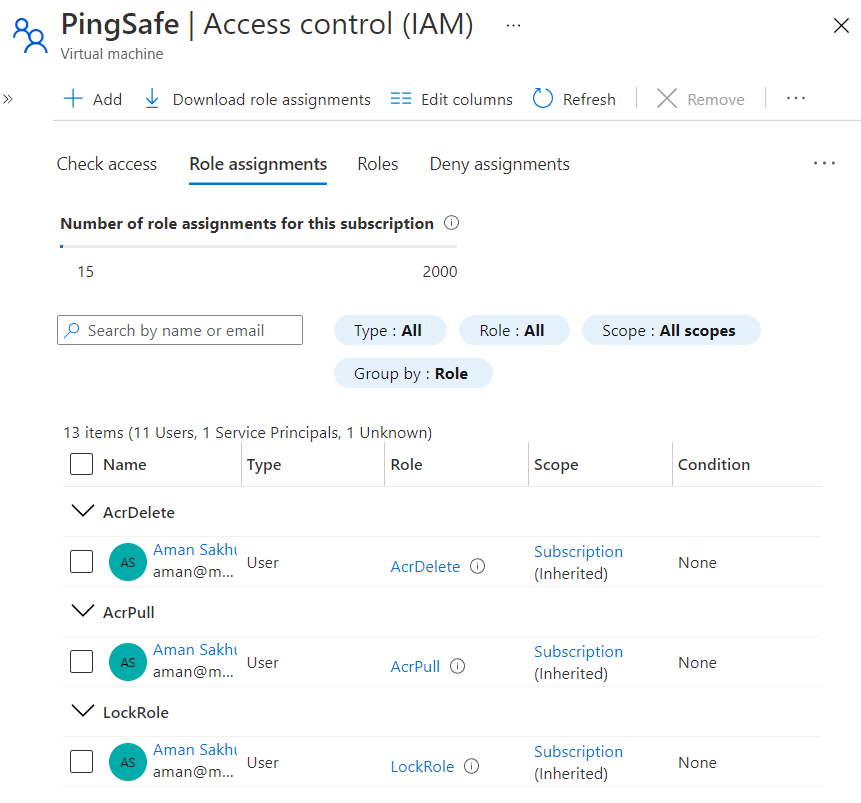
- You may click on the Role Assignment Tab to view the assigned user.
- Finally, you may now connect to the selected Virtual Machine using the SSH (Linux) or RDP (Windows) using the User Principal Name (UPN), of your Azure Active Directory account.
- Follow the steps above, for other Azure Virtual Machines (VMs) in the current subscription as well as in other subscriptions in your Azure Cloud.