
Risk Level: Medium
Description
This plugin guarantees that Availability Set is enabled in all the Virtual Machines. Availability Sets are meant to ensure that the virtual machine will still be available, whether during a planned maintenance event or unplanned maintenance event, hence, enabling Availability Sets is beneficial.
About the Service
Azure Virtual Machine:
Azure Virtual Machines (VM) is one of several forms of scalable, on-demand computing resources offered by Azure. VMs are typically used when you require more control over the computing environment than the other options provide. This article explains what you should think about before creating a virtual machine, how to construct one, and how to administer one. For more information, click here.
Impact
Availability Sets are meant to ensure that the virtual machine will still be available, whether during a planned maintenance event or unplanned maintenance event, hence, enabling Availability Sets is beneficial. The configuration of Virtual Machine Availability Sets can only be possible by creating a new virtual machine. Recreate the Virtual Machine with Availability Sets enabled. Thus, regenerating Virtual Machines by enabling Availability Sets. however, the issue arises when Virtual Machine does not have Availability Set enabled with it.
Steps to Reproduce
In order to determine if the availability set is enabled for the Virtual Machine, follow the steps given below:
Using Azure Console-
- Sign in to your Azure portal with your Azure account.
https://portal.azure.com/#home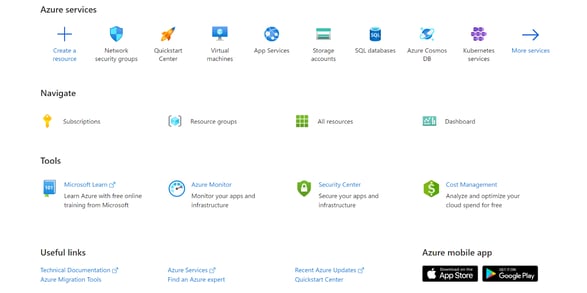
- Navigate to Azure’s Subscriptions.
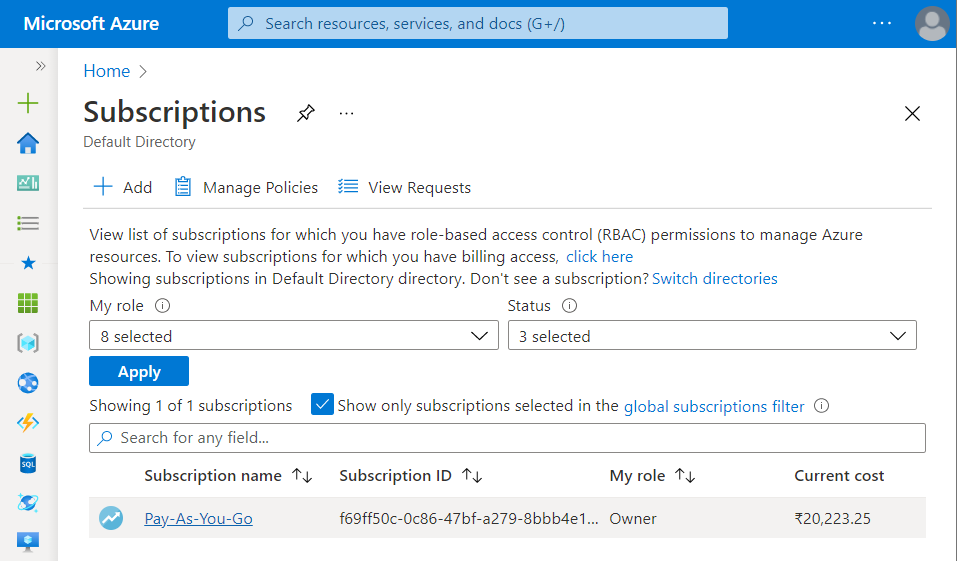
- A new Subscription page will be opened up. Choose the subscription for which the issue has to be examined.
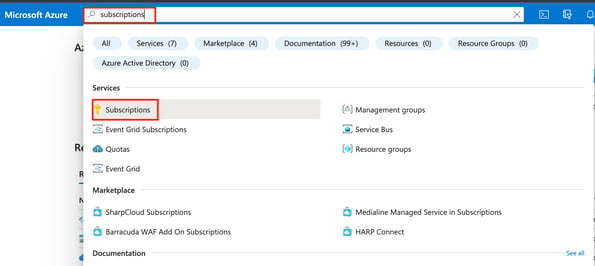
- Now, in the Filter Type Box, search for Virtual Machines.

- Click on the Virtual Machines nav link. A list of all the virtual machines (VMs) in your selected subscription will be displayed on the screen.
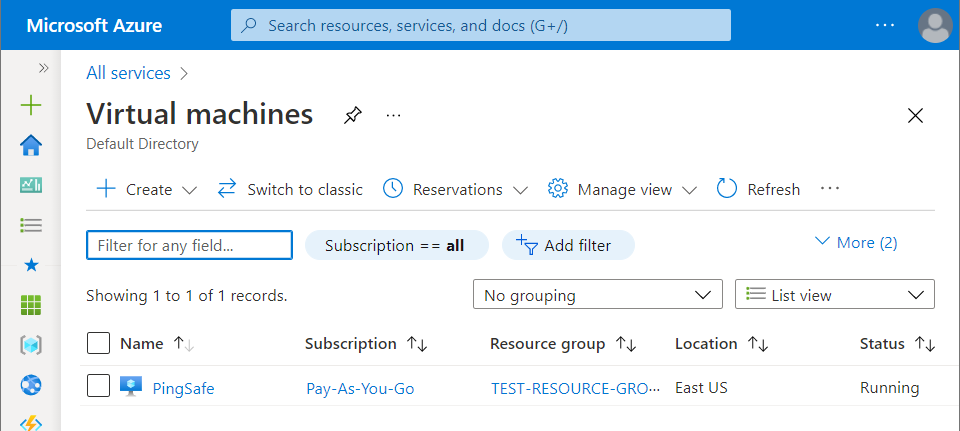
- Click on the Name of the Virtual Machine, for which you want to examine.
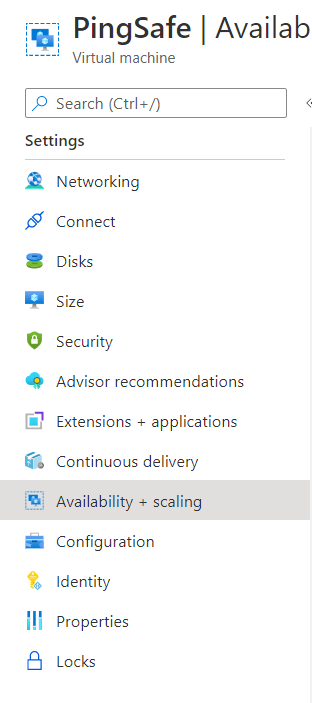
- A detailed view of your selected virtual machine will be displayed. Now, in the navigation panel, under the Settings, click on the Availability + Scaling blade.
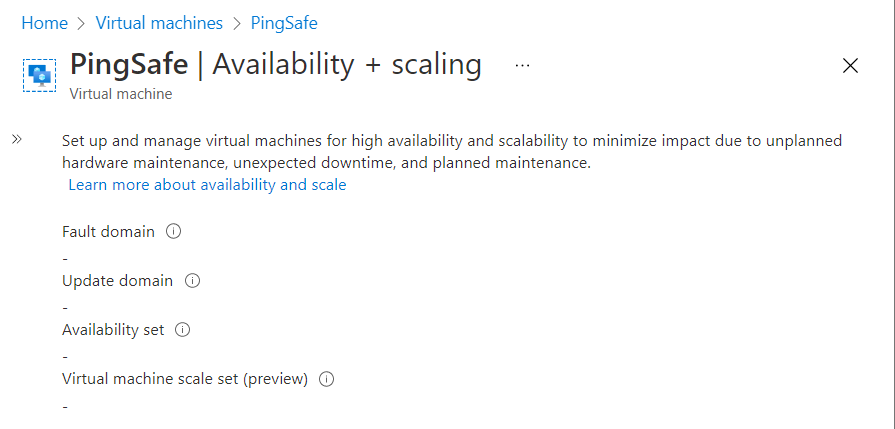
- A new Availability + Scaling page will appear on the screen. If the Availability Set is empty, then the vulnerability exists. Thence, the availability set has to be enabled.
- Follow the steps above, for other Azure Virtual Machines (VMs) in the current subscription as well as in other subscriptions in your Azure Cloud.
Steps for Remediation
In order to enable Availability Set in the VM for your Azure cloud account, follow the steps given below:
Note: Availability Set can not be enabled in the existing VM or by updating the Virtual Machine. In order to enable Availability Set in the VM, a new VM has to be created.
Using Azure Console-
- Firstly, sign in to the Azure Management Console with your registered organization email address.
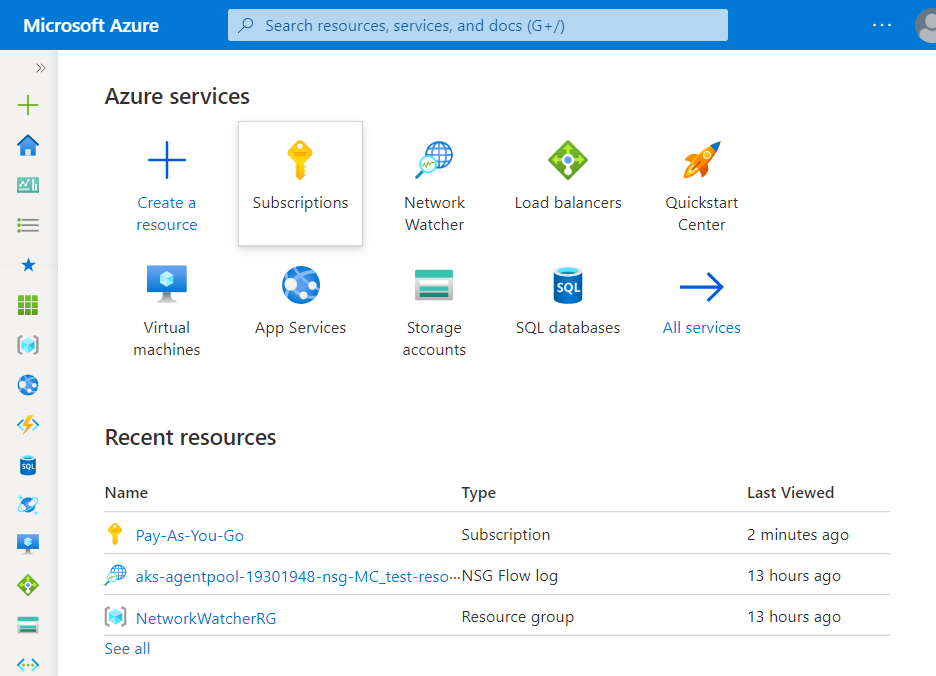
- Under Azure Services, choose Subscriptions.
- A new Subscription page will be opened up. Choose the subscription for which the issue has to be examined.
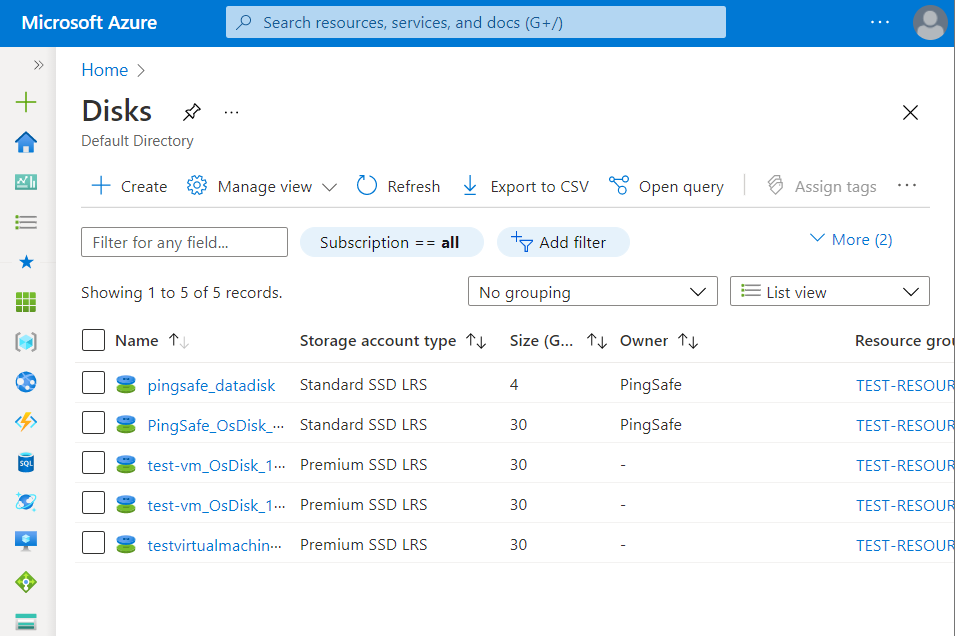
- Now, in the Filter Type Box, search for Disks and click on it.
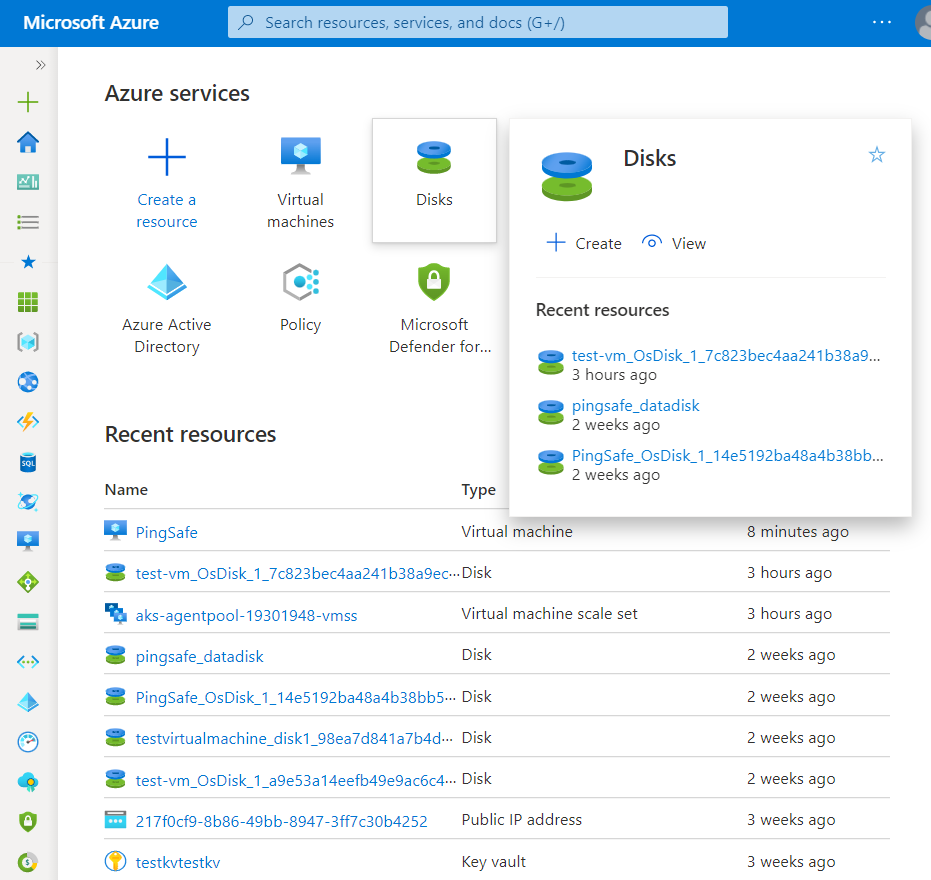
- A new Disks page with a list of all the Disks in your selected subscription will be displayed on the screen.
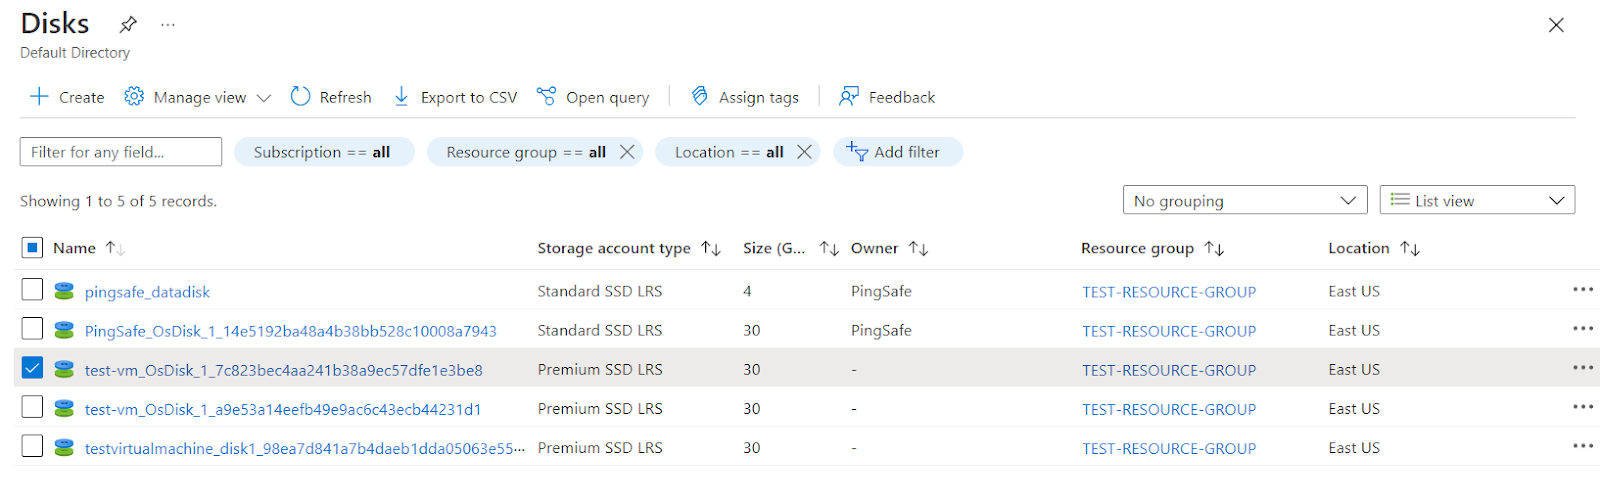
- Click on the Name of the managed Disk, on which you want to create a new Virtual Machine. Make sure the Disk State of the selected disk should be unattached.
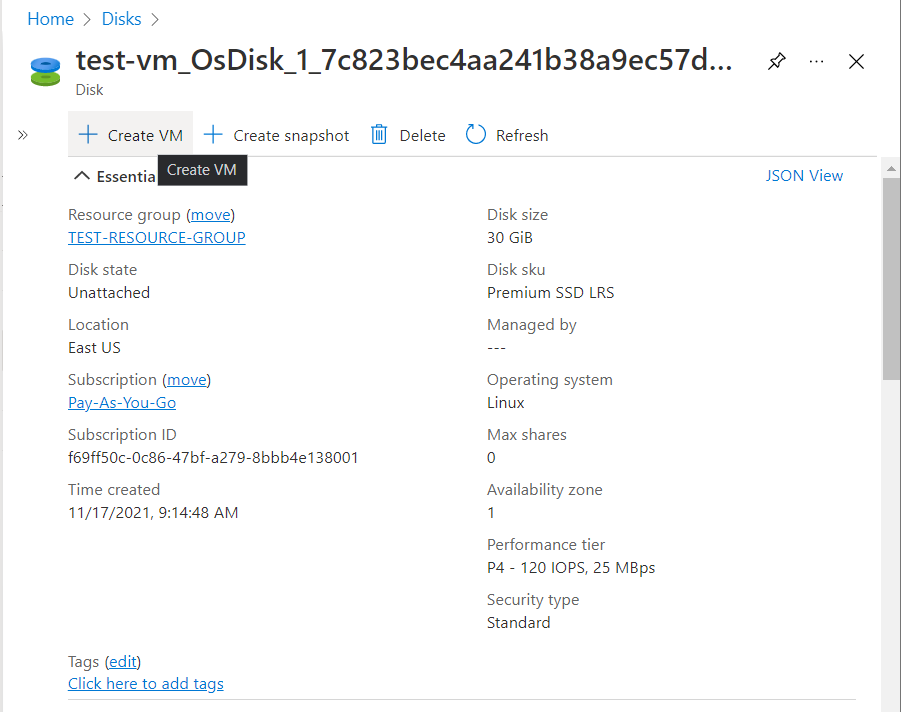
- A detailed view of your selected disk will be displayed. Now, click on the Create VM nav link present at the top navigation panel.
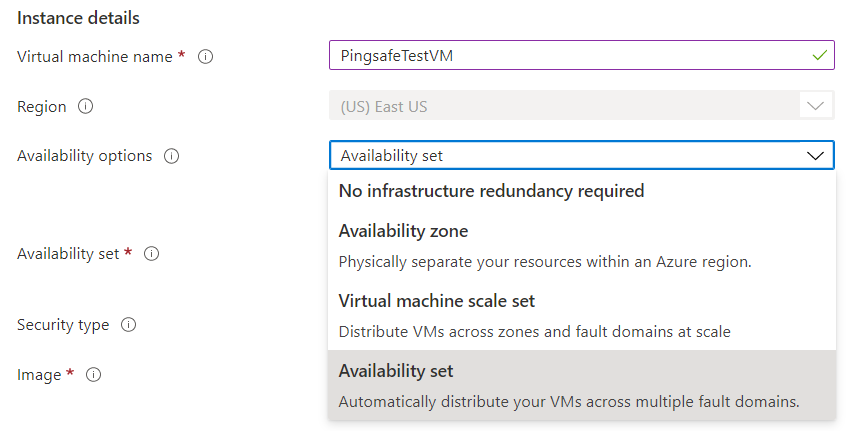
- Under the Basics section, scroll down to the Instance Details section and enter the VM credentials, including the Virtual Machine name.
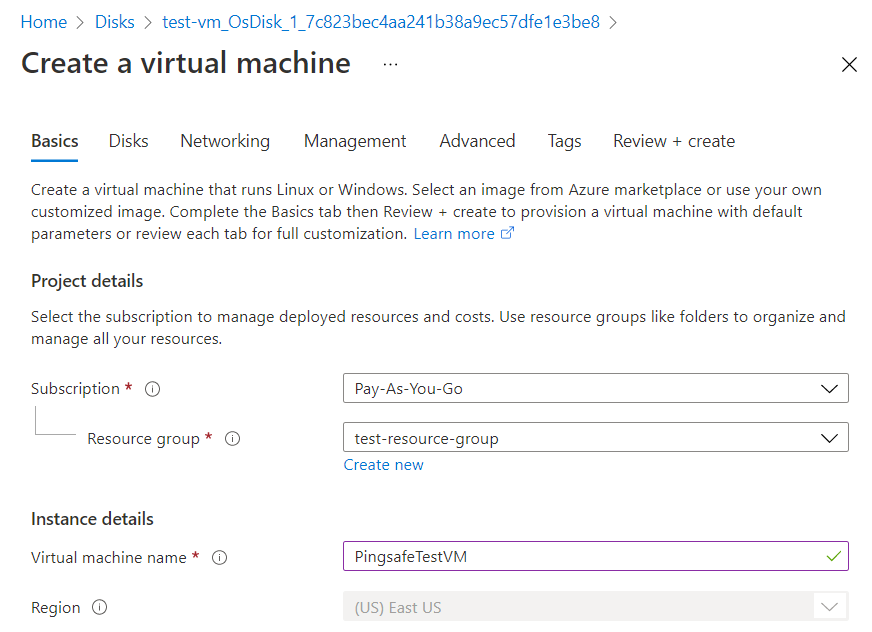
- Under the Availability options dropdown list, select the Availability Set option.
- Choose the other VM credentials and select the Review + Create button present at the bottom of the screen.
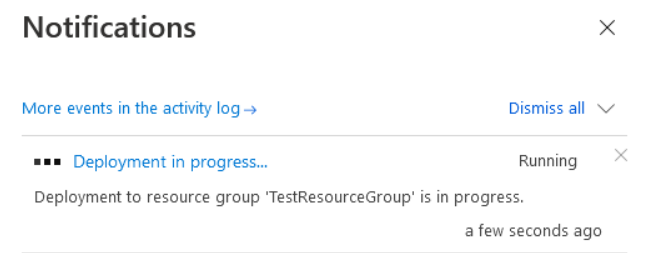
- A few minutes will be taken to create the Virtual Machine. After successful creation, you may monitor the progress of your VM’s deployment by clicking on the Notifications icon.
- Follow the steps above, for other Azure Virtual Machines (VMs) in the current subscription as well as in other subscriptions in your Azure Cloud.