
Ensures that the disk images are not publicly accessible.
Risk Level: High
Description
This plugin ensures that the Virtual Machine (VM) disk images are not shared publicly. This is achieved by making sure that the images’ access is not given to “allAuthenticatedUsers” and “allUsers”. To abide by the security policies, disk images should not be publicly accessible unless necessary.
About the Service
Google Cloud Compute Engine:
Google Cloud Compute Engine is a service that allows you to create Virtual Machines based on your preferences and run them on Google’s infrastructure. You can either use their predefined machines with certain default configurations or create your own custom Virtual Machine to meet your exact requirements. To know more, read here.
Impact
If your virtual machine’s disk images are publicly accessible, it makes it vulnerable to attacks as there is a risk of exposing sensitive and confidential data. By making it publicly accessible, you share the images with all authenticated Compute Engine users irrespective of the organization or project they are part of. To ensure security, PingSafe strongly recommends sharing the disk images only with required users instead of making them public.
Steps to Reproduce
Using GCP Console-
- Log In to your GCP Console.
- From the top navigation bar, select the GCP project you want to investigate.

- From the navigation panel on the left side of the console, go to Compute Engine and select VM Instances. You can use this link here to navigate directly if you’re already logged in.
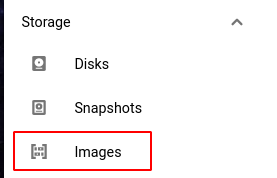
- From the navigation panel, select Images present in the Storage section to get the list of all the VM disk images of the selected project.
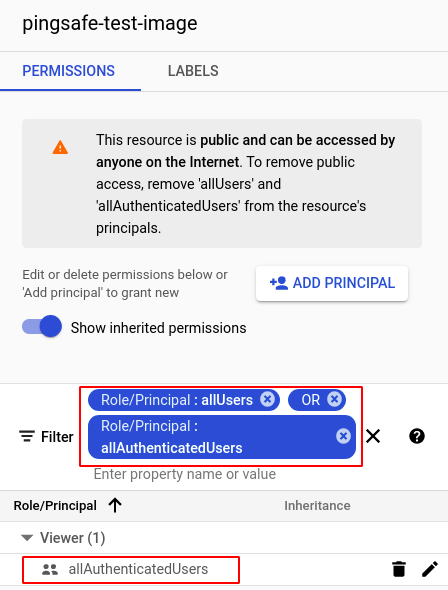
- Select the image that you wish to investigate and click on SHOW INFO PANEL present on the right corner of the top bar to check the permissions of the selected image.

- If permission is given to allAuthenticatedUsers or allUsers then the selected image is shared publicly with all GCP users.
- Repeat steps 4 and 5 for all the VM disk images you want to investigate in the selected project.
- If you have multiple projects that you want to investigate, repeat steps 2-6 for each project in your GCP console.
Steps for Remediation
Determine whether or not you truly require VM disk images to be publicly accessible. If not, make the necessary changes using the steps given below.
Using GCP Console-
- Log In to your GCP Console.
- From the top navigation bar, select the GCP project you want to investigate.
- From the navigation panel on the left side of the console, go to Compute Engine and select VM Instances. You can use this link here to navigate directly if you’re already logged in.
- From the navigation panel, select Images present in the Storage section to get the list of all the VM disk images of the selected project.
- Select the VM disk image that you wish to reconfigure and click on SHOW INFO PANEL present on the right corner of the top bar. (In case you aren’t sure which image needs to be configured, follow the steps to reproduce listed above to determine which to choose.)
- In the PERMISSIONS tab, select the corresponding IAM role of which you want to remove allAuthenticatedUsers or allUsers members and click on the delete icon next to the name to delete it.
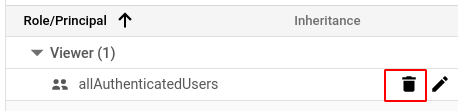
- In the confirmation pop-up box, select the member you wish to delete and press REMOVE.

- Repeat steps 4 to 7 for all the VM instances you want to reconfigure in the selected project.
- If you have multiple projects, repeat steps 2 to 8 for each project in your GCP console.