
Risk Level: High
Description
This plugin guarantees that virtual machines are utilizing the ideal desired SKU size. This is an opt-in plugin and won't run if no ideal SKU size is given. VM SKU size characterizes the figuring power and information handling speed. VM SKU size ought to be picked cautiously to address process prerequisites for the association and to save un-essential expenses.
Configuration Parameters
VM Desired SKU Size: This parameter denotes a list of comma-separated desired SKU sizes for the virtual machines. If the size of the Virtual Machine is not present in this list, an issue will be created. Azure supports various VM sizes divided into various categories such as General Purpose, Compute Optimized, GPU etc. Mention the exact size range in the form of B, Dsv3, HB.
By default, the value is empty, and it will not report any vulnerability.
About the Service
Azure Virtual Machine:
Azure Virtual Machines (VM) is one of several forms of scalable, on-demand computing resources offered by Azure. VMs are typically used when you require more control over the computing environment than the other options provide. This article explains what you should think about before creating a virtual machine, how to construct one, and how to administer one. For more information, click here.
Impact
Drawing certain lines for the SKU size(s) of the virtual machine occasions provisioned in your Microsoft Azure record can assist you with overseeing better your cloud figure power, addressing interior consistency prerequisites, and forestalling surprising charges on your Azure month to month bill.
Steps to Reproduce
In order to determine, if all the VM instances have the desired SKU size(s) in your Microsoft Azure account, follow the steps given below:
Using Azure Console-
- Firstly, sign in to the Azure Management Console with your registered organization email address.
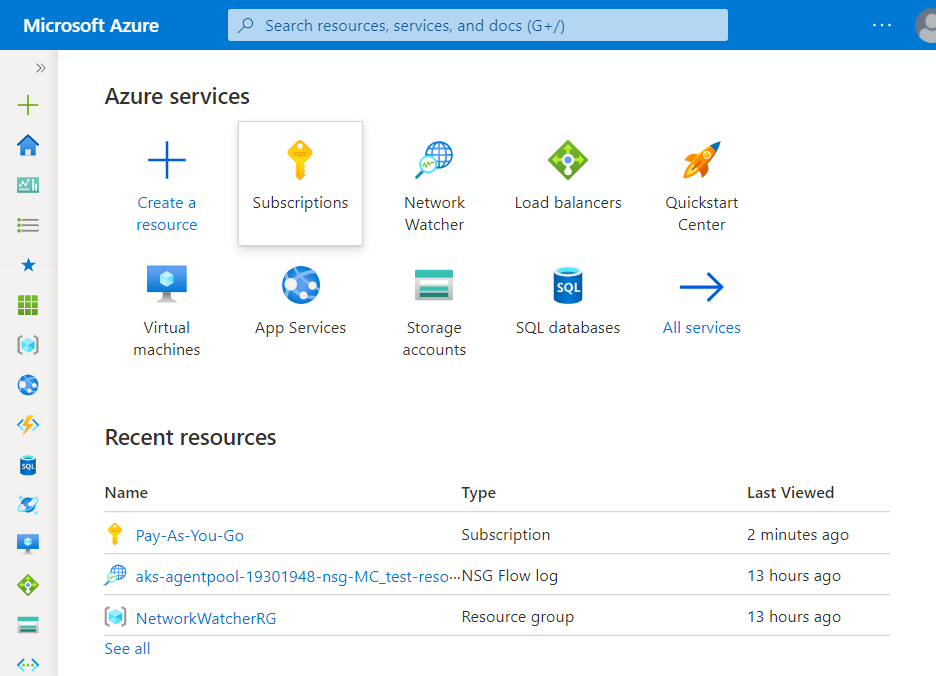
- Under Azure Services, choose Subscriptions.
- A new Subscription page will be opened up. Choose the subscription for which the issue has to be examined.

- Now, in the Filter Type Box, search for Virtual Machines.
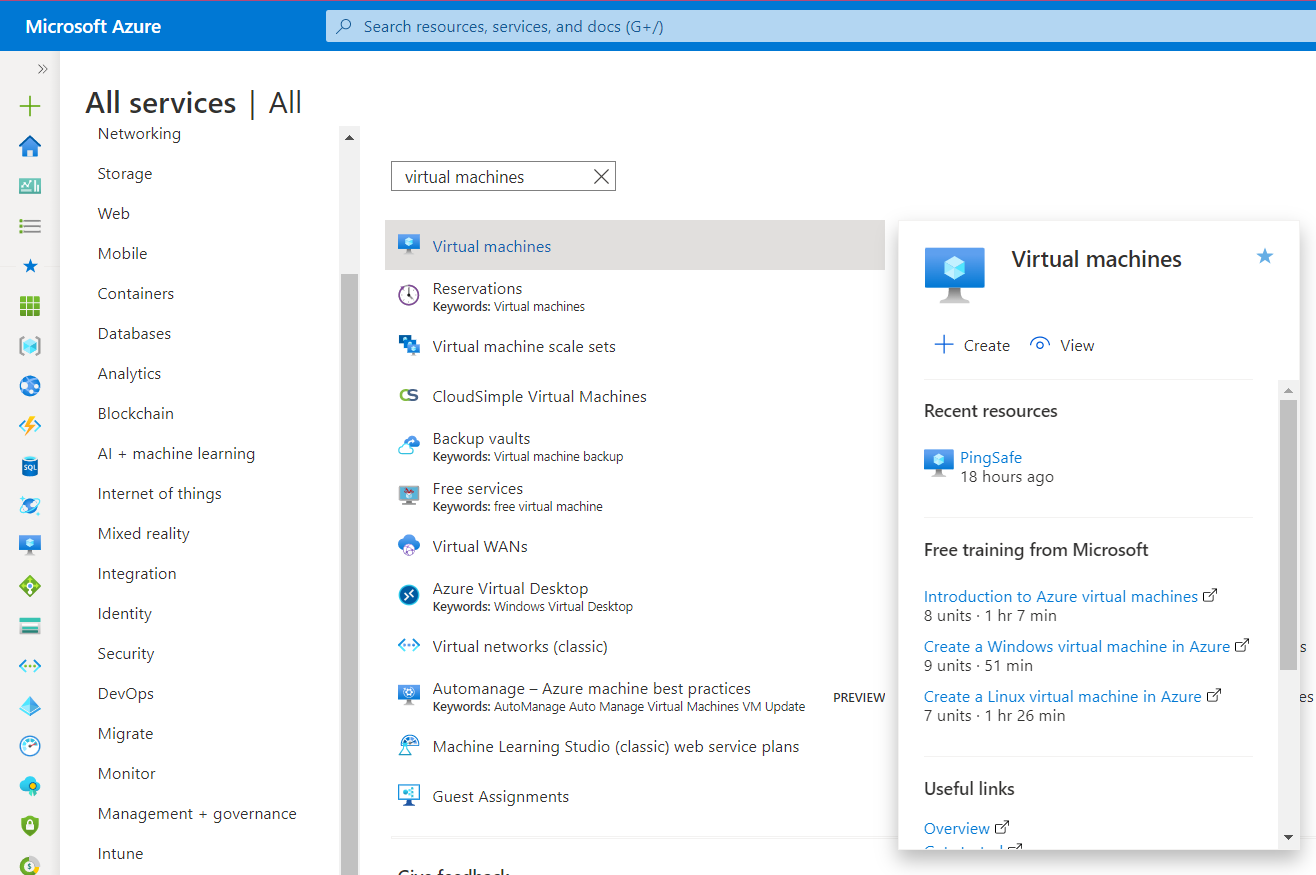
- Click on the Virtual Machines nav link. A list of all the virtual machines (VMs) in your selected subscription will be displayed on the screen.
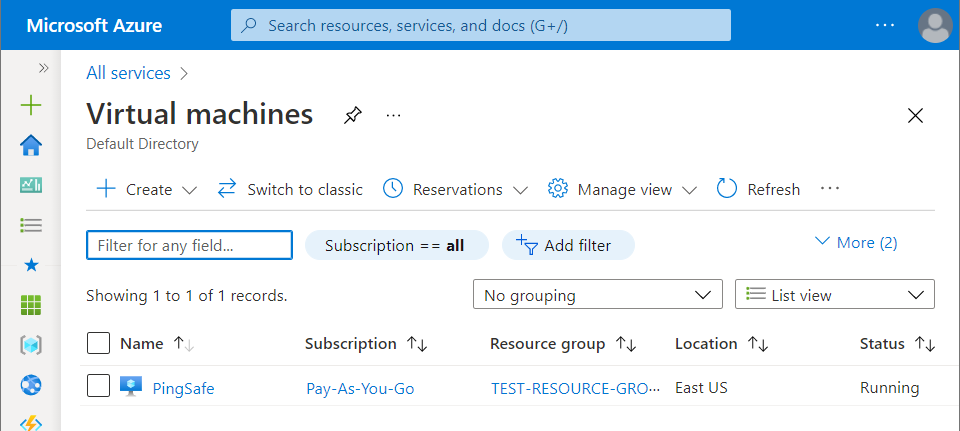
- Click on the Name of the Virtual Machine, for which you want to examine.
- A detailed view of your selected virtual machine will be displayed. Now, in the navigation panel, click on the Overview blade.
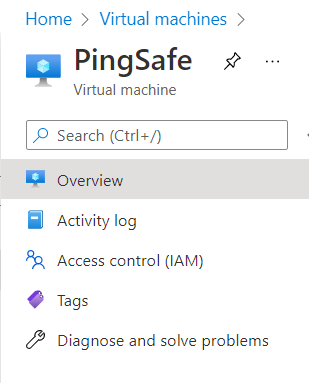
- Under the Overview section, check for the SKU size, under the Size configuration attribute.
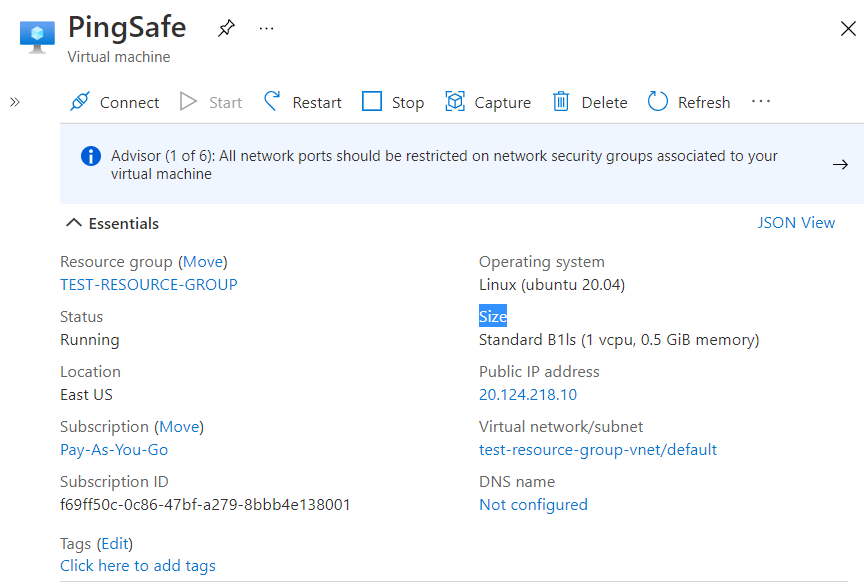
- If the VM SKU size is different from the one allowed by your organization (here, PingSafe), then the selected Azure VM wasn’t put in place using the desired SKU size.
- Follow the steps above, for other Azure Virtual Machines (VMs) in the current subscription as well as in other subscriptions in your Azure Cloud.
Steps for Remediation
In order to resize the Azure VM instance to the VM SKU size according to your organization, from your Azure cloud account, follow the steps given below:
Using Azure Console-
- Firstly, sign in to the Azure Management Console with your registered organization email address.
- Under Azure Services, choose Subscriptions.
- A new Subscription page will be opened up. Choose the subscription for which the issue has to be examined.
- Now, in the Filter Type Box, search for Virtual Machines.
- Click on the Virtual Machines nav link. A list of all the virtual machines (VMs) in your selected subscription will be displayed on the screen.
- Click on the Name of the Virtual Machine, for which you want to examine.
- A detailed view of your selected virtual machine will be displayed. Now, in the navigation panel, click on the Overview blade.
- Under the Overview section, check for the SKU size, under the Size configuration attribute.
- If the VM SKU size is different from the one allowed by your organization (here, PingSafe), then the selected Azure VM wasn’t put in place using the desired SKU size.
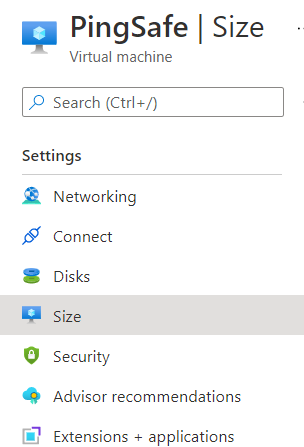
- Now, to reconfigure, click on the Settings, and select the Size option to list all SKU sizes available for the selected VM instance.
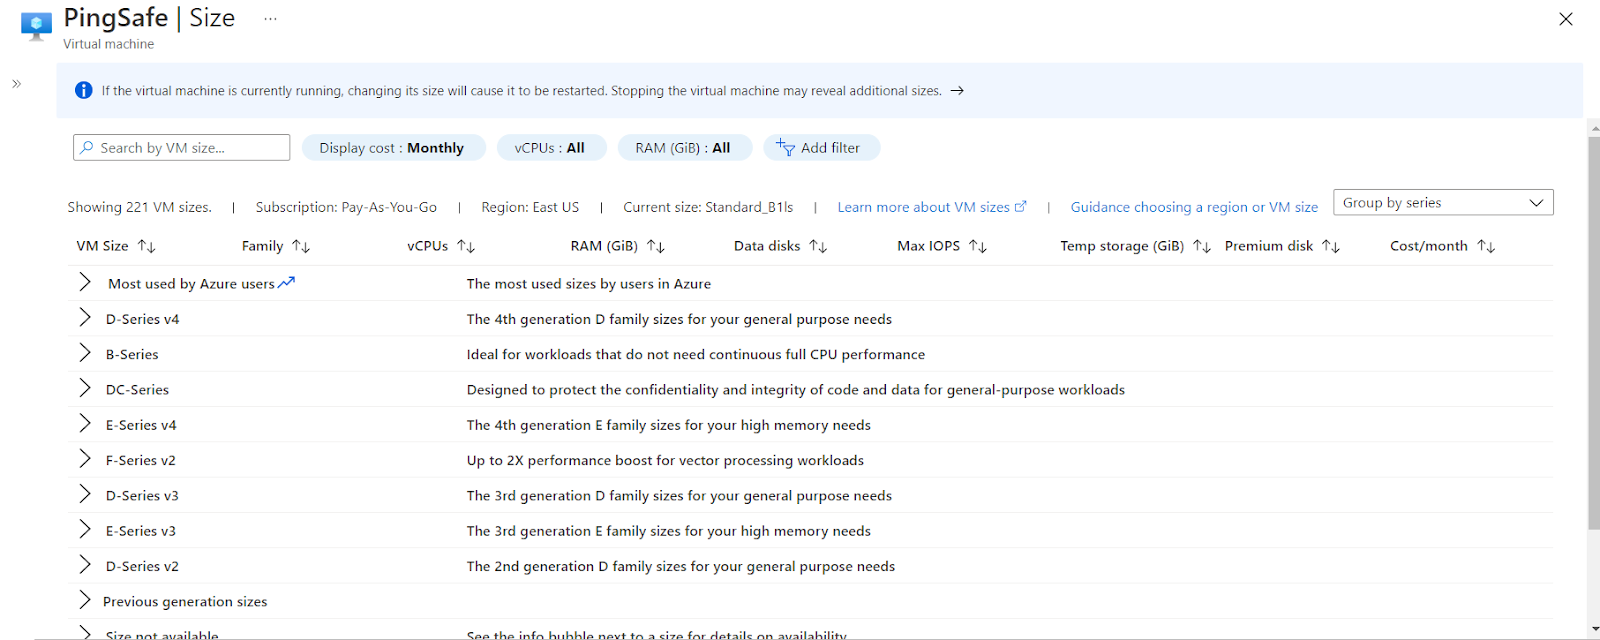
- On the Size page, click on see all sizes, to list all sizes provided by MS Azure. Now, select the desired SKU size, allowed by your organization, defined under the conformity rule settings.
- Click on the Resize button to resize the SKU size limit. Once the instance is resized, implement the Allowed virtual machine size SKUs policy. This is needed to restrict the creation of VM instances to one or more SKU sizes.
- Now, navigate to the Policy services in MS Azure Cloud. Click here.
- Click on the Assignments blade in the left navigation panel.
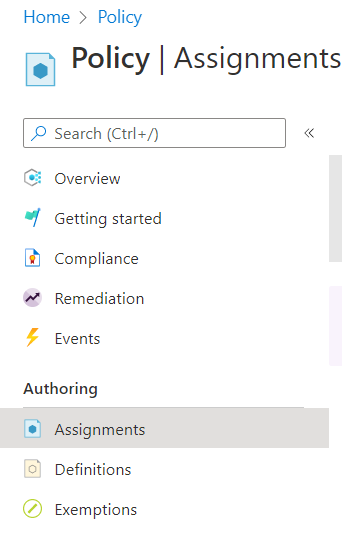
- Click on the Assign policy option present at the top nav bar.

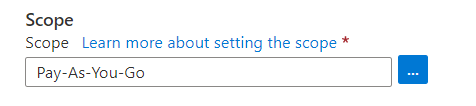
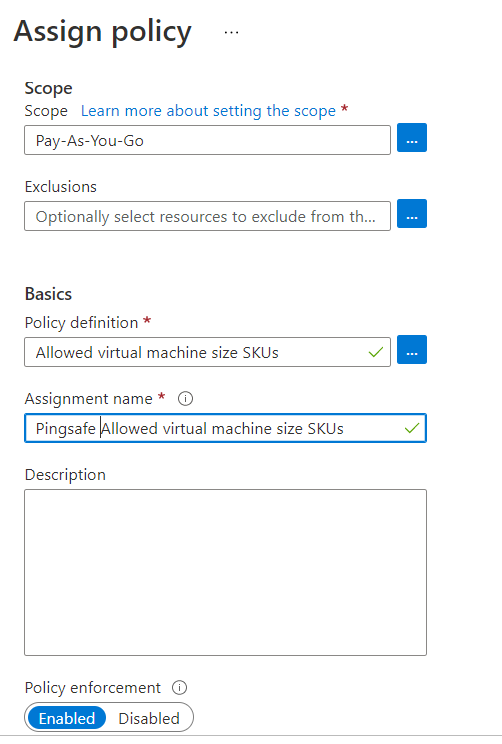
- Now, under the Basics tab, select your subscription in the Scope option.
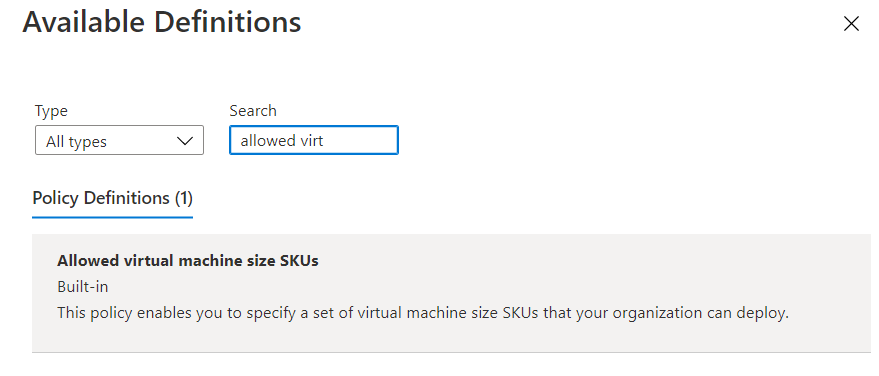
- Under the Policy Definition, in the Available Definitions panel, search for the Allowed Virtual Machine Size SKUs and select it.
- Give a unique Assignment Name, and make sure to set Policy Enforcement to Enabled.
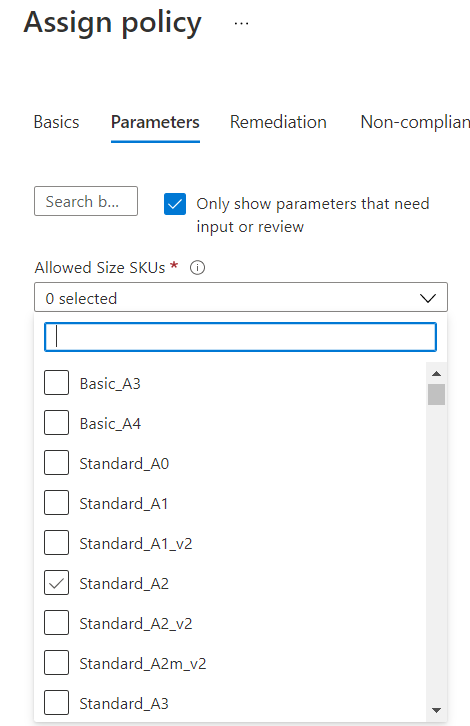
- Now, go to the Parameters tab, under the Allowed Size SKUs dropdown list, choose the SKU size according to your organization specification.
- Now, review your settings and click on the Review + Create button and validate the assignment policy.
- Now, click on the Create button to create the Allowed Virtual MAchine size SKUs policy assignment.
- Follow the steps above, for other Azure Virtual Machines (VMs) in the current subscription as well as in other subscriptions in your Azure Cloud.