Risk Level: Medium
Description:
This plugin ensures root volume encryption on WorkSpaces for data protection. AWS WorkSpaces allows both user and root volume encryption for directories. To ensure data cannot be accessed without authorization, it is recommended to enable encryption for all workspace instances.
About the Service :
Amazon WorkSpaces allows you to provide your users, known as WorkSpaces, with virtual, cloud-based Microsoft Windows or Amazon Linux desktops. WorkSpaces does not need hardware or complicated software to be procured and deployed. When your needs change, you may rapidly add or delete users. Users can use different devices and web browsers to access their virtual desktops.
Impact :
In the absence of encryption with AWS CMK KMS keys, root volume data can be completely visible to an attacker if the volume gets compromised. On the production level, root volume stores important information regarding workspace configurations.
Steps to reproduce :
- Log In to AWS Console.
- Navigate to the Workspaces dashboard. You use this link to go directly to the dashboard if already logged in.(https://console.aws.amazon.com/workspaces/ )
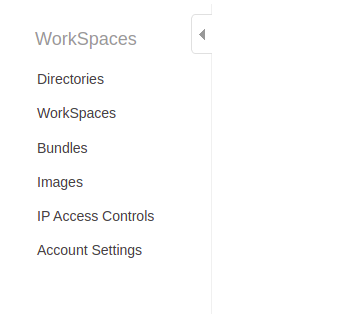
- Then navigate to “Workspaces” under Workspaces in the left navigation panel.

- Check the Volume Encryption section. If it is set to “Disabled”, the vulnerability exists.
- Repeat the steps for other workspaces.
Steps for remediation :
Create new WorkSpaces with enabled root volume encryption
- Log In to AWS Console.
- Navigate to the Workspaces dashboard. You use this link to go directly to the dashboard if already logged in.(https://console.aws.amazon.com/workspaces/ )
- Then navigate to “Workspaces” under Workspaces in the left navigation panel.

- Select the vulnerable workspace. We will first create a backup of this workspace before creating a new one.
- From the Actions menu, select Create Image. Click on Create button to finalize the Image creation.
- After the process is completed, navigate to Images from the left navigation pane.
- Now, we will assure all the software packages are installed correctly. Select the Image created and from the Actions menu, select Create Bundle.
- After specifying the details for the new bundle, click on Create Bundle.
- Navigate to Bundles from the left navigation pane.

- Select the newly created bundle. Click on Launch Workspace.
- Specify the details as required. In the third step, make sure you select the Bundle created recently.
- In the next step, under the Encryption category, check the Root Volume Encryption, and select the AWS CMK key for encryption.
- Finally, create the encrypted workspace.
- Repeat steps for all other unencrypted workspaces.
